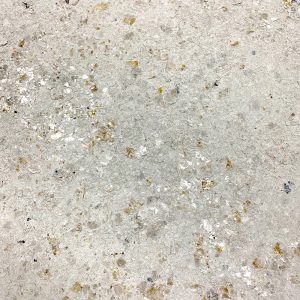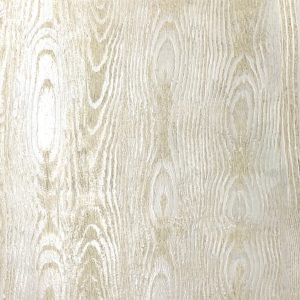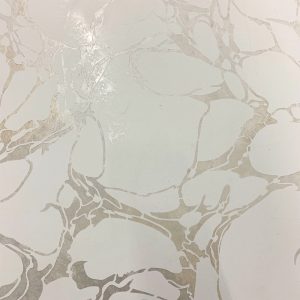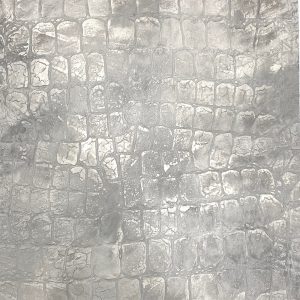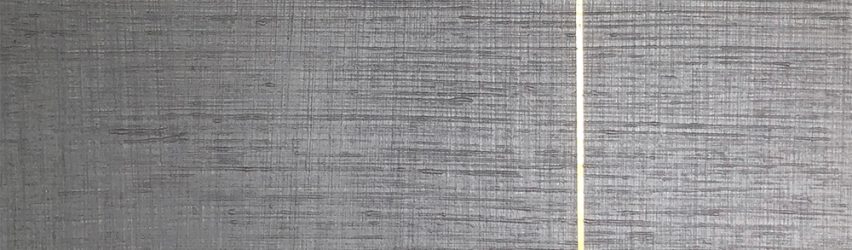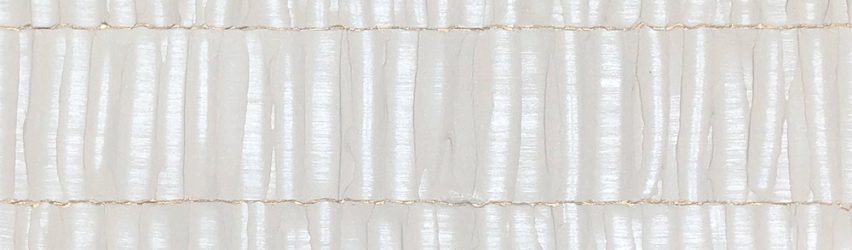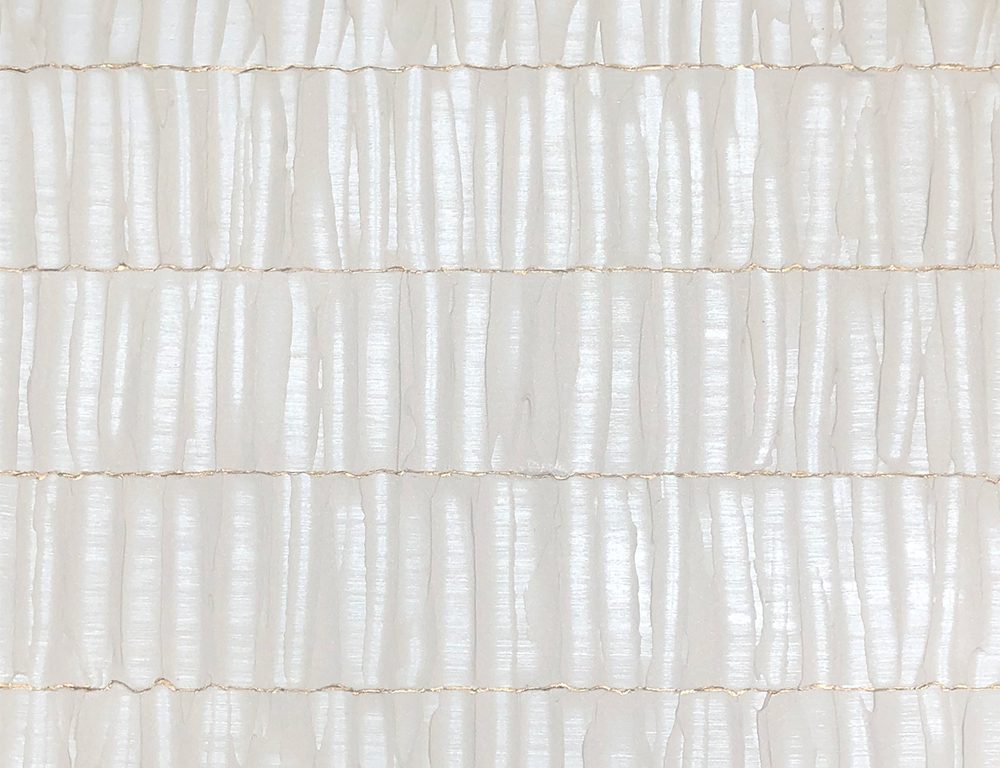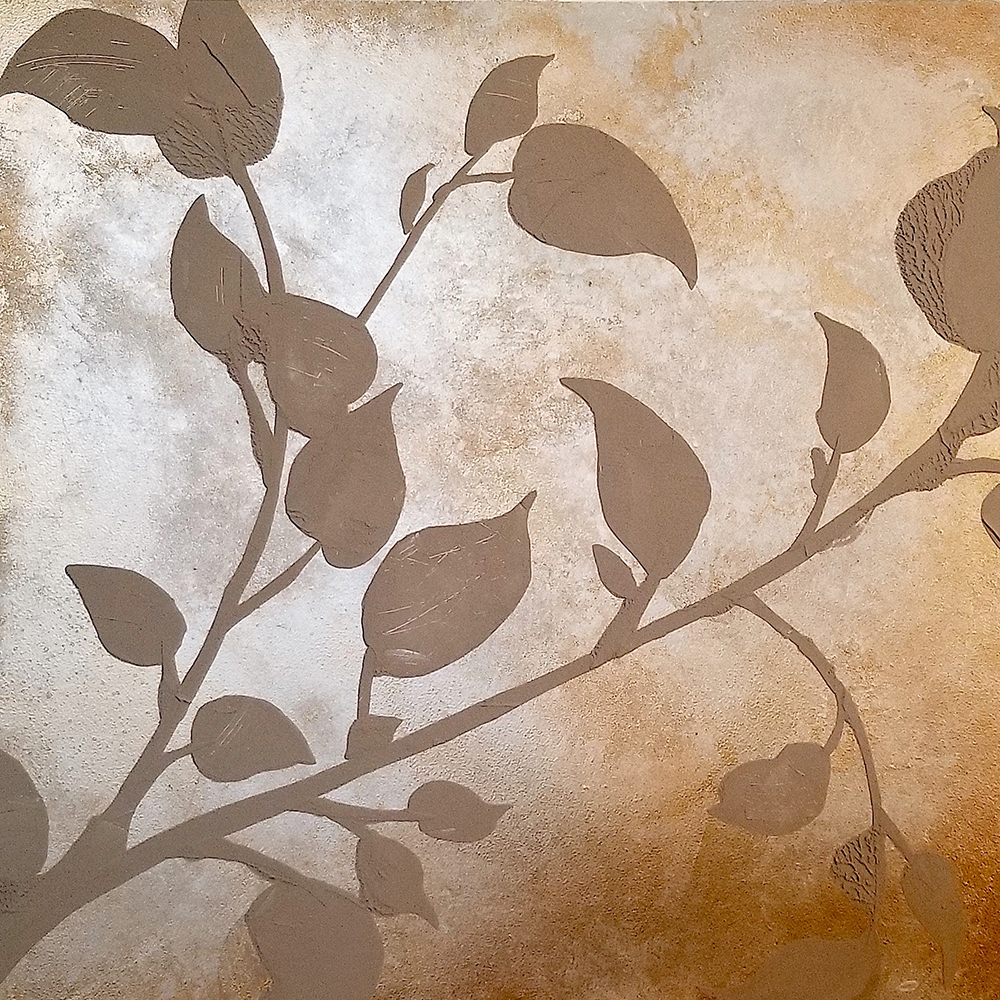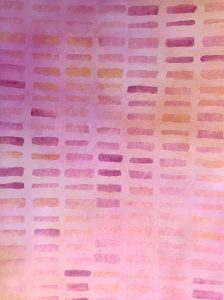
Decorative Finish: Brushed Whisper Shimmer

DECORATIVE FINISH HOW-TO

Brushed Whisper Shimmer

Artist: Shiree Ingram

Share this article

PROJECT SUPPLIES:

INSTRUCTIONS:

1 | Base paint with a white, high-hiding, all purpose primer.

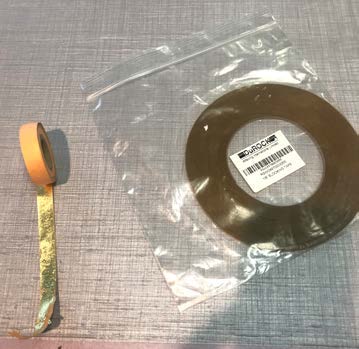
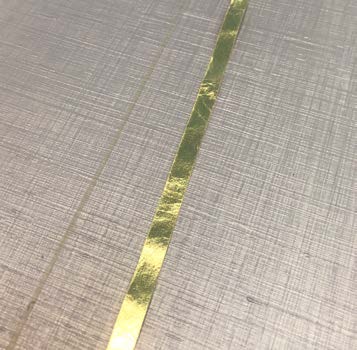
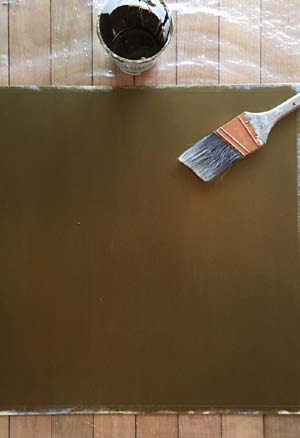
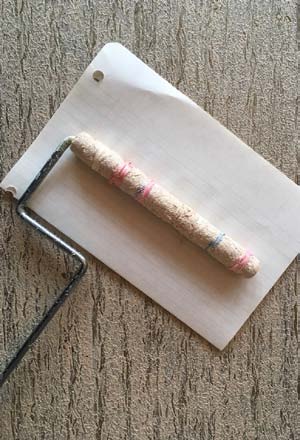
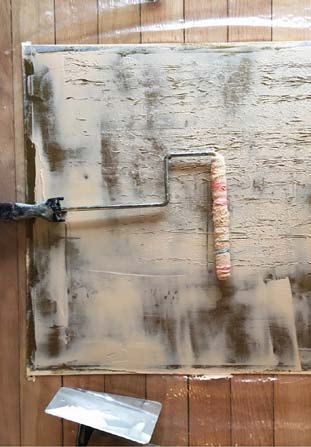
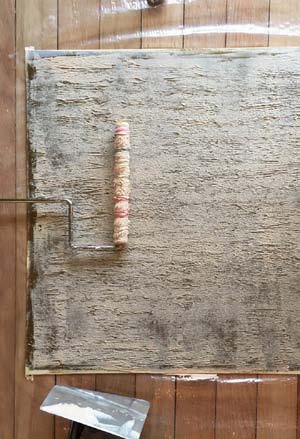
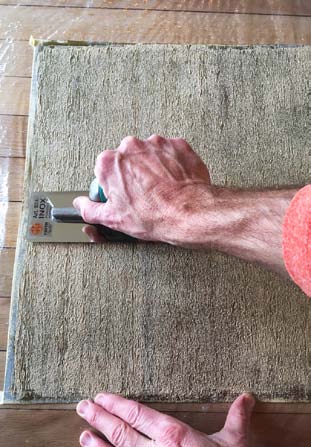
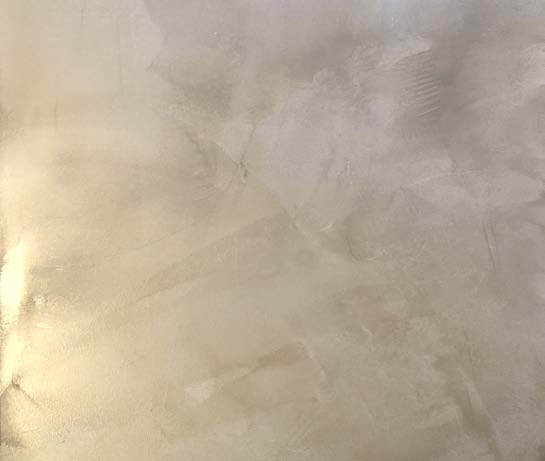
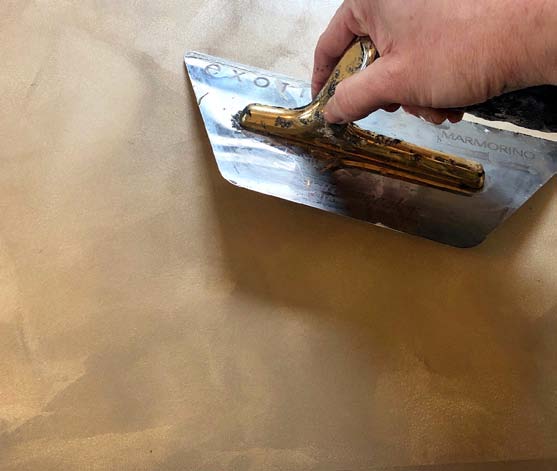
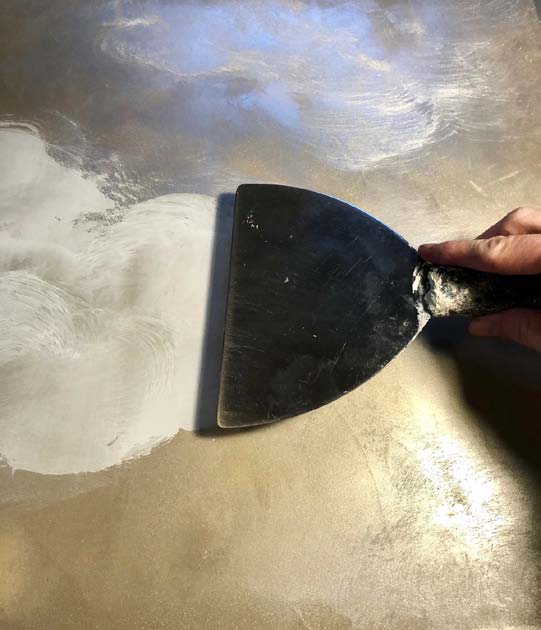
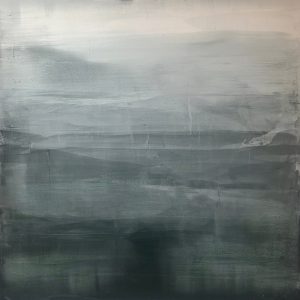
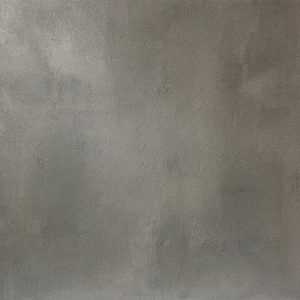
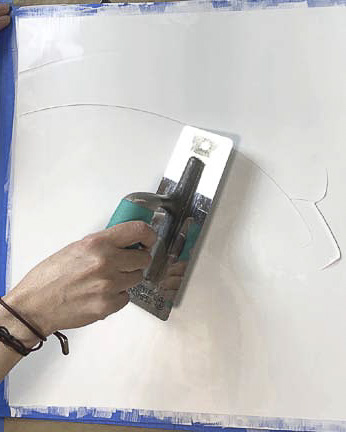
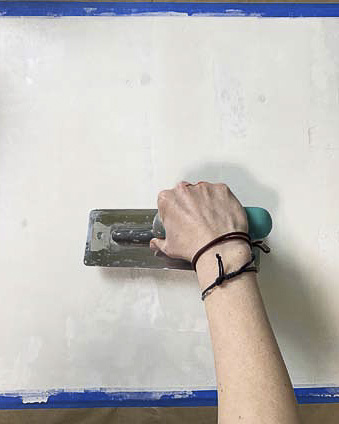
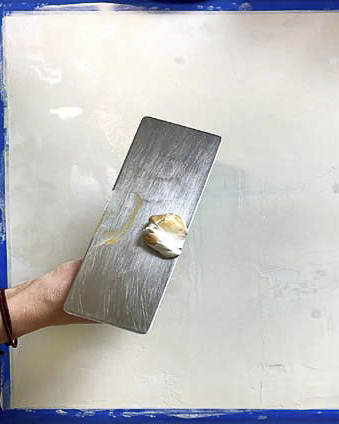
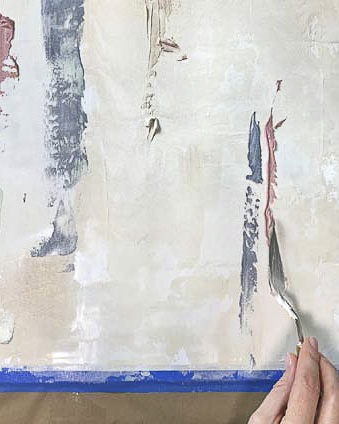
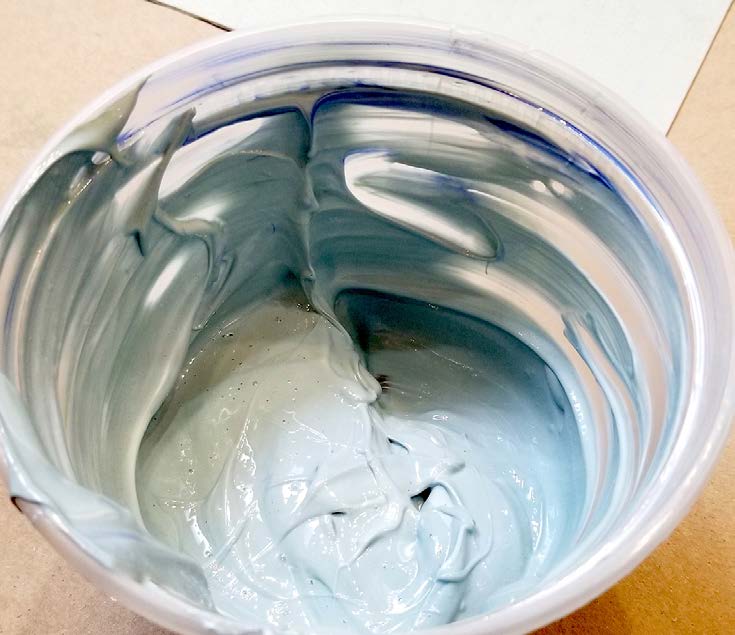
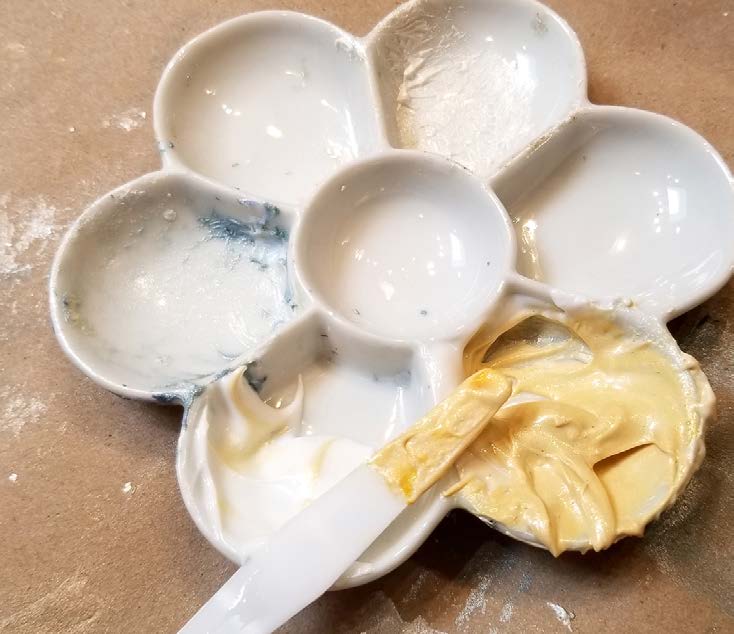
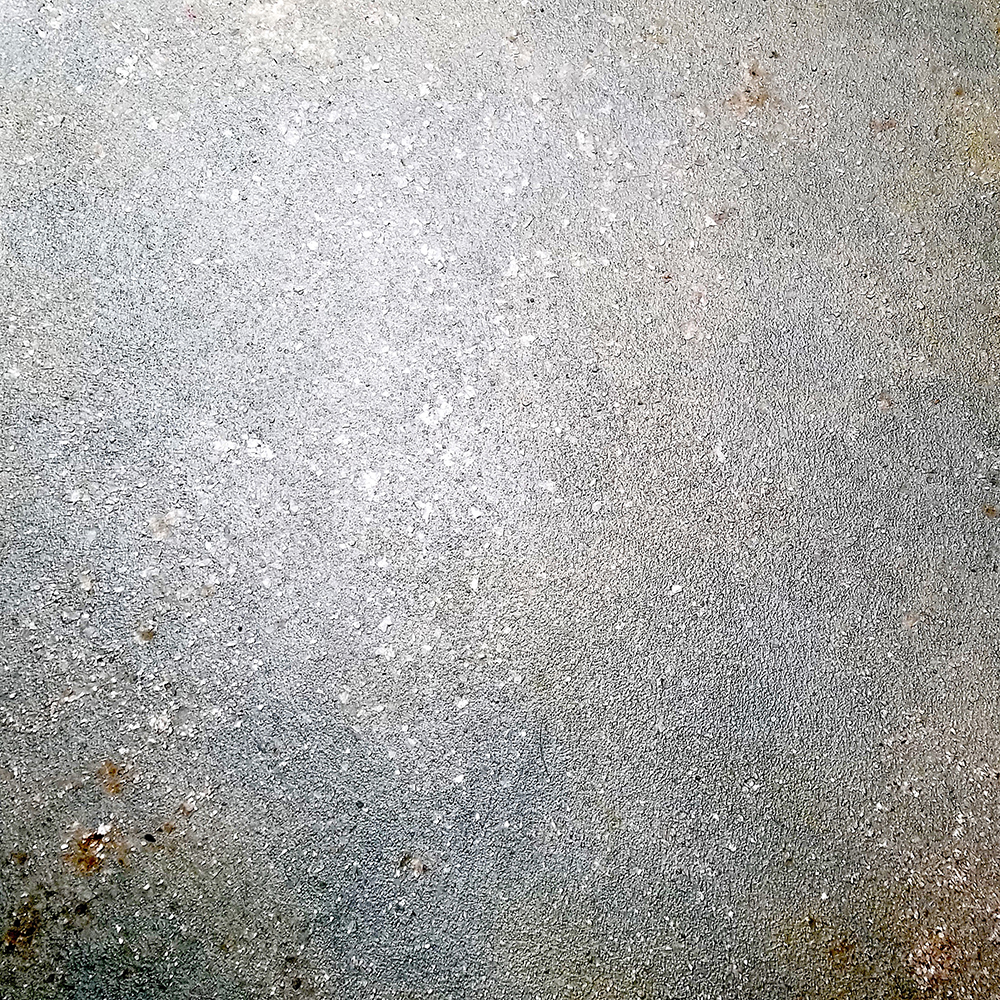
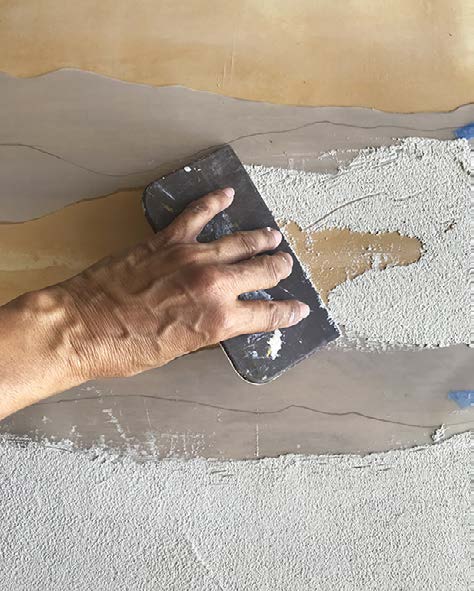
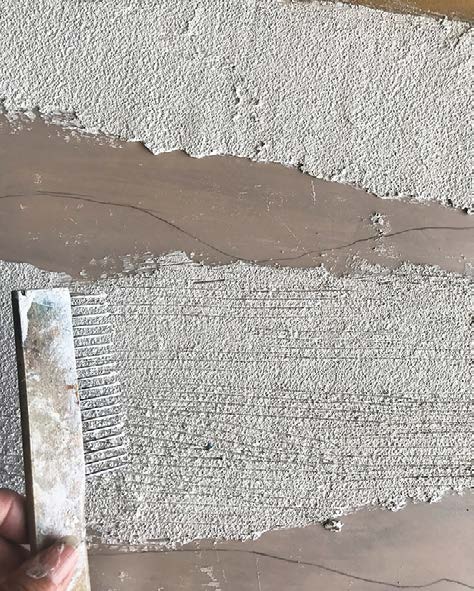
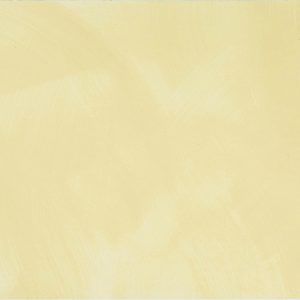
2 | Using a nappy winnie roller, apply two coats of Golden Paintworks Metallic Whisper, let dry between coats. Apply full coverage, rolling in a random pattern; for this application overlapping paint lines is not a concern.
(Photos 1-2)

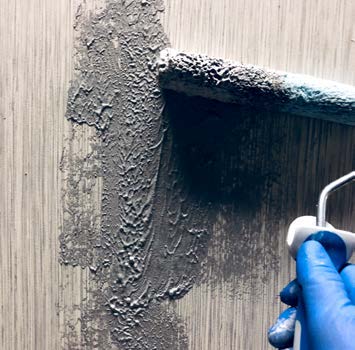
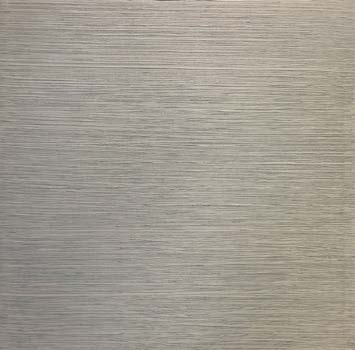
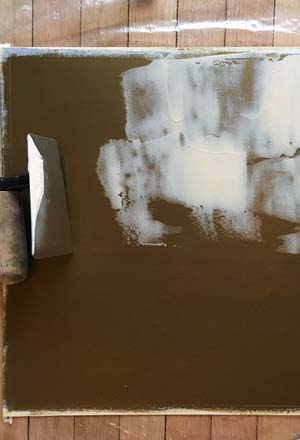
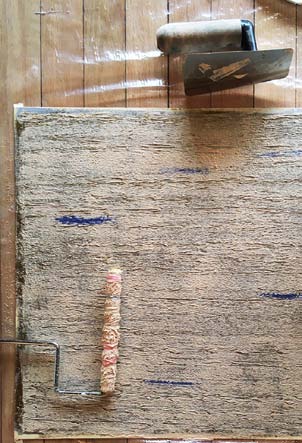
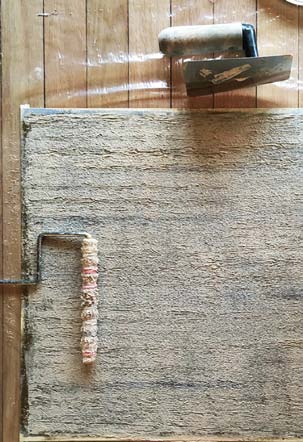
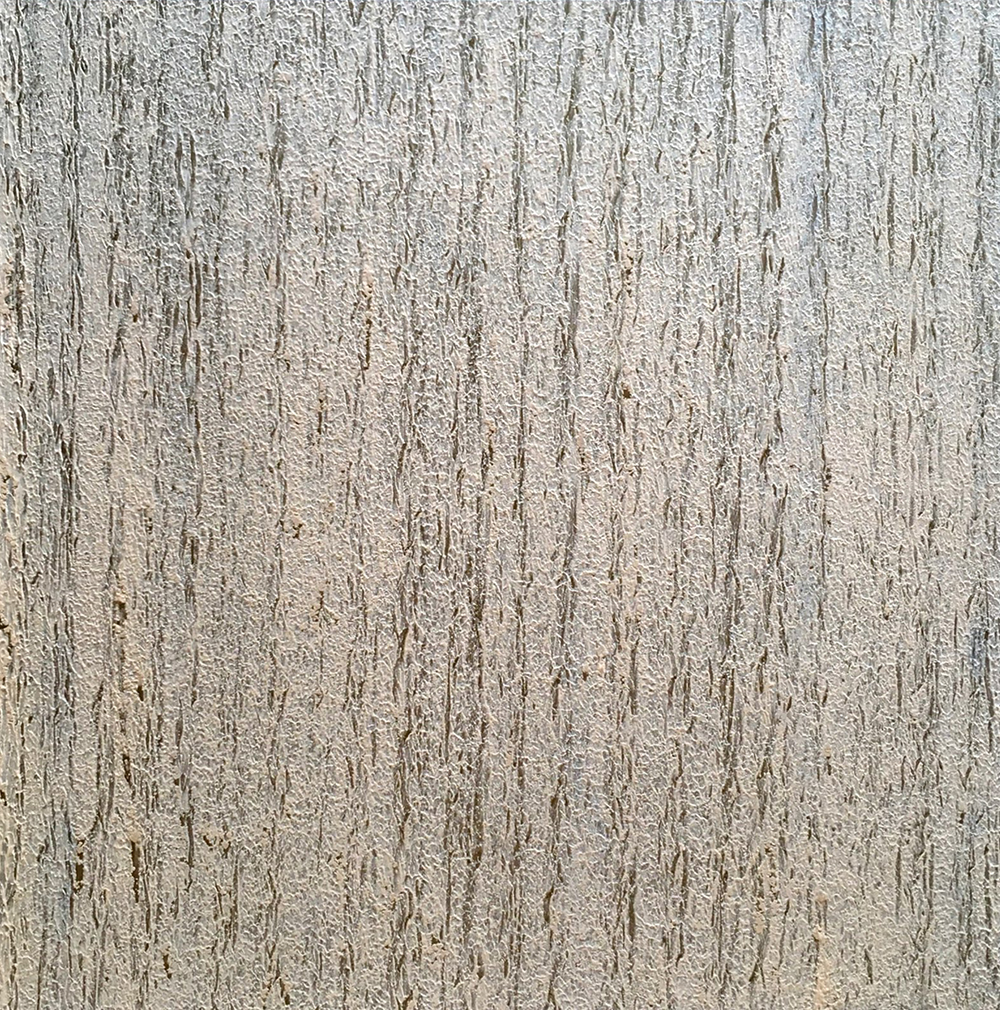
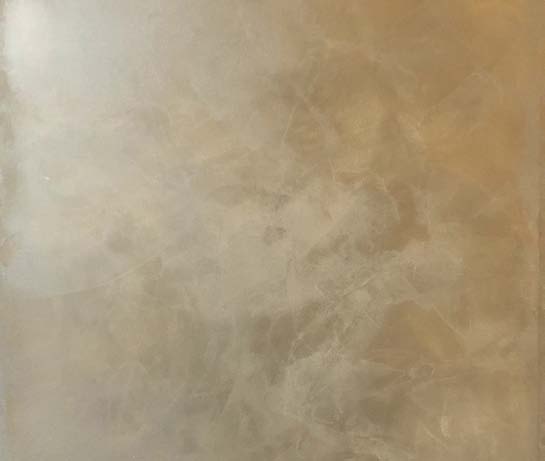
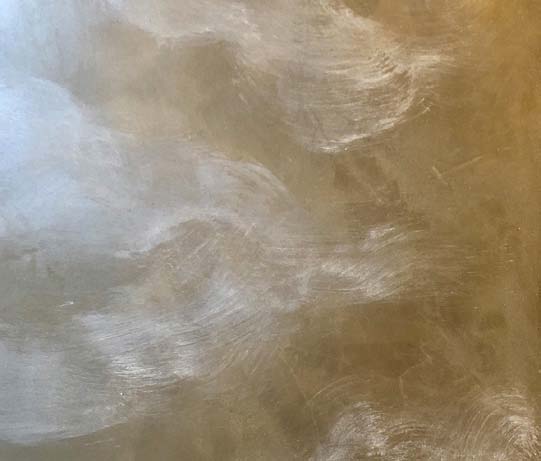
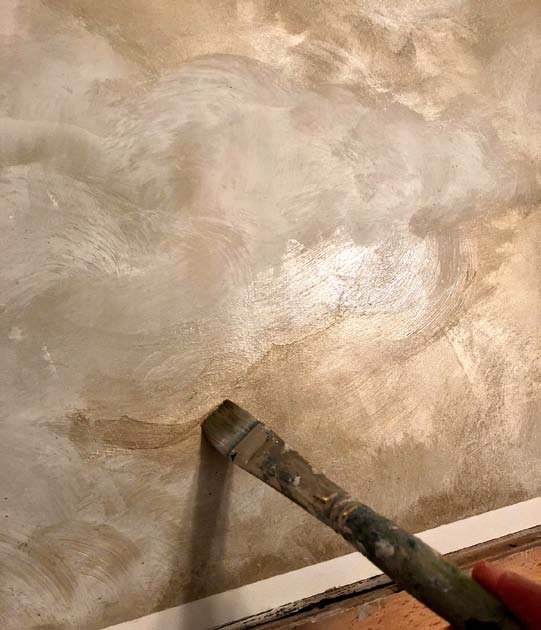
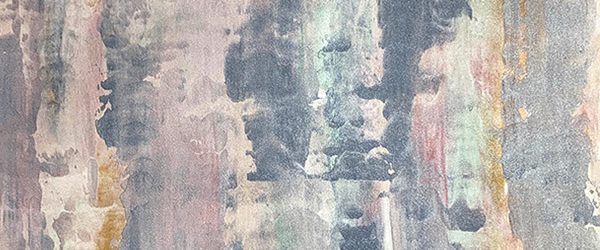
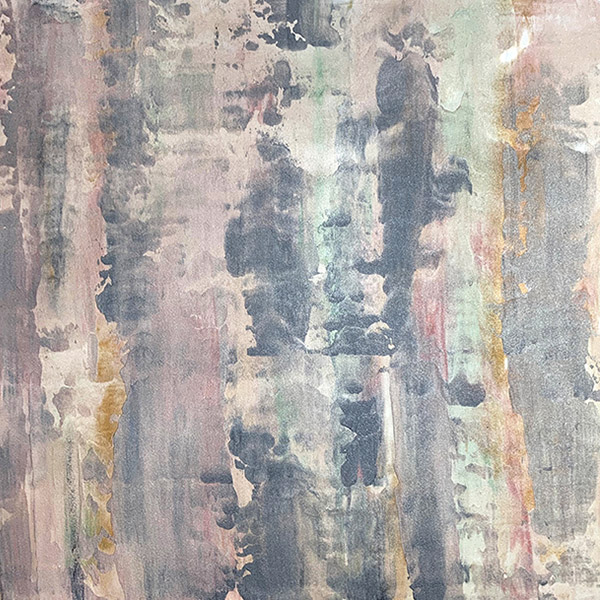
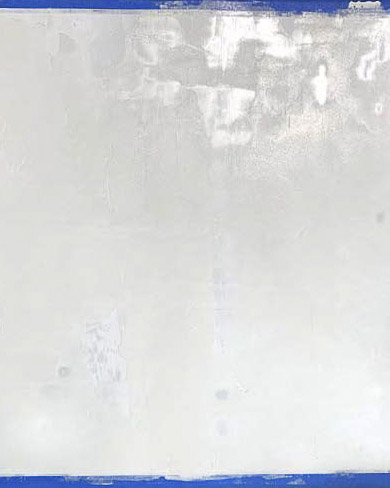
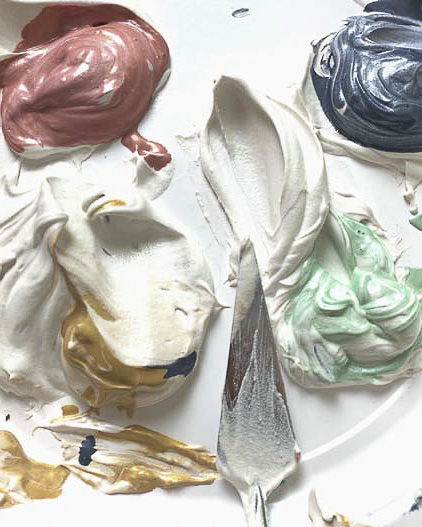
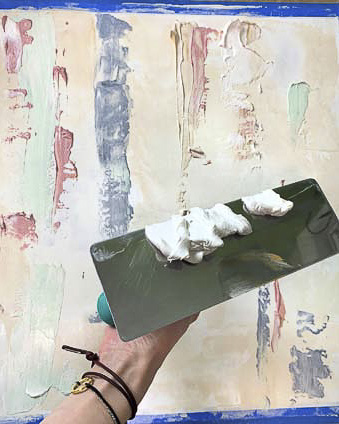
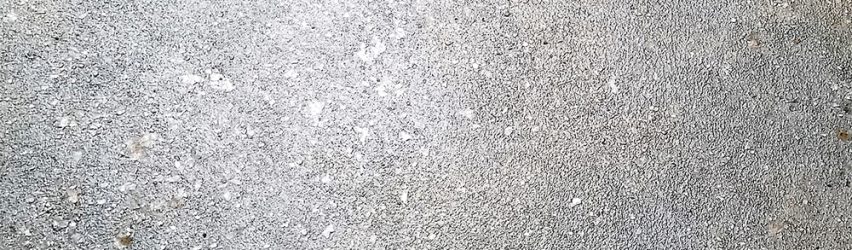
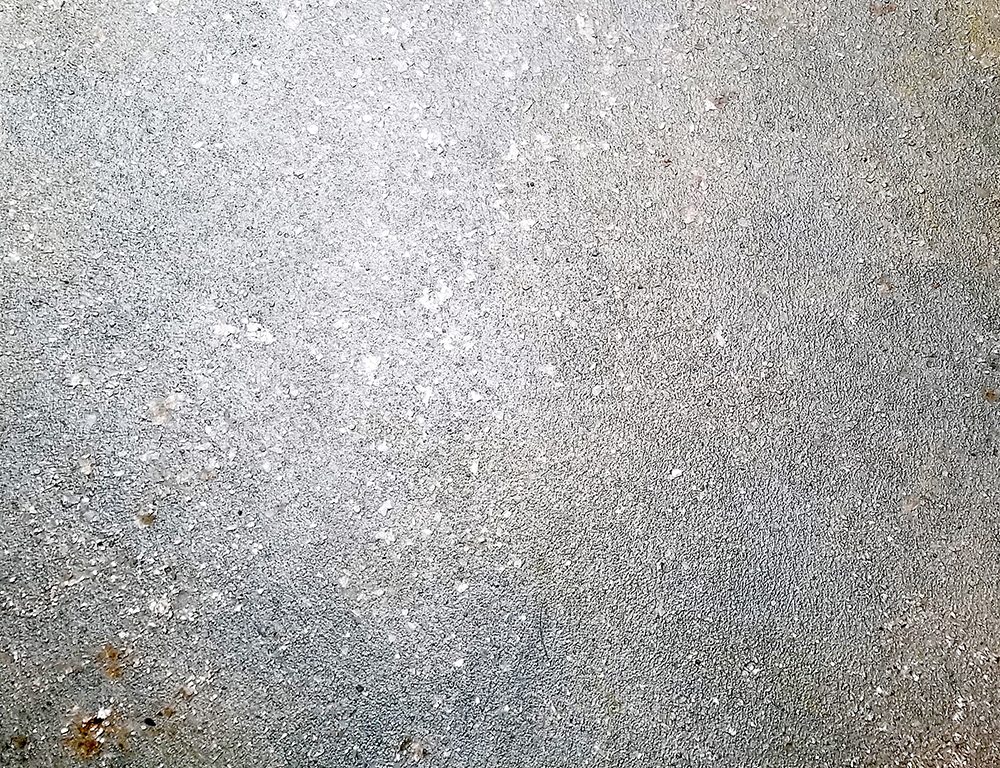
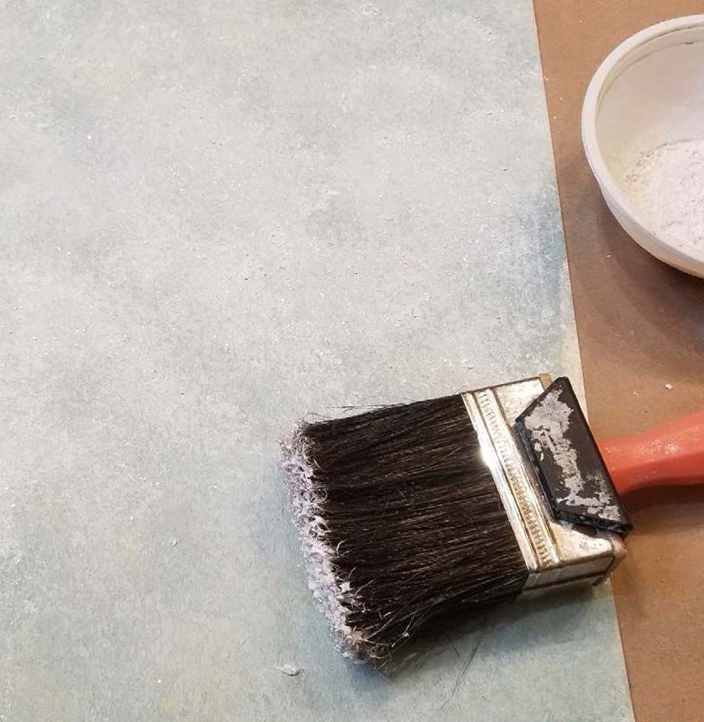
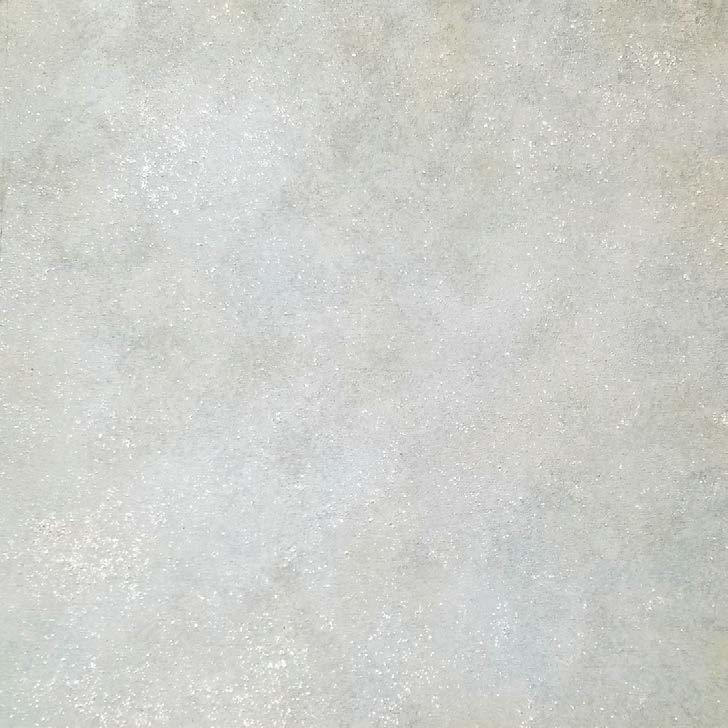
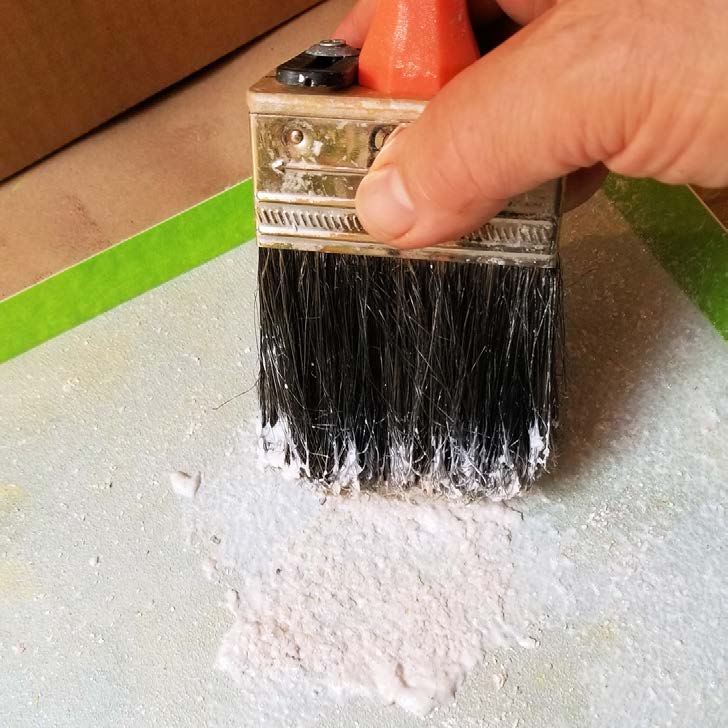
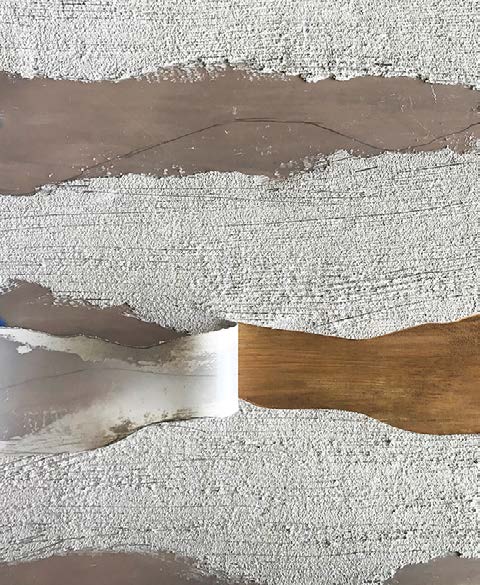
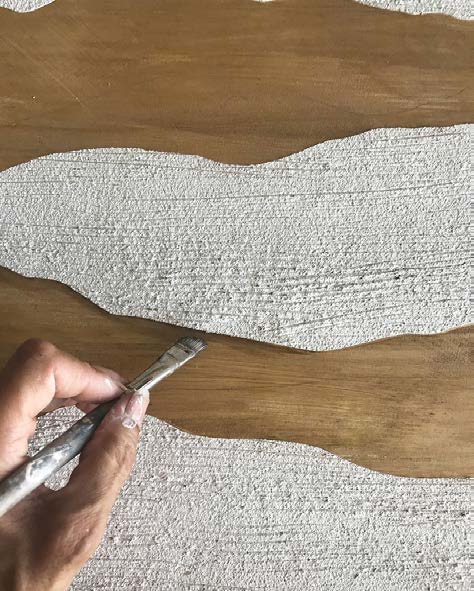
3 | Mix 1 part Golden Paintworks Metallic Whisper with 2 parts Metallic Texture Pearl, then mix in Extra Fine Silver Glitter (1 teaspoon for every 6 ounces of paint). Using a 4” chip brush, apply the paint in an “X” pattern, partially overlapping each “X”.
(Photos 3-4)

4 | Complete one wall at a time without any “stops and starts,” to provide a more uniform look.

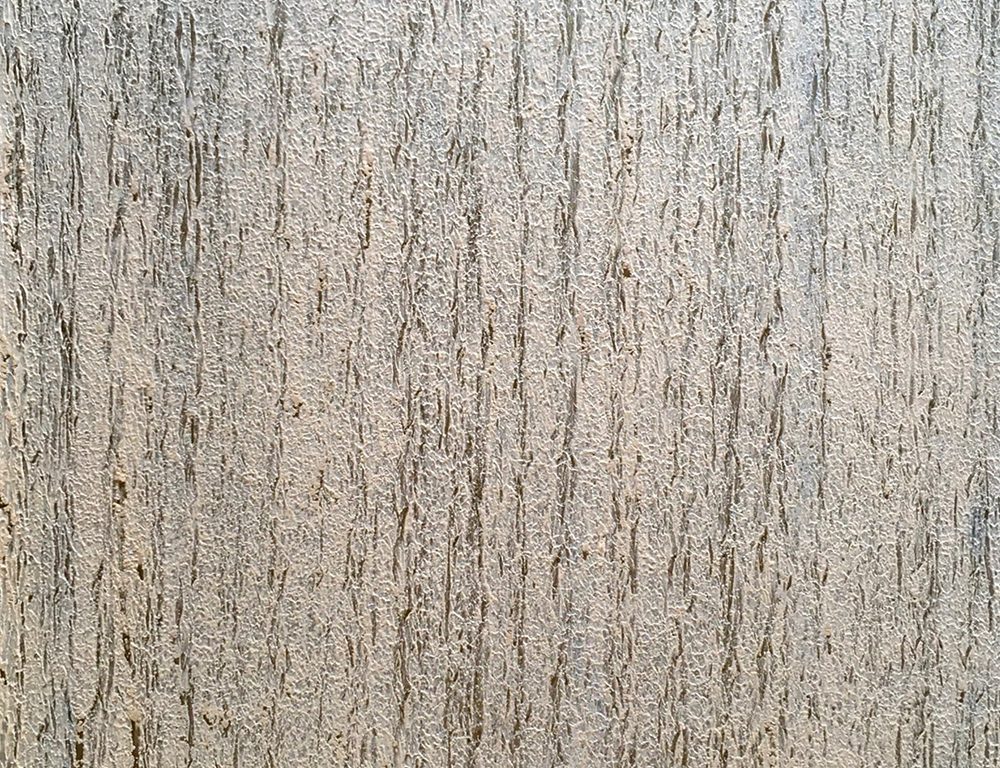
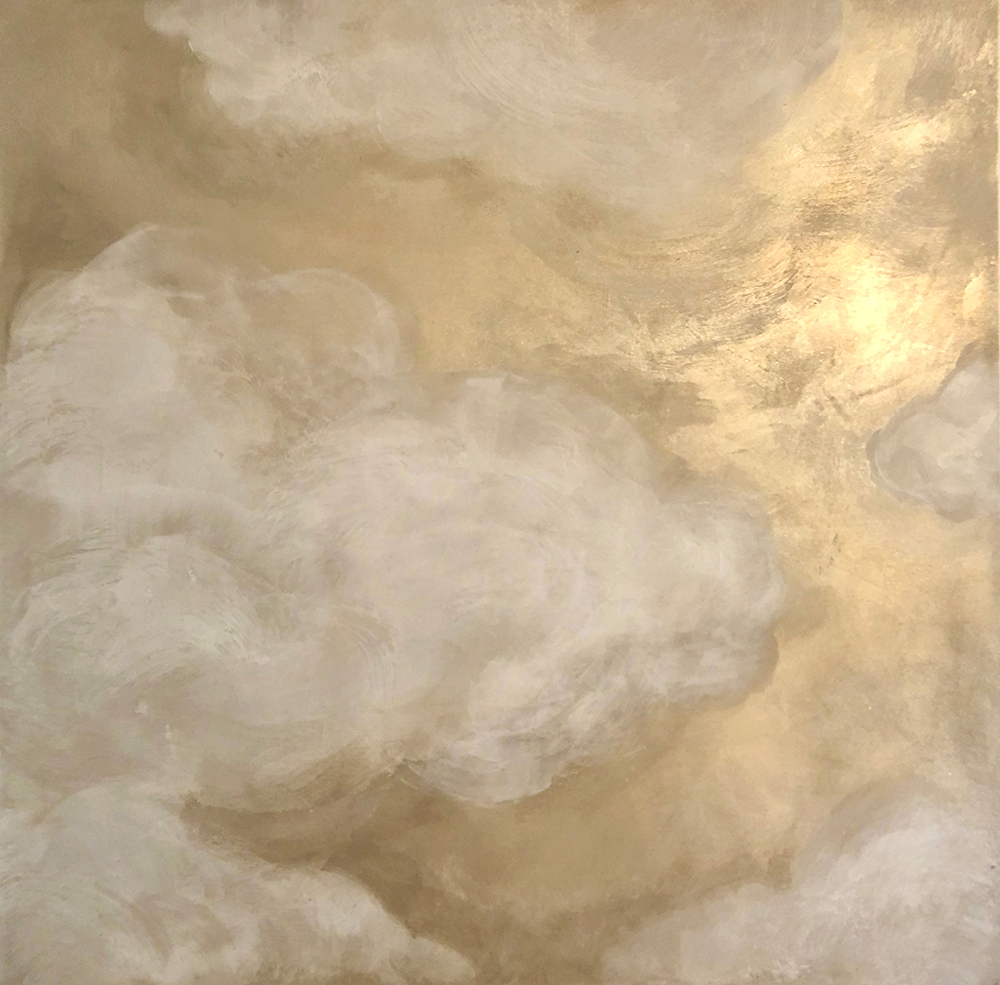
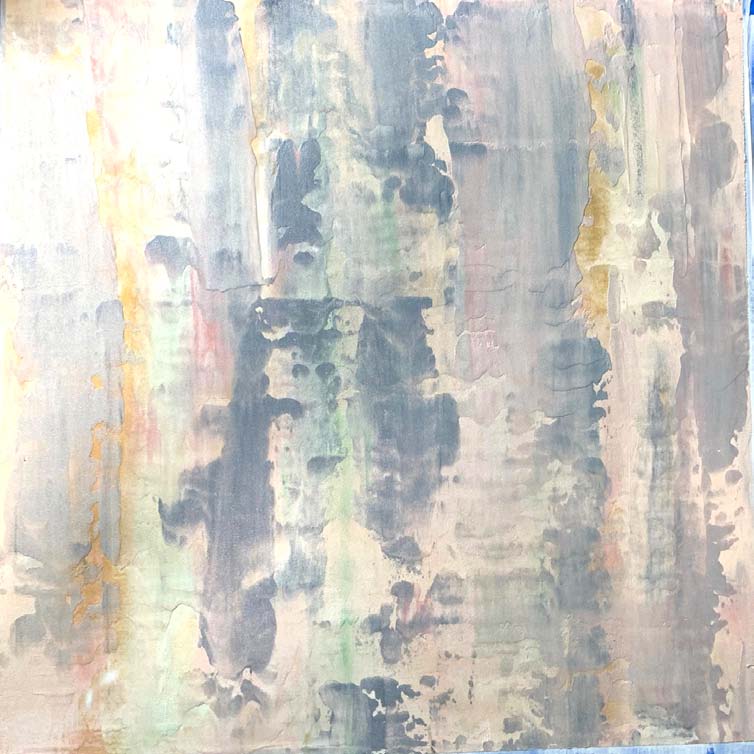
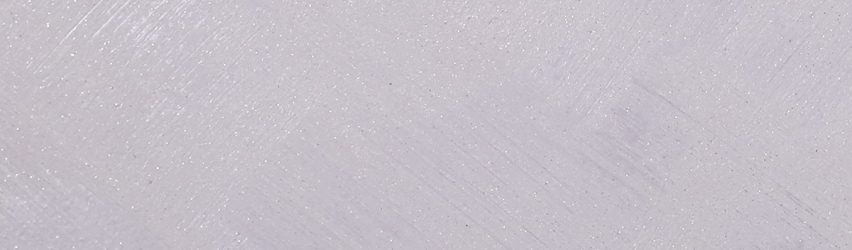
Here is the final finish.
(Photo 5)

Featured Products

About the Artist
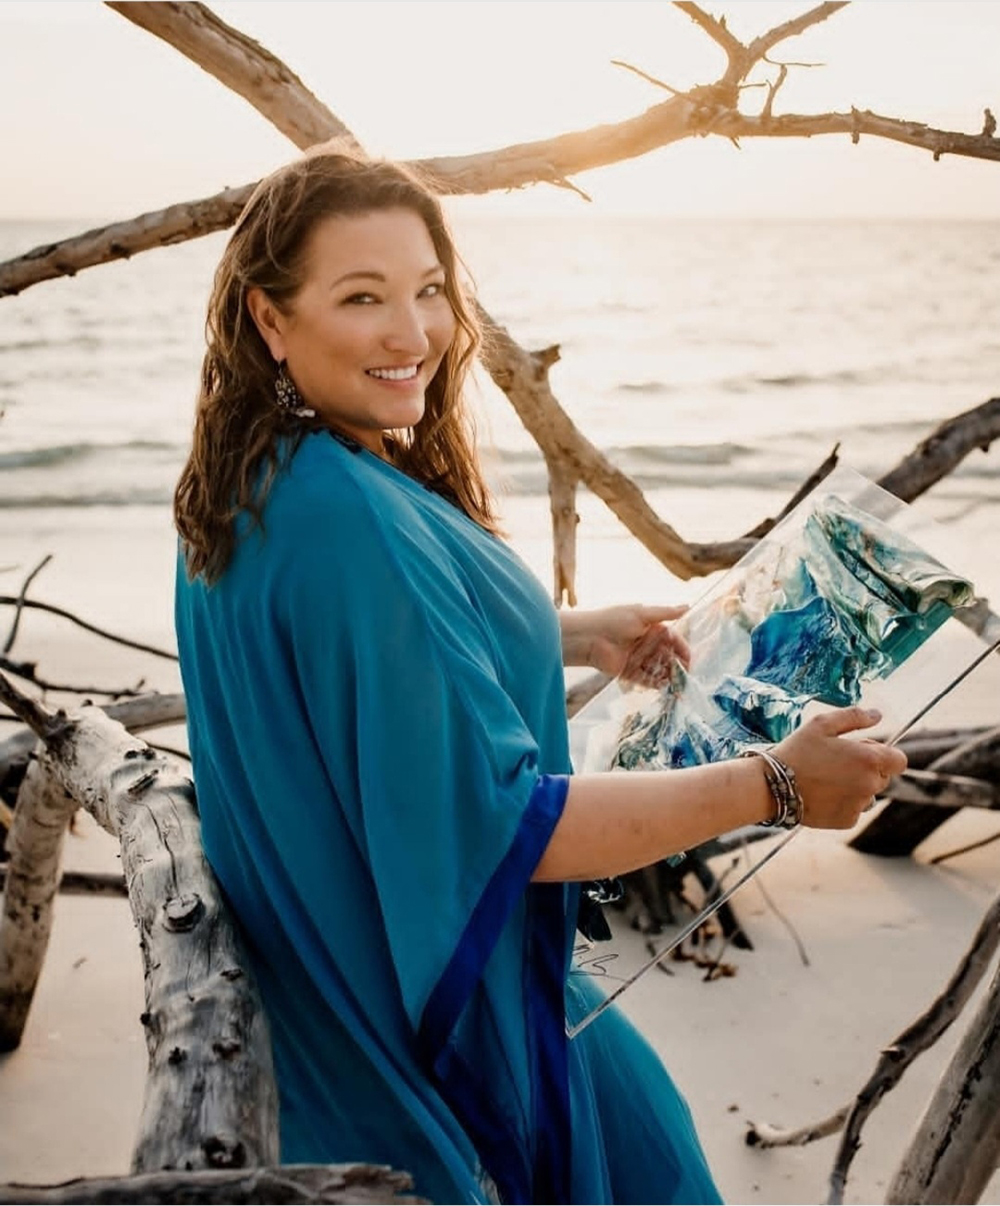
Shiree, of Shiree Nichole Designer Finishes LLC, based in Naples, FL, has been in the faux art industry for over twenty years. The oldest of four girls, born in Newport Oregon and growing up in southwest Montana. She comes from a hard-working family with her father as a logger and later owning a drywall business. All four girls worked in drywall and much of Shiree’s knowledge and love for texture comes from working with her father. Shiree loves learning about new products, techniques and the chemistry behind the product. Shiree believes there is nothing like on-the-job training, experimenting, and she’s always open to learning something new. Shiree loves the diversity of finishes she creates and the collaboration she has with designers and decorators. In addition to her work creating decorative finishes, Shiree began honing her fine art skills in 2006 with oils on canvas and over the years has expanded to abstract acrylic art on Lucite and watercolors. 

Learn more about Shiree in our Behind the Texture artist feature series.
More from this artist

Looking for more inspiration? Click here to view all of the decorative finishes from our Limited Edition Collections.

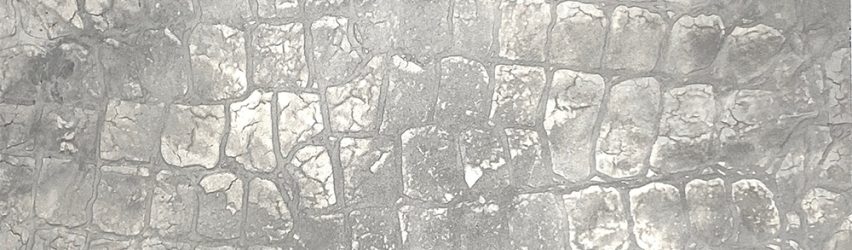
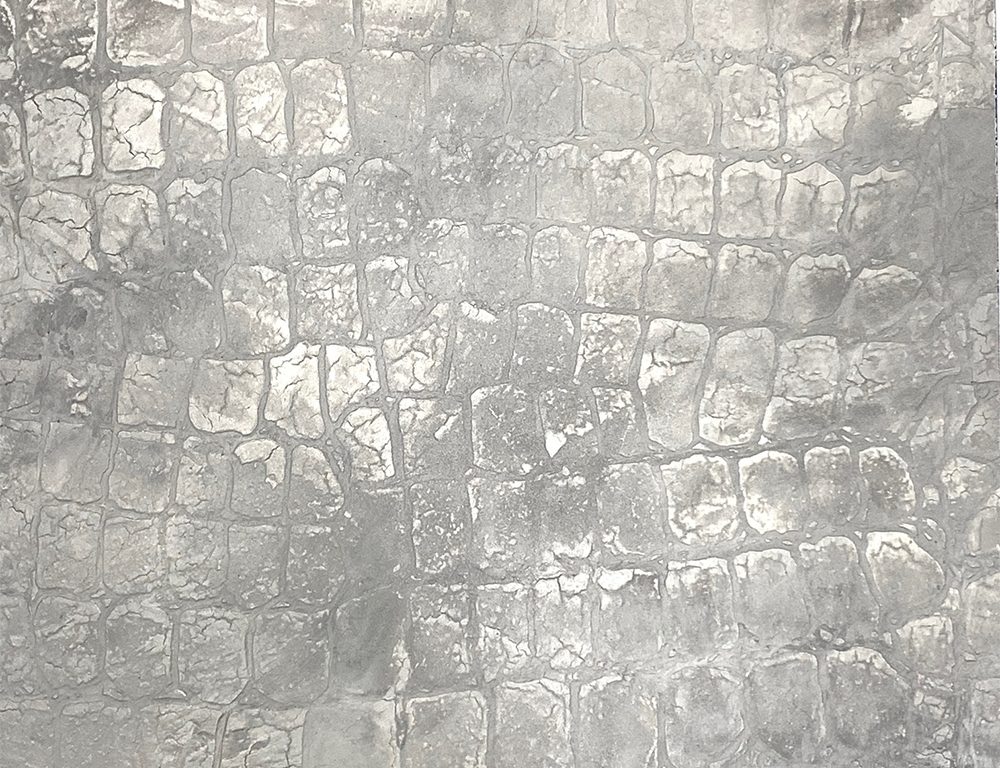
Decorative Finish: Croc

"Croc" decorative finish
DECORATIVE FINISH HOW-TO

Croc

Artist: Tobey Renee Sanders

Share this article

PROJECT SUPPLIES:

INSTRUCTIONS:

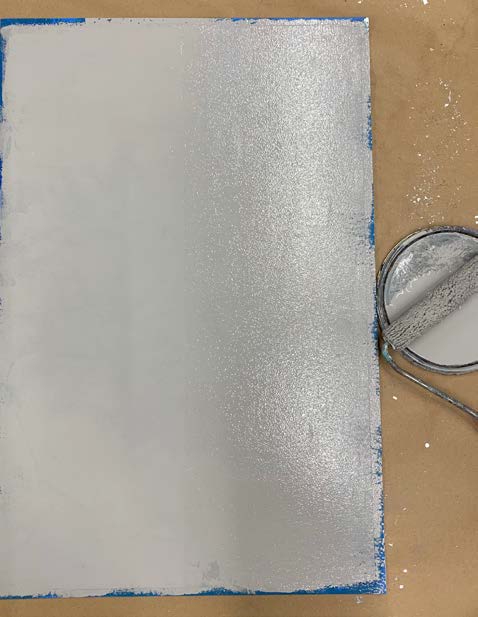
1 | Roll on basecoat color, 1599 Marina Gray by Benjamin Moore. Let dry.
(Photo 1)

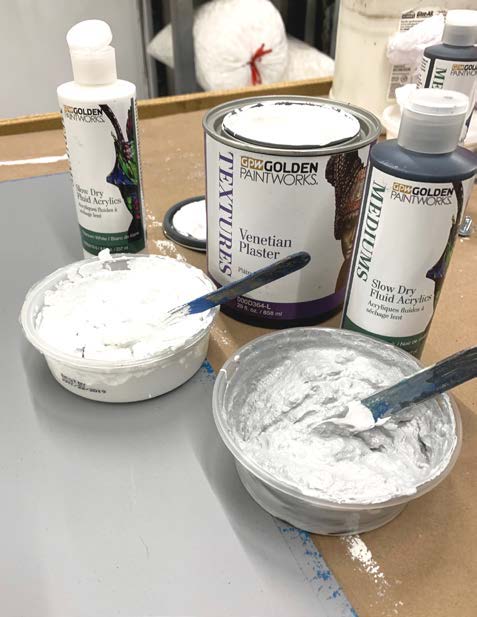
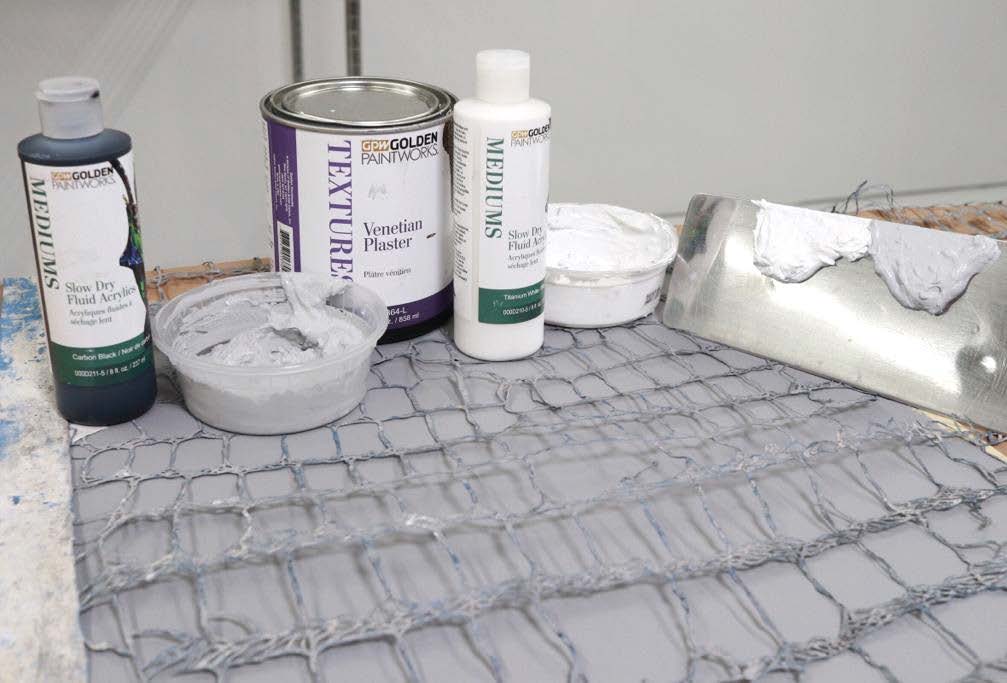
2 | Create Venetian Plaster mixes for the croc texture:

  • First Mix: Venetian Plaster mixed with Titanium White Slow Dry Fluid Acrylic, and
  • Second Mix: Venetian Plaster mixed with Carbon Black Slow Dry Fluid Acrylic.

(Photo 2)

3 | Spray Crocodile pattern stencil with stencil adhesive on back. Let dry for 20 minutes.
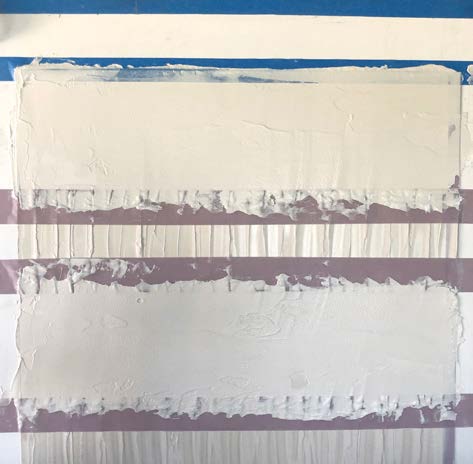
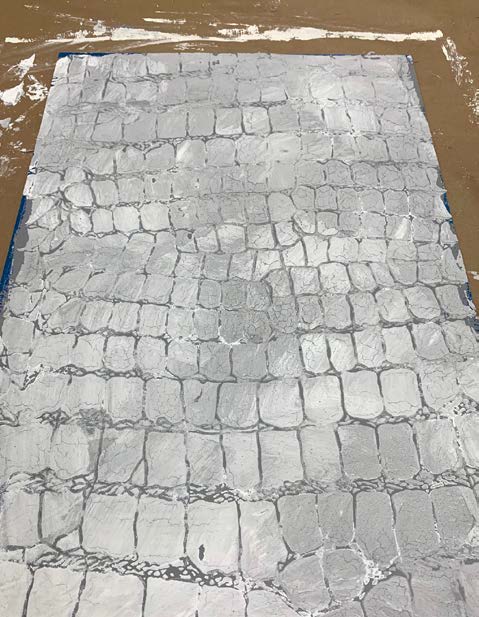
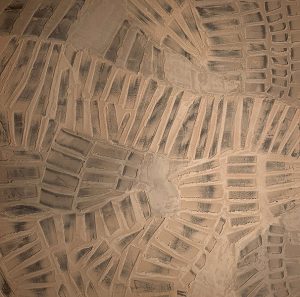
4 | Place stencil on surface. Double load plaster trowel with both Venetian Plaster mixes. Trowel both colors overs the crocodile pattern stencil and blend colors together. Remove stencil carefully and let the surface dry.
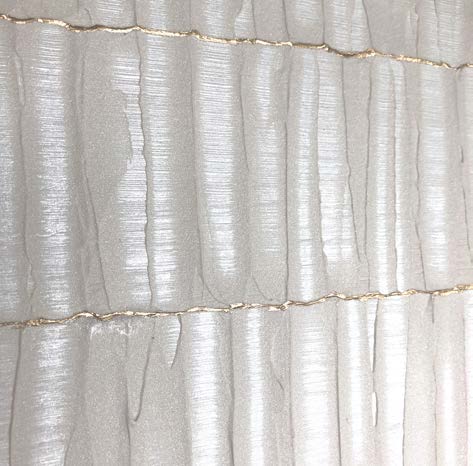
(Photo 3)

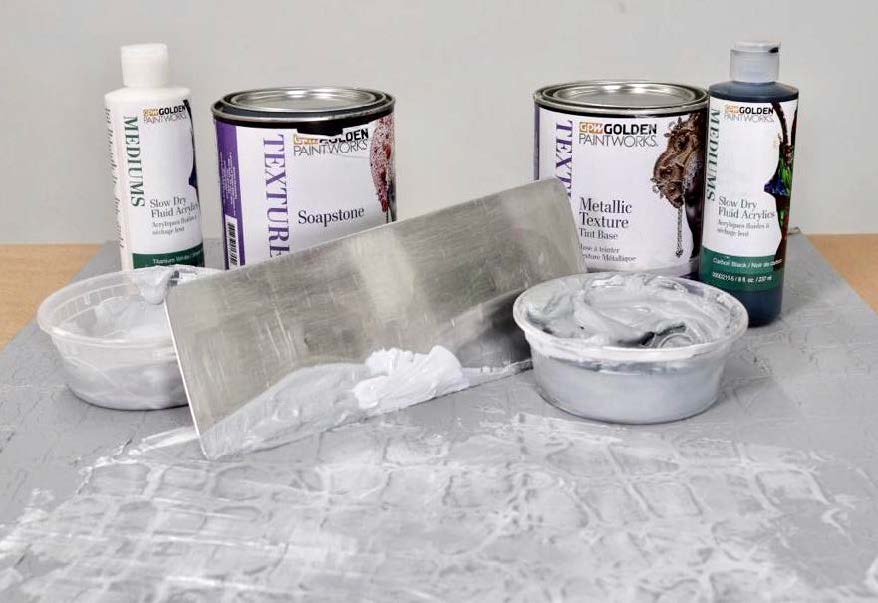
5 | Prepare toning layers for Croc finish:

  • First Mix: Soapstone mixed with Carbon Black Slow Dry Fluid Acrylic, and
  • Second Mix: Metallic Texture Pearl Tint Base with Titanium White Slow Dry Fluid Acrylic.

(Photo 4)

6 | Load trowel with both toning colors and trowel on a skim coat over the croc texture. Blend colors softly until you are happy with the balance. Let dry.
(Photo 5)

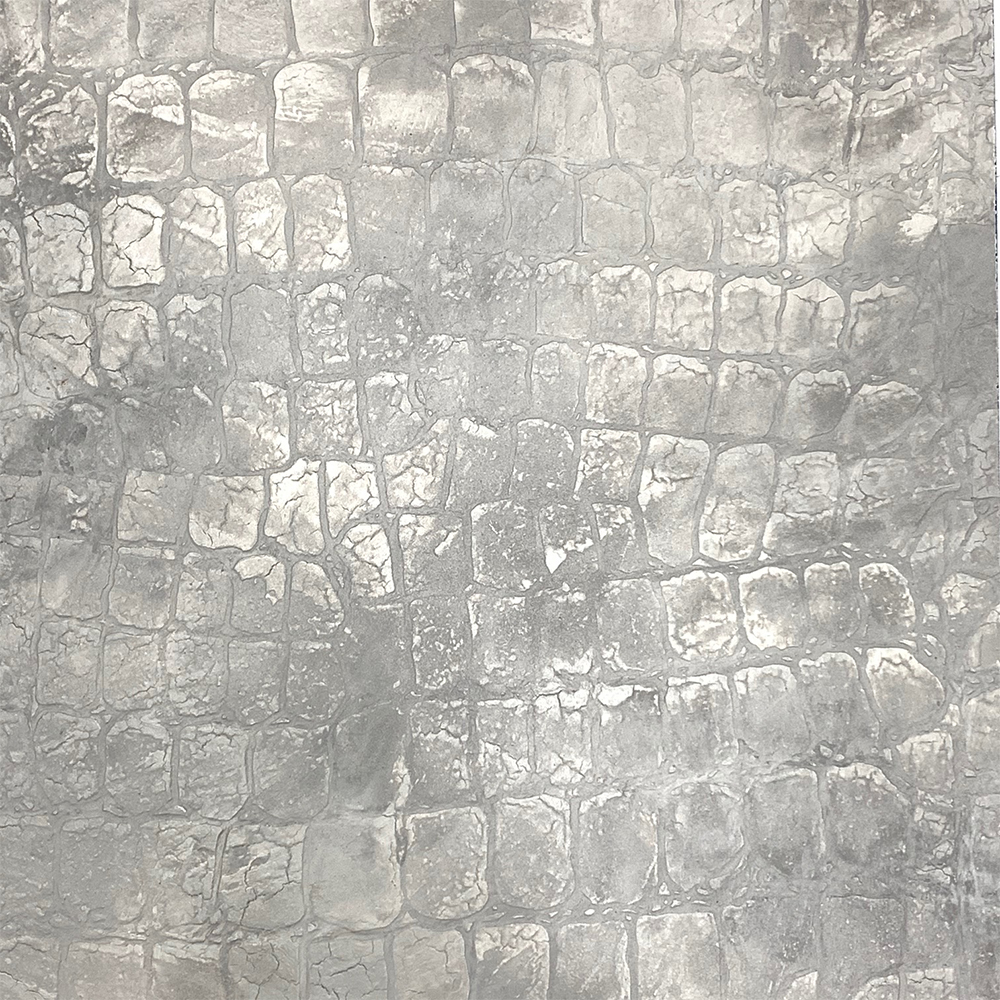
Here’s the final texture.
(Photo 6)

Featured Products

About the Artist
Tobey Renee Sanders is an accomplished Decorative Artist, Design expert and Tv personality born and raised in Atlanta, GA. Tobey Renee has more than 20 years of experience in Interior Design & Decorative Arts and is widely recognized for her custom faux finish techniques and stunning line of contemporary art. In 2003, She launched FauxDécor Design Studio, a super talented decorative painting company, providing residential spaces, commercial property and celebrity clients with uniquely designed and custom faux finishes. Tobey Renee specializes in rich high-end Plasters, such as Glassello and Marmorino. She is mostly known for her popular GlamRock Mica Finishes and Diamond Glass technique, that adorns the walls of Hollywood’s hottest A list celebrity homes. Her client list includes design firms and developers in Atlanta, Los Angeles, New York and Washington, DC, as well as entertainers and athletes across the nation. She has also been featured on HGTV’s Smart Home, Bravo’s “The Real Housewives of Atlanta” and Vh1’s K Michelle’s: My Life. Her faux finished rooms have been showcased in numerous publications such as, People Magazine, Black Enterprise and The Atlanta Journal Constitution.
More from this artist

Looking for more inspiration? Click here to view all of the decorative finishes from our Limited Edition Collections.

Decorative Finish: Wisteria

"Wisteria" decorative finish
DECORATIVE FINISH HOW-TO

Wisteria

Artist: Robin Belisle

Share this article

PROJECT SUPPLIES:

INSTRUCTIONS:

NOTE: All mixed colors below will reference a Benjamin Moore paint color where needed to guide you while you are mixing your colors. They are for reference only unless it is a base coat.

1 | Basecoat in Benjamin Moore 1436 Whirlpool and let dry.

2 | Mix a batch of Metallic Texture Pearl Base and Soapstone in a 1:1 ratio, approximately ½ cup each. Separate into two containers and set aside for the two separate color mixes below.

3 | Mix two color batches with the custom Metallic Texture Pearl Base and Soapstone mix:

  • One batch to match Benjamin Moore 1614 Delray Gray by using the custom Metallic Texture and Soapstone mix with Slow Dry Fluid Acrylics in Phthalo Blue (Green Shade), Van Dyke Brown Hue, Raw Sienna, a very small amount of Carbon Black, and Pre-Mixed Metallic Paint in Silver
  • Second batch to match Benjamin Moore 1453 Pebble Creek using the custom Metallic Texture and Soapstone mix with Dioxazine Purple, Raw Umber, and a small amount of Carbon Black, Titanium White, and Phthalo Blue (Green Shade)

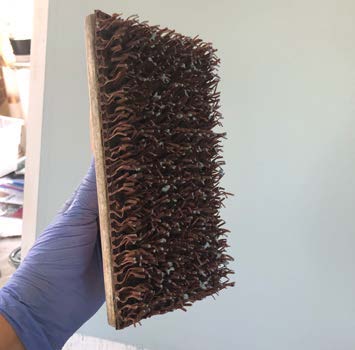
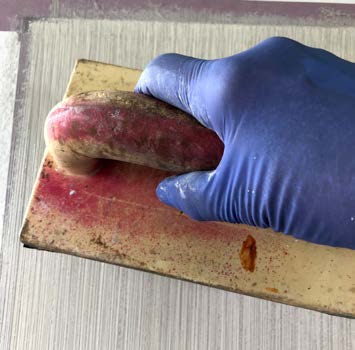
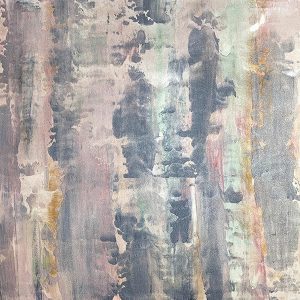
4 | Use a whizz roller to roll on the Delray Gray mix in an even coat and prepare to use the Burlap Tool. When the product is on evenly and consistent, use the burlap tool to drag evenly vertically. If needed, repeat again. Let dry.
(Photos 1-3)

5 | Repeat the above process with the Pebble Creek mix and this time drag it horizontally. Let dry.
(Photo 4)

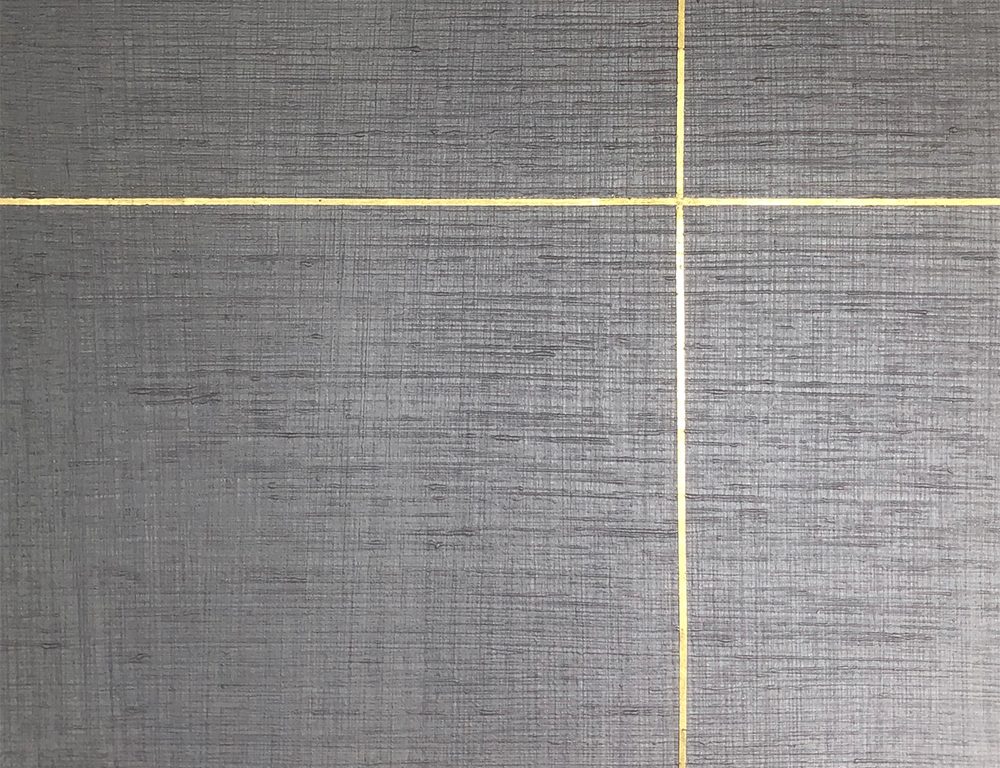
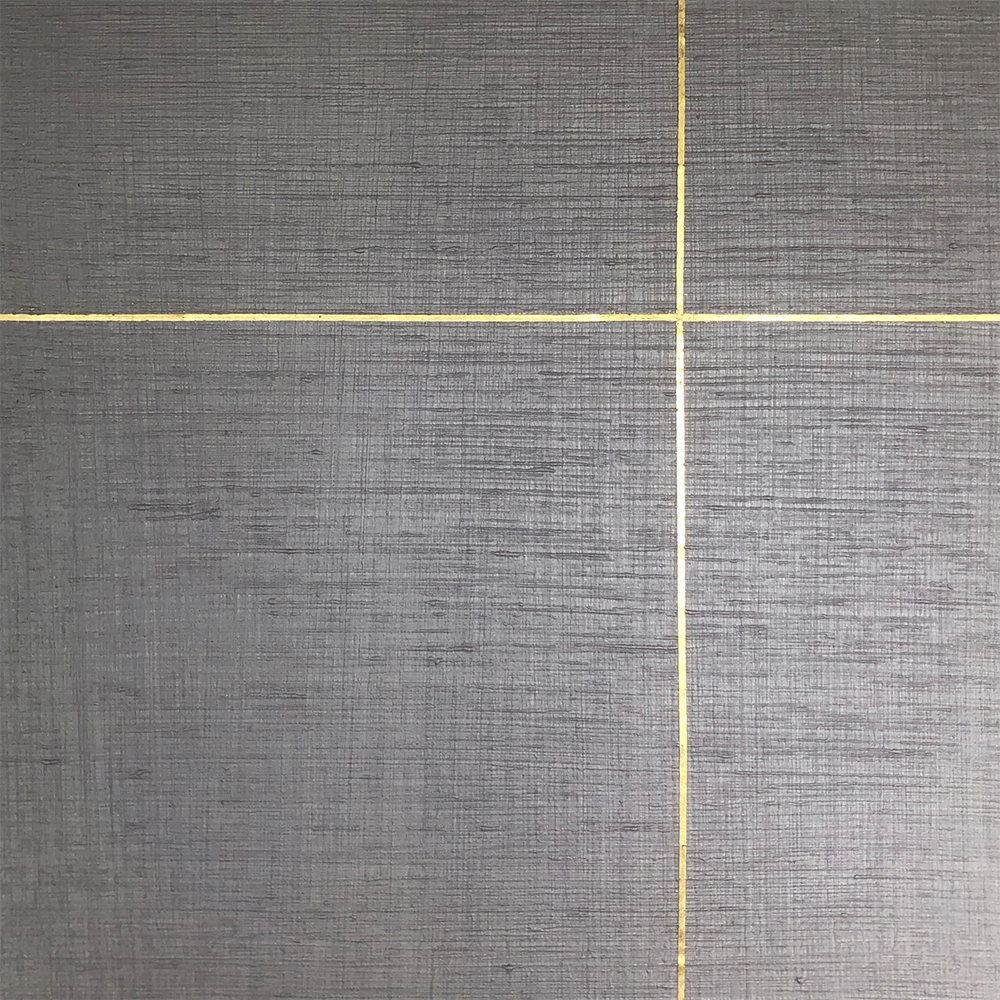
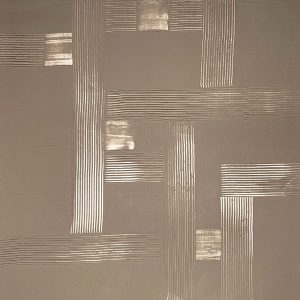
6 | Prepare the double sided tape and gold leaf. Mark off the area to be gold leafed and run the double sided sticky tape between markings. (Do not cross over lines before you add the gold leaf. Add the gold leaf on the first line, then run the opposite line.
(Photos 5-6)

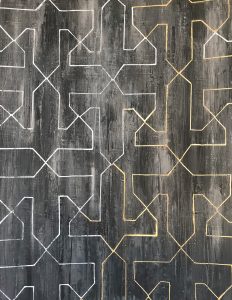
Here’s the final texture.
(Photo 7)

Featured Products

About the Artist
Robin Belisle, owner and Decorative Artist at Faux Couture, is a self taught artist who began her decorative painting career in 1998 after an extraordinary encounter with a faux finishing class. From there, she made a pointed decision to become the best decorative painter she could be and searched out award winning designers and builders to work with. She has traveled to Italy, Paris, many times to Morocco and all over the world leaving her mark on homes and hotels in need of artistic interpretation. This in turn has helped her hone her craft and create many signature finishes based on her travels. She has been featured in magazine articles, trade shows and the local news as trends to watch. She began teaching in her own studio and then taught many classes across the US. She joined the Board of Directors for the International Decorative Artisans league (IDAL) as education chair. As that chapter drew to a close, she knew she would eventually be teaching more. She has since joined other instructors on THE PAINT HIVE teaching online decorative painting classes.

More from this artist

Looking for more inspiration? Click here to view all of the decorative finishes from our Limited Edition Collections.

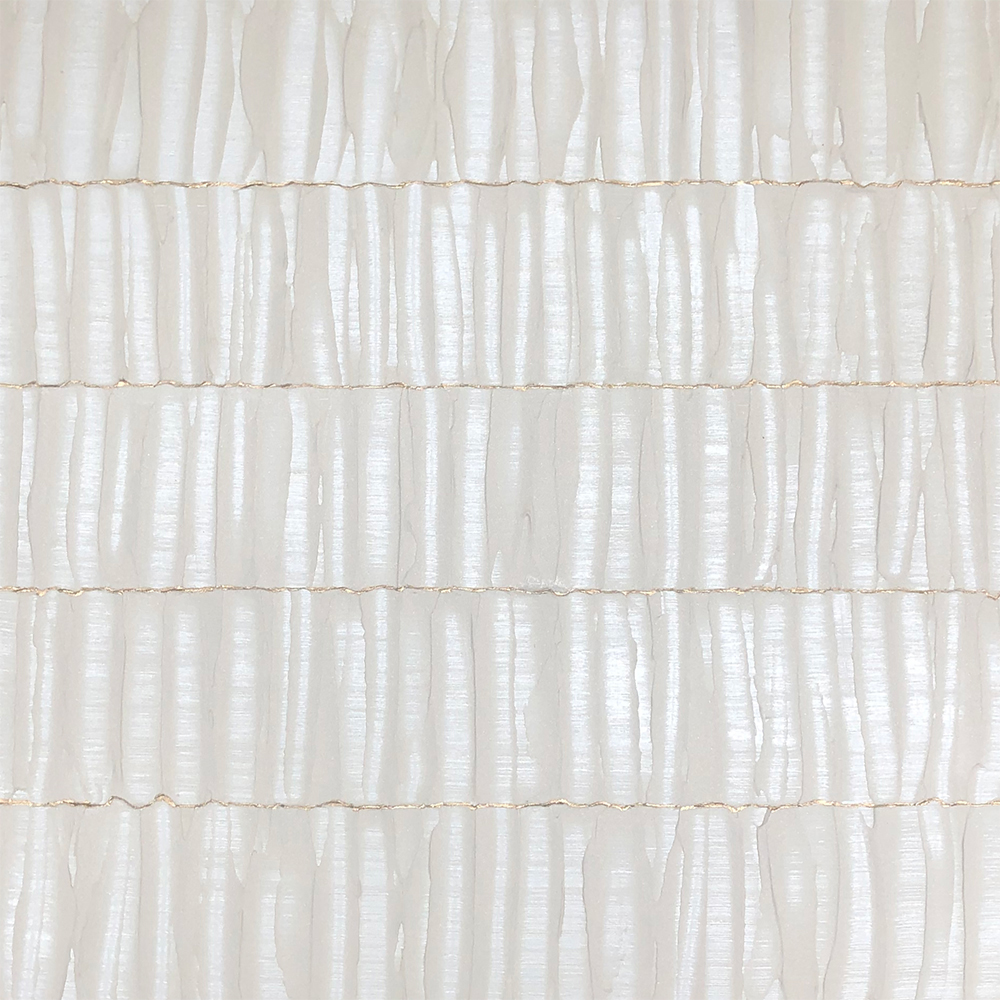
Decorative Finish: Beachside

"Beachside" decorative finish
DECORATIVE FINISH HOW-TO

Beachside

Artist: Robin Belisle

Share this article

PROJECT SUPPLIES:

INSTRUCTIONS:

NOTE: All mixed colors below will reference a Benjamin Moore paint color where needed to guide you while you are mixing your colors. This is for reference only unless it is a basecoat.

1 | Basecoat in Benjamin Moore CC-20 Decorator’s White and let dry.

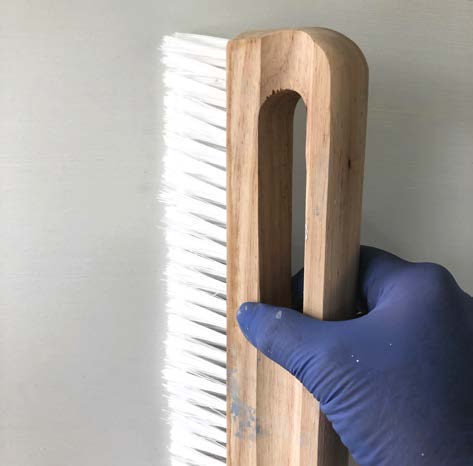
2 | Mix ½ cup Golden Paintworks Metallic Texture Pearl Base with ¼ cup Golden Paintworks Glazing Medium and roll on evenly. Use a wallpaper brush to brush horizontally and evenly. You are just adding texture here but also simulating threads.
(Photo 1)

3 | Mix approximately 1 cup Metallic Texture Pearl Base with ⅛ cup Glazing Medium, and to this add Slow Dry Fluid Acrylics, starting with one drop of Raw Umber, then a small squirt of Titanium White, and 3 drops of Raw Sienna. You are just shifting it barely off white to match to Benjamin Moore 967 Cloud White. You may have to add another drop or two of Raw Sienna. Set aside.

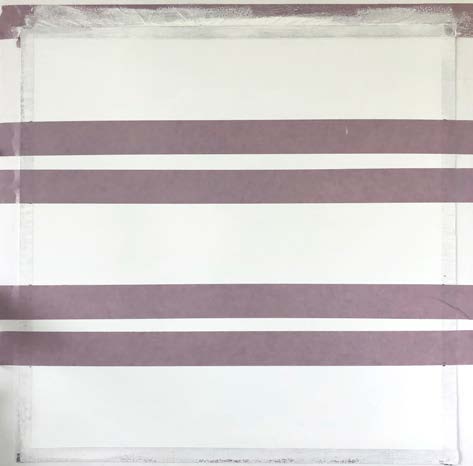
4 | Measure and tape off your stripes. You can only do every other stripe at one time and then they must dry.
(Photo 2)

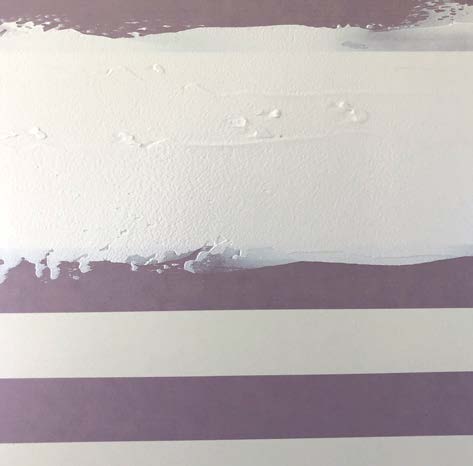
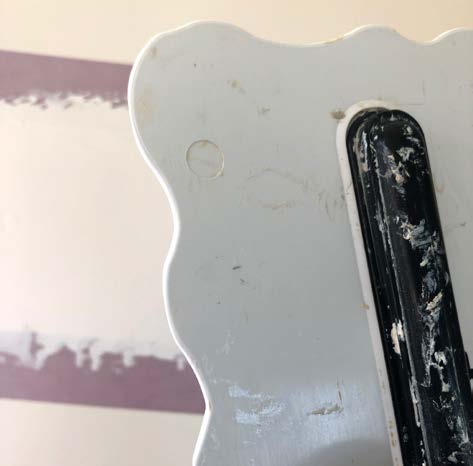
5 | Trowel or roll in between area taped off with the tinted Metallic Texture mixture. Add an even thick layer, not necessarily smooth and use your wallpaper brush to lightly pull horizontally to simulate threads. Right away, use the Wavy Trowel to pull vertically and slightly over the tape line. You can pull down until it looks how you want, but pulling too many times will pull off too much product and you will have to reapply more product. Repeat for all taped lines. Pull tape and let dry.
(Photos 3-4)

6 | Tape the alternating rows not previously done and repeat the above process. Pull tape and let dry.
(Photo 5)

7 | Use the Darcie Gold Pen to lightly hit the edges of any rows that you want to see this edging on.
(Photo 6)

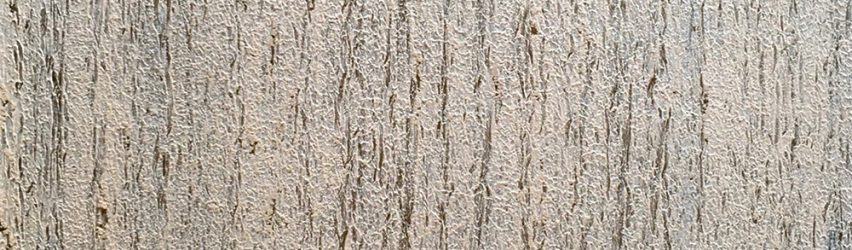
Here’s the final texture.
(Photo 7)

Featured Products

About the Artist
Robin Belisle, owner and Decorative Artist at Faux Couture, is a self taught artist who began her decorative painting career in 1998 after an extraordinary encounter with a faux finishing class. From there, she made a pointed decision to become the best decorative painter she could be and searched out award winning designers and builders to work with. She has traveled to Italy, Paris, many times to Morocco and all over the world leaving her mark on homes and hotels in need of artistic interpretation. This in turn has helped her hone her craft and create many signature finishes based on her travels. She has been featured in magazine articles, trade shows and the local news as trends to watch. She began teaching in her own studio and then taught many classes across the US. She joined the Board of Directors for the International Decorative Artisans league (IDAL) as education chair. As that chapter drew to a close, she knew she would eventually be teaching more. She has since joined other instructors on THE PAINT HIVE teaching online decorative painting classes.

More from this artist

Looking for more inspiration? Click here to view all of the decorative finishes from our Limited Edition Collections.

Decorative Finish: Woven Metal

DECORATIVE FINISH HOW-TO

Woven Metal

Artist: Tim Glastetter

Share this article

PROJECT SUPPLIES:

INSTRUCTIONS:

1 | Tint the Metallic Paint Tint Base Gold with a small amount of Slow Dry Fluid Acrylics Raw Umber and Carbon Black. Apply this custom mix to the surface with a brush or roller.
(Photo 1)

2 | Create a main color: Mix 50% Metallic Texture Tint Base Gold with 50% Metallic Texture Tint Base Pearl.

3 | Using a trowel, apply a very thin layer of this main color to the surface. The surface area does not need to be 100% covered, and keeping the product thin is important. Keep the product wet.
(Photo 2)

4 | Construct Roller: While you are creating the main color and before you start troweling, place multiple size and width rubber bands around a small short nap 6″ mini roller. This will be used to achieve texture.
(Photo 3)

5 | Using the mini roller with rubber bands attached, roll through the wet, thin texture repeatedly to form texture and level out the thickness. Roll consistently in one direction if you want to achieve the same look/finish as shown.
(Photos 4-5)

6 | (Optional Step) Create an accent color: Mix Metallic Texture Tint Base Gold with an intense shot of Slow Dry Fluid Acrylic Ultramarine Blue.

Note: Mix a very small amount – ¼ cup is enough for an entire room. This color is intended to be very subtle.

7 | Once you have achieved the texture you desire, use the chip brush to apply very sparse and random thread-like amounts of the accent color and gently roll back through these areas until color fades into main color, creating a very subtle color shift.
(Photos 6-7)

8 | Let the texture set up (dry to touch but not dried hard) and pull a trowel over it. With a firm grip and applying pressure, pull in the same direction as the texture. This quick step will allow all the spiked points to lay down into the finish. This step is more of a compression than a burnish.
(Photo 8)

Here’s the final texture.
(Photo 9)

Featured Products

Tim Glastetter

About the Artist
Tim Glastetter is a native of the St. Louis area. His lifelong passion and innovative use of painting techniques began in childhood. Tim transforms a client’s perspective of paint from a simple medium into a critical design component. This passion and vision forged the pathway for his professional career as a decorative painter. He pursued arts throughout his college education and continues to hone and innovate his craft through class and trade show participation. He is an active member of the International Decorative Artists League (IDAL) and Metro Artisans Guild (MAG). Functionality, adaptive reuse, and nature are central to Tim’s contemporary vision. Designers, contractors, architects, and homeowners seek his counsel on innovative design. Tim’s studio, RiverHouse, was originally a condemned property along the scenic bluffs of the Bourbeouse River, located nearly 45 mins west of St Louis. His resourceful and inventive use of paint during the remodeling process of the RiverHouse has been featured in multiple magazines and newspapers. More information about Tim and his Riverhouse Project can be found on his website, Tim Glastetter.

More from this artist

Looking for more inspiration? Click here to view all of the decorative finishes from our Limited Edition Collections.

Decorative Finish: Golden Sky

DECORATIVE FINISH HOW-TO

Golden Sky

Artist: Michelle Kole Decorative Services

Share this article

INSTRUCTIONS:

1 | Mix the Pre-Mixed Metallic Paint Cashmere into the Metallic Texture Tint Base Pearl until you have a good consistency to trowel on with slight translucency. Take some of this mixture into a separate container and add water until you have a paint-like consistency. Roll this second mixture onto the wall in a crisscross motion.
(Photo 1)

2 | Using a trowel and a plaster spatula (to load and clean the trowel), apply the first tinted Metallic Texture to the wall in a thin, even coat. Use an overlapping “X” movement.
(Photo 2)

3 | Allow to dry and apply another coat with a trowel in the same manner as Step 2.
(Photo 3)

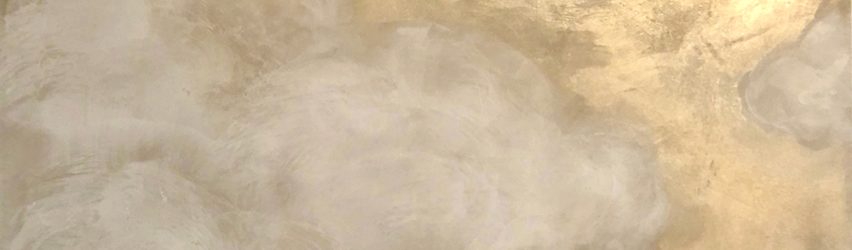
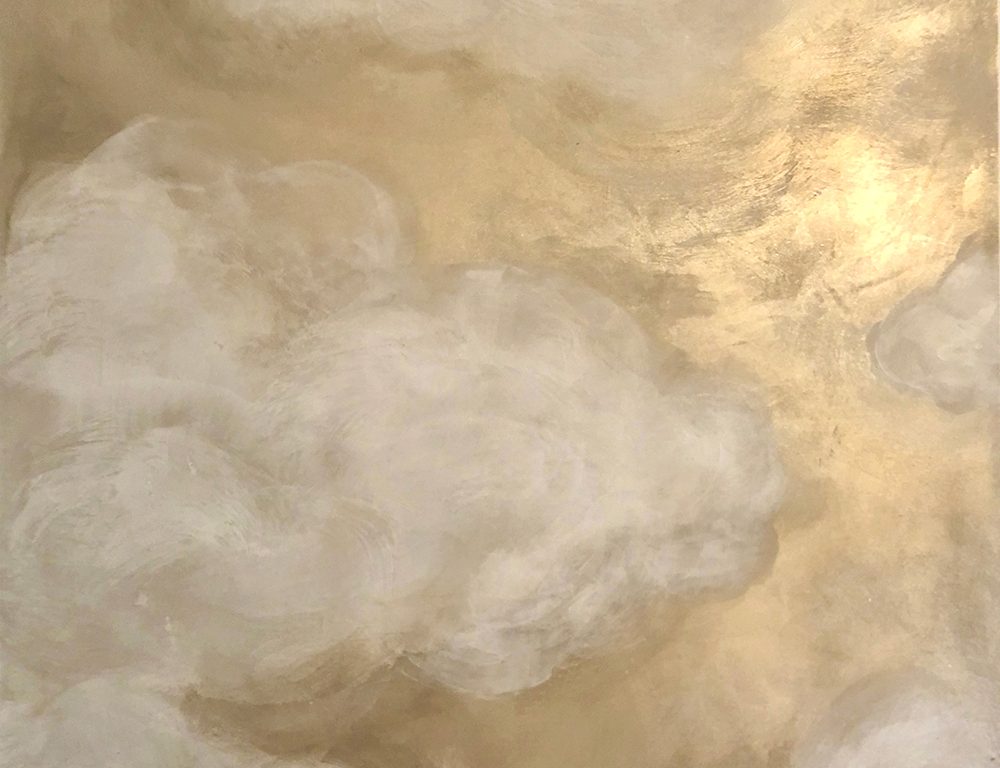
4 | Using the original Metallic Texture Tint Base Pearl and 2″ and 3″ chip brushes, loosely outline the shape and layout of your clouds. Try to balance your negative space in between the clouds for an overall balanced wall. Step back often to check your composition. Blend and soften the edges of the clouds. On a large wall, you should have larger gold areas left without clouds.
(Photo 4)

5 | Mix Slow Dry Fluid Acrylic Titanium White into Soapstone. Use this matte texture to fill and “fluff up” your clouds. Leave some of the Metallic Texture base showing. Apply with a brush and smooth with your spatula and palette knife. Aim for brush strokes and smooth areas on the clouds. Allow to dry. Continue to fluff clouds with a chip brush or artist brush with the Soapstone mixture until you are happy with the shapes and flow of the wall.
(Photo 5)

6 | Mix a small amount of Pre-Mixed Metallic Paint Just Brass with the Glazing Medium. With an artist brush, define the shape of your clouds by outlining and blending outward around them.
(Photo 6)

7 | Every cloud has a silver and gold lining. Here is the final finish.
(Photo 7)

Featured Products

Michelle Kole

About the Artist
Michelle Kole is a multidisciplinary artist specializing in the creation and installation of decorative surfaces for the interior design and architectural industry. Her love of interiors, art, and beautiful things lead to the creation of Michelle Kole Decorative Surfaces. Michelle has over 20 years experience in the field of custom, hand-applied specialty finishes and site-specific art. Interior designers, architects, and homeowners alike come to her for a unique combination of aesthetic vision, technical knowledge, and craftsmanship. Michelle works in time-honored techniques and mediums and builds upon them in contemporary ways. Based in Brooklyn, NY, her walls, custom artwork and design embellishments can be seen in luxury homes and commercial spaces throughout the New York City tri-state area and beyond.

More from this artist

Looking for more inspiration? Click here to view all of the decorative finishes from our Limited Edition Collections.

Decorative Finish: After the Rain

After the Rain decorative finish
DECORATIVE FINISH HOW-TO

After the Rain

Artist: Art Deco Unique

Share this article

PROJECT SUPPLIES:

INSTRUCTIONS:

1 | Prime the surface with an appropriate, high-quality, water-based primer with the low nap roller and allow to fully dry.
(Photo 1)

2 | Using the medium plaster trowel, apply a thin layer of Soapstone and let dry.
(Photo 2)

3 | Apply a thin layer of Metallic Texture Tint Base Pearl. Let dry.
(Photos 3-4)

4 | Mix the following colors:

4a.) One cup Metallic Texture Tint Base Pearl with (approx.) one teaspoon Pre-Mixed Metallic Paint Soft Gold.

4b.) One cup Metallic Texture Tint Base Pearl with (approx.) one teaspoon Pre-Mixed Metallic Paint Moody.

4c.) One cup Metallic Texture Tint Base Pearl with (approx.) one teaspoon Pre-Mixed Metallic Paint Future.

4d.) One cup Metallic Texture Tint Base Pearl with (approx.) one teaspoon Pre-Mixed Metallic Paint Splendor.

(Photo 5)

5 | Apply an even, thin layer of the 4a mixture from Step 4 on the whole surface area using the medium plaster trowel.
(Photo 6)

6 | Apply the rest of the 4b, 4c, and 4d mixtures from Step 4 using a painting knife or small spatula, and gently drag the material in a vertical direction.
(Photo 7)

7 | Add Metallic Texture Tint Base Pearl (approx. one teaspoon) on your medium plaster trowel or on the blue blade spatula. Start blending the colors by pressing slightly until you reach the desired design.
(Photo 8)

Tip: Try to move the trowel/spatula vertically so you get a strié effect.

Here is the final texture.
(Photo 9)

Featured Products

Art Deco Unique

About the Artists
Elena and Rodica are two prosperous and hardworking individuals united by a common interest and artistry. E & R Wall Art by Art Deco Unique are open to travel and collaboration with designers, contractors, businesses, and homeowners. Based in New York with an Eastern European background, they learned to thrive open-minded and border-less. Each wall art commission consistently requires individual touch and specific combination of technics. Elena graduated as a Fashion Designer in 2010, and Rodica graduated as a Mural Artist in Design and Decorative in Design and Decorative Arts in 2006. Their years of experience in Murals, Gilding, Mosaic, and Decorative Finishes, along with academic achievements and diverse artistic skills, demonstrate imminent triumph and delight through their Wall Art and Design. Art Deco Unique brings joy by doing what they love, and their talent is recognized at national and international competitions, winning multiple awards along the years. The experience gained from multiple projects, combined with their knowledge and curiosity, engaged a beautiful cooperation between them and the versatility of Golden Paintworks products. Rodica and Elena are excited for challenges and new opportunities to dig into their luggage full of ideas.

More from this artist

Looking for more inspiration? Click here to view all of the decorative finishes from our Limited Edition Collections.

Decorative Finish: Vert de Gris Shadows

Vert de Gris Shadows by True Faux Studio
DECORATIVE FINISH HOW-TO

Vert de Gris Shadows

Artist: True Faux Studio

Share this article

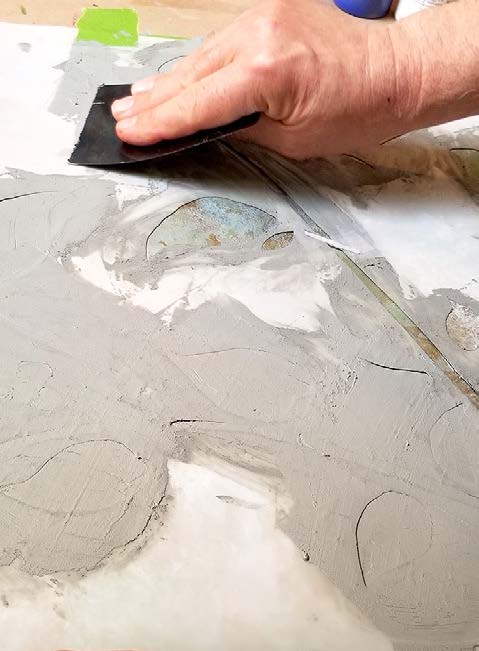
INSTRUCTIONS:

1 | Base coat with Metallic Paint Tint Base Bronze. Apply 2 coats.
(Photo 1)

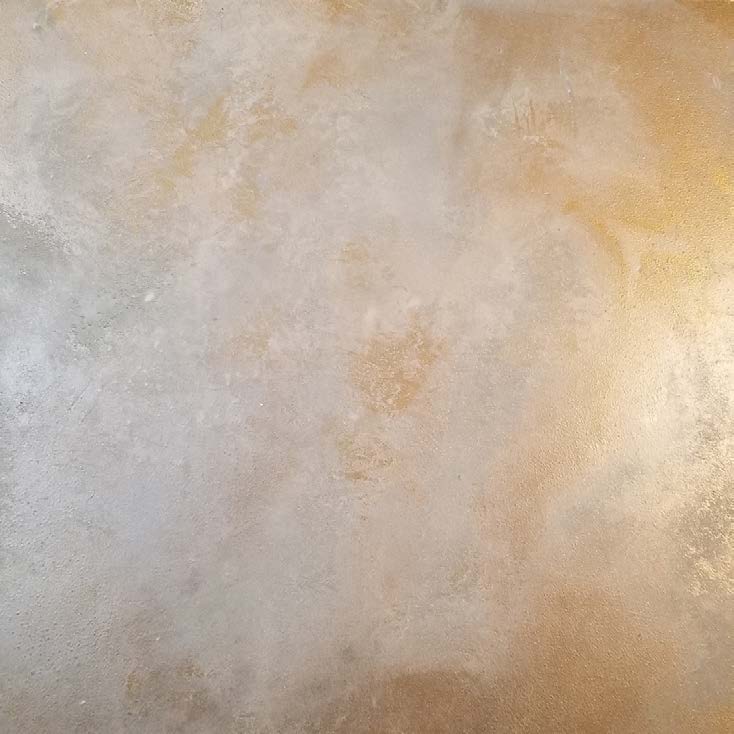
2 | Creating the Vert de Gris Shadows background:

For the 1st pass: Trowel a 1:1 mix of Metallic Textures Tint Base Pearl and Glazing Gel. Let dry.

For the 2nd pass: Trowel a 2:1 mix of the 1st Pass Mix with a 1:1 mix of Slow Dry Fluid Acrylics Ultramarine Blue and Chromium Oxide Green. Let dry. 

The colors are variable, but keep them soft and diffused. Use a damp sponge to soften both passes.
(Photo 2)

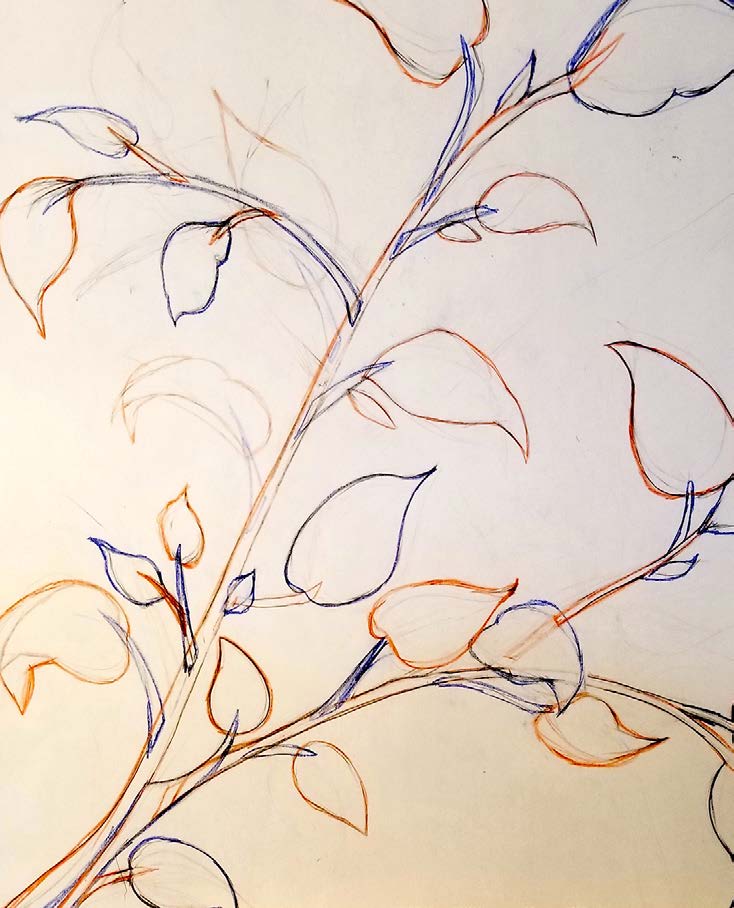
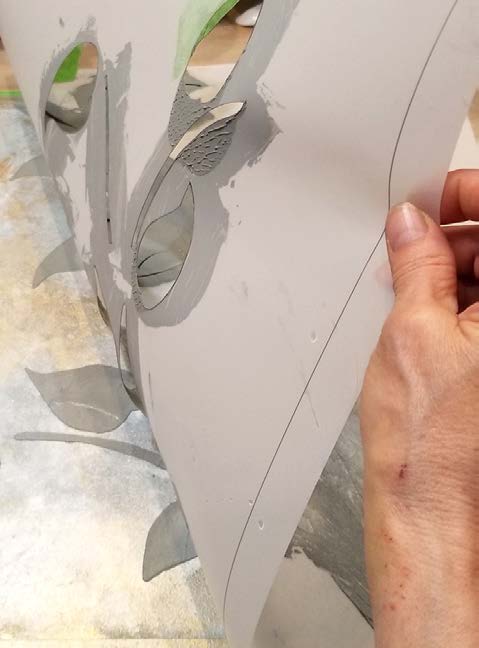
3 | Draw a leaf pattern and cut a two-part stencil.
(Photo 3)

TIP: A one part stencil is fine but the overlaps and fullness of the pattern lends a realistic effect.

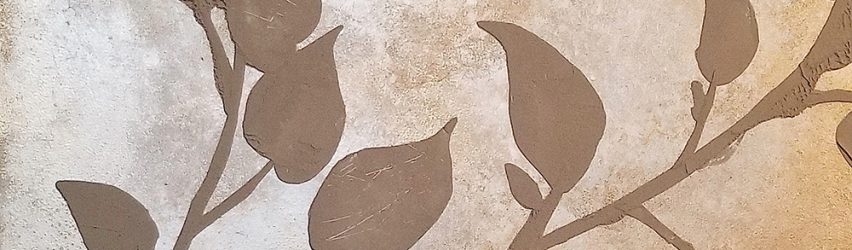
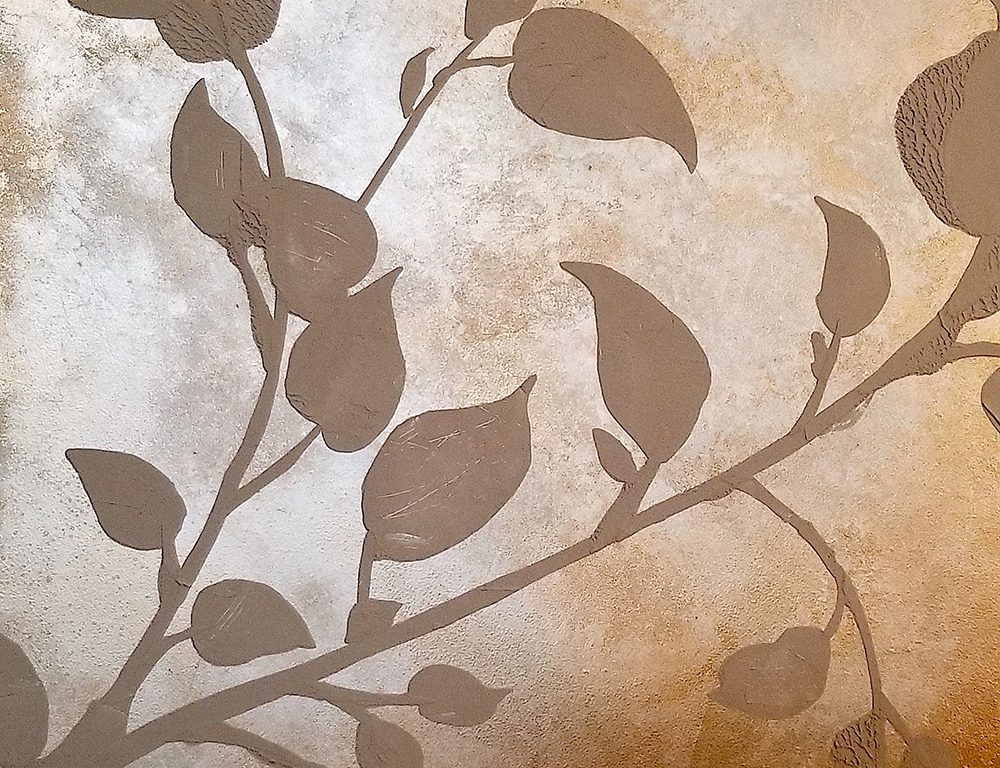
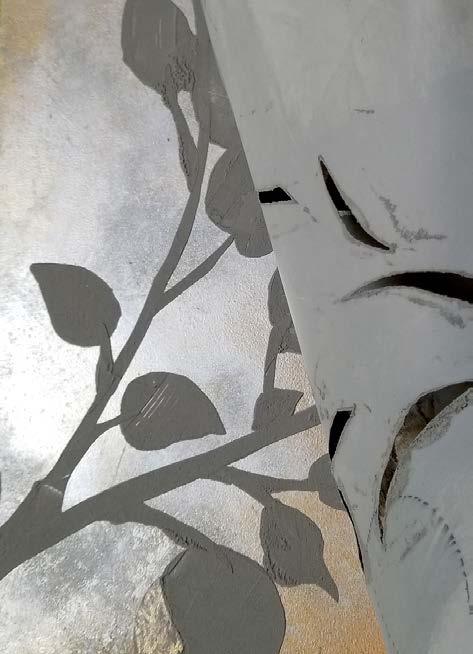
4 | Mix Sandstone with Slow Dry Fluid Acrylics Ultramarine Blue, Chromium Oxide Green, and Carbon Black for a gray-brown tone. Apply Sandstone through stencil with 3.5″ Blue Blade Spatula. Pull up the stencil immediately and check for and clean any bleeds. Clean the stencil and let the layer dry.
(Photos 4-5)

5 | If using a two-part stencil, repeat Step 4 with the second stencil overlay. Let dry completely.
(Photo 6)

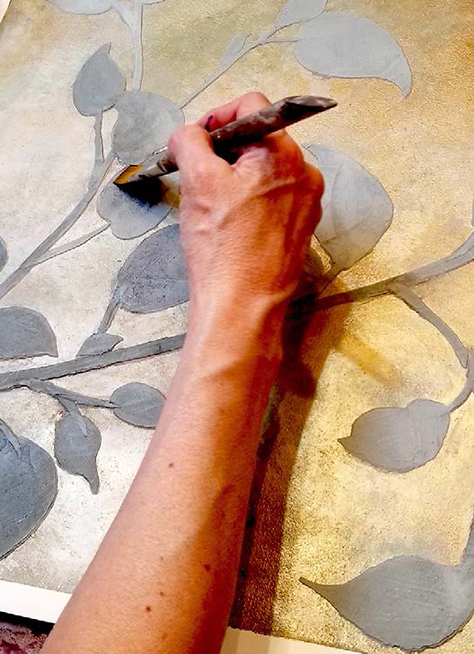
6 | OPTIONAL: After the Sandstone has dried, you can tone the color of the embossed stencil pattern to taste. We toned it to a warmer color. You have full control of the look and color of the dimensional pattern anytime.
(Photo 7)

Here is the final texture.
(Photo 8)

Decorative Finish: Blue Mica Pearl

Blue Mica Pearl by True Faux Studio
DECORATIVE FINISH HOW-TO

Blue Mica Pearl

Artist: True Faux Studio

Share this article

PROJECT SUPPLIES:

INSTRUCTIONS:

1 | Base coat with Benjamin Moore Woodlawn Blue HC147. Let dry completely.
(Photo 1)

2 | Make two color mixes:

Blue Mix: 1:1 Soapstone and Glazing Gel. Add a 1:1 mix of Slow Dry Fluid Acrylics Ultramarine Blue and Chromium Oxide Green.
(Photo 2)

Yellow Mix: 1:1 Soapstone and Glazing Gel. Add a very small amount of Theme Paint Transparent Yellow Oxide. Set this color aside for now.
(Photo 3)

3 | Using the blue mix first, sponge on with a damp, wrung out sea sponge, and soften. Make sure not to leave sponge marks. Let dry completely. For the second layer, lightly sponge in the yellow mix at approx. 20%, creating a subtle warm toning over the blue. Let dry.
(Photo 4)

4 | Mix 50% Golden Artist Colors Pearl Mica Flakes (Small) with Metallic Textures Tint Base Pearl and 25% Glazing Gel.Pounce with the material to cover your area. Let dry.
(Photos 5-6)

5 | With the same mix as in Step 3, add a liberal amount of Large Muscovite Flakes and water to make a watery paste. Stir frequently.
(Photo 7)

6 | Pounce again, making sure you are picking up the large flakes. After it dries, repeat.

TIP: After the finish is dry, you can come back with the mix from Step 2 plus a little Slow Dry Fluid Acrylic Carbon Black to deepen the tone, as seen in Photo 8. Use sparingly.

Here is the final finish.
(Photo 8)

Decorative Finish: Contemporary Mountainscape

Contemporary Mountainscape by Carmen Lomax
DECORATIVE FINISH HOW-TO

Contemporary Mountainscape

Artist: Carmen Lomax

Share this article

PROJECT SUPPLIES:

INSTRUCTIONS:

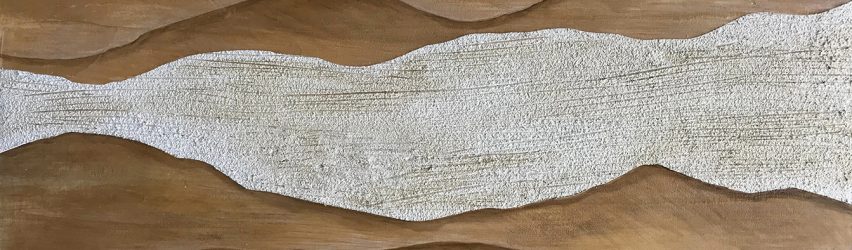
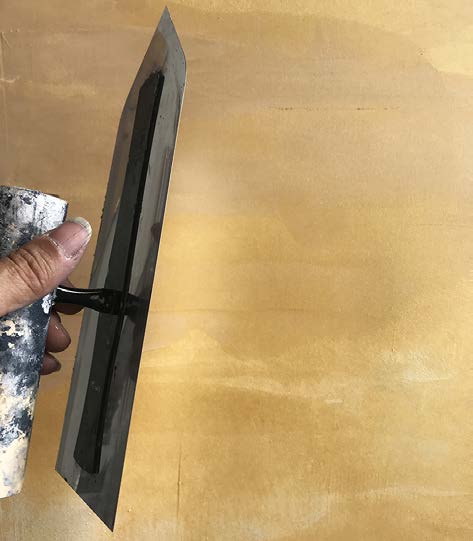
1 | Roll your surface with a neutral off white base coat and let dry. Proceed with one coat layered in with your trowel horizontally with Metallic Texture Tint Base Gold. It will appear uneven in terms of light areas and coverage but the lighter base coat telepathing through will give some nuance to your sections. Let dry.
(Photos 1-2)

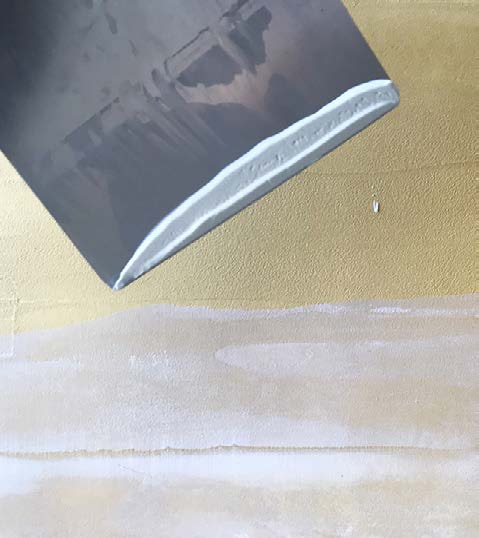
2 | Skim coat Soapstone evenly over the Metallic Textures Tint Base Gold horizontally. Let dry.
(Photo 3)

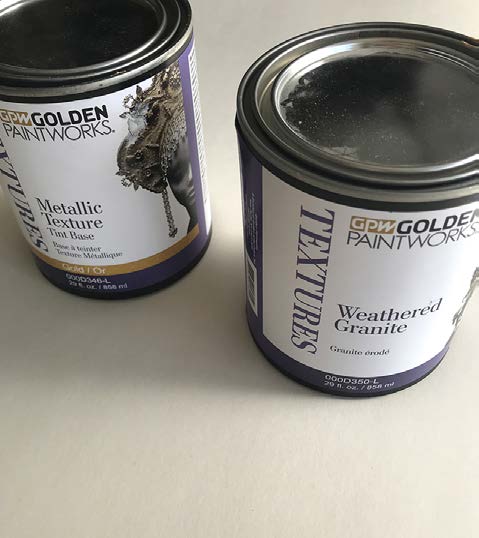
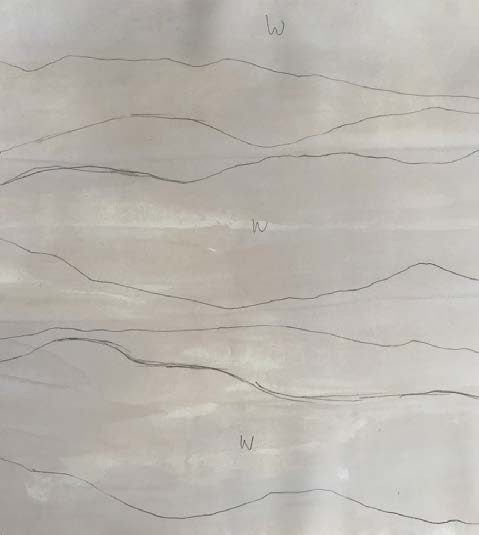
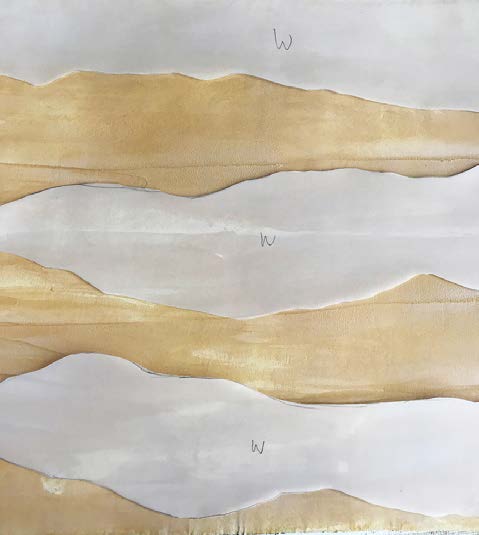
3 | For your next step, you can always use stencil mylar, but here I used some drafting vellum because it is slightly thinner and easier to cut, plus you can sketch on it. Lay out and cut your mountainscapes, noting which sections are slated for the lighter Weathered Granite.
(Photos 4-5)

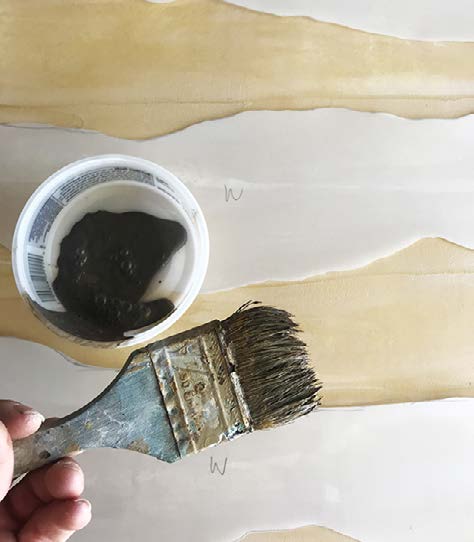
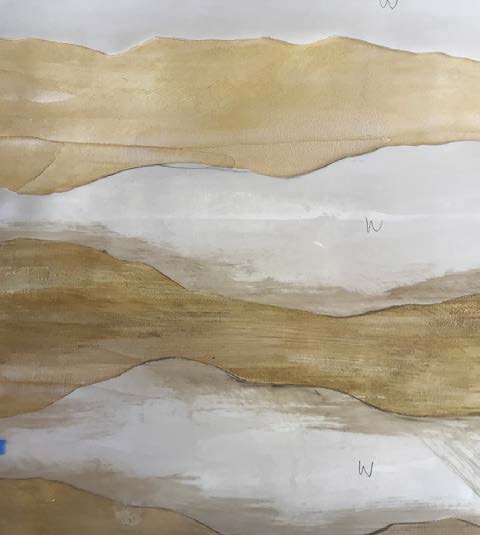
4 | Expose the first section to be treated. Next, prepare some Glazing Medium with Slow Dy Fluid Acrylic Raw Umber, not too dark, just enough to give some interest to our gold. Blend horizontally. Let dry.
(Photos 6-7)

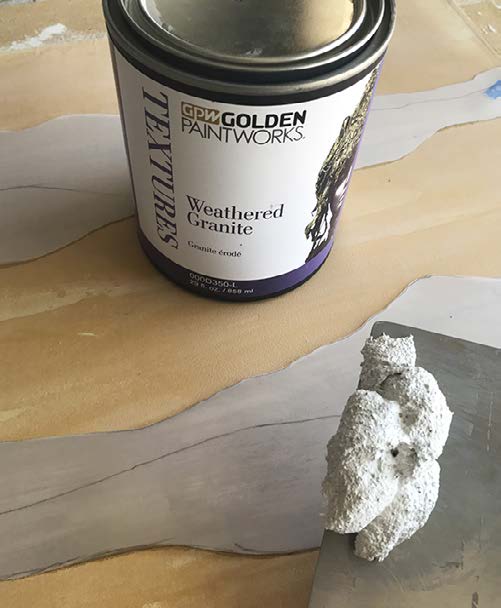
5 | Cover the areas you just completed once dry, now exposing the areas to be done in Weathered Granite.
(Photo 8)

Here, I used a rubber blade but any spatula would do to trowel on the Weathered Granite.
(Photo 9)

While still wet, follow with a teeth tool and drag through horizontally.
(Photo 10)

Remove the acetate or vellum. Let dry.
(Photo 11)

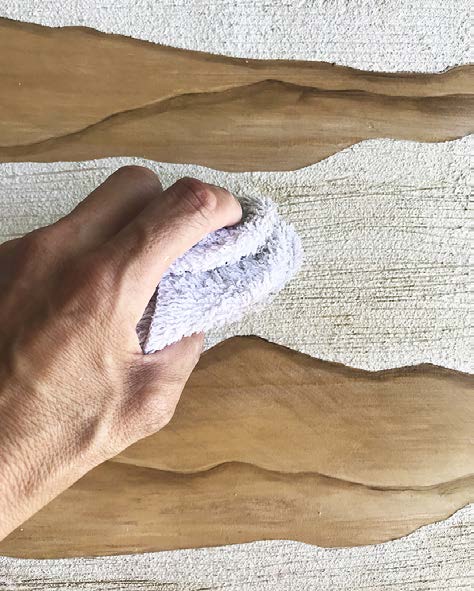
6 | Using your same Raw Umber glazing solution from Step 4, add drop shadows and blend under each section.
(Photo 12)

And lastly, thinning out your umber solution a little more, add and wipe off with a damp cloth so that a little of that same color gets in the creases on your granite sections, tying everything together. Let dry completely.
(Photo 13)

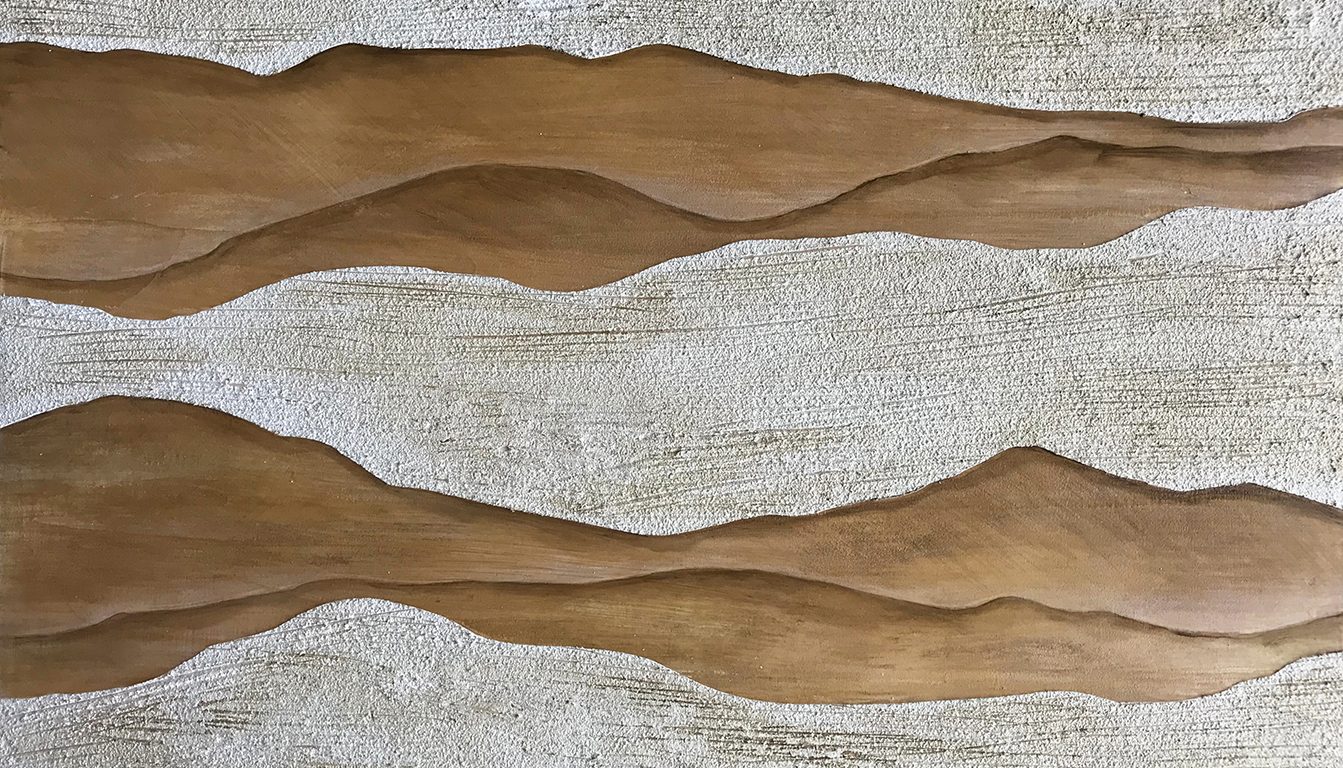
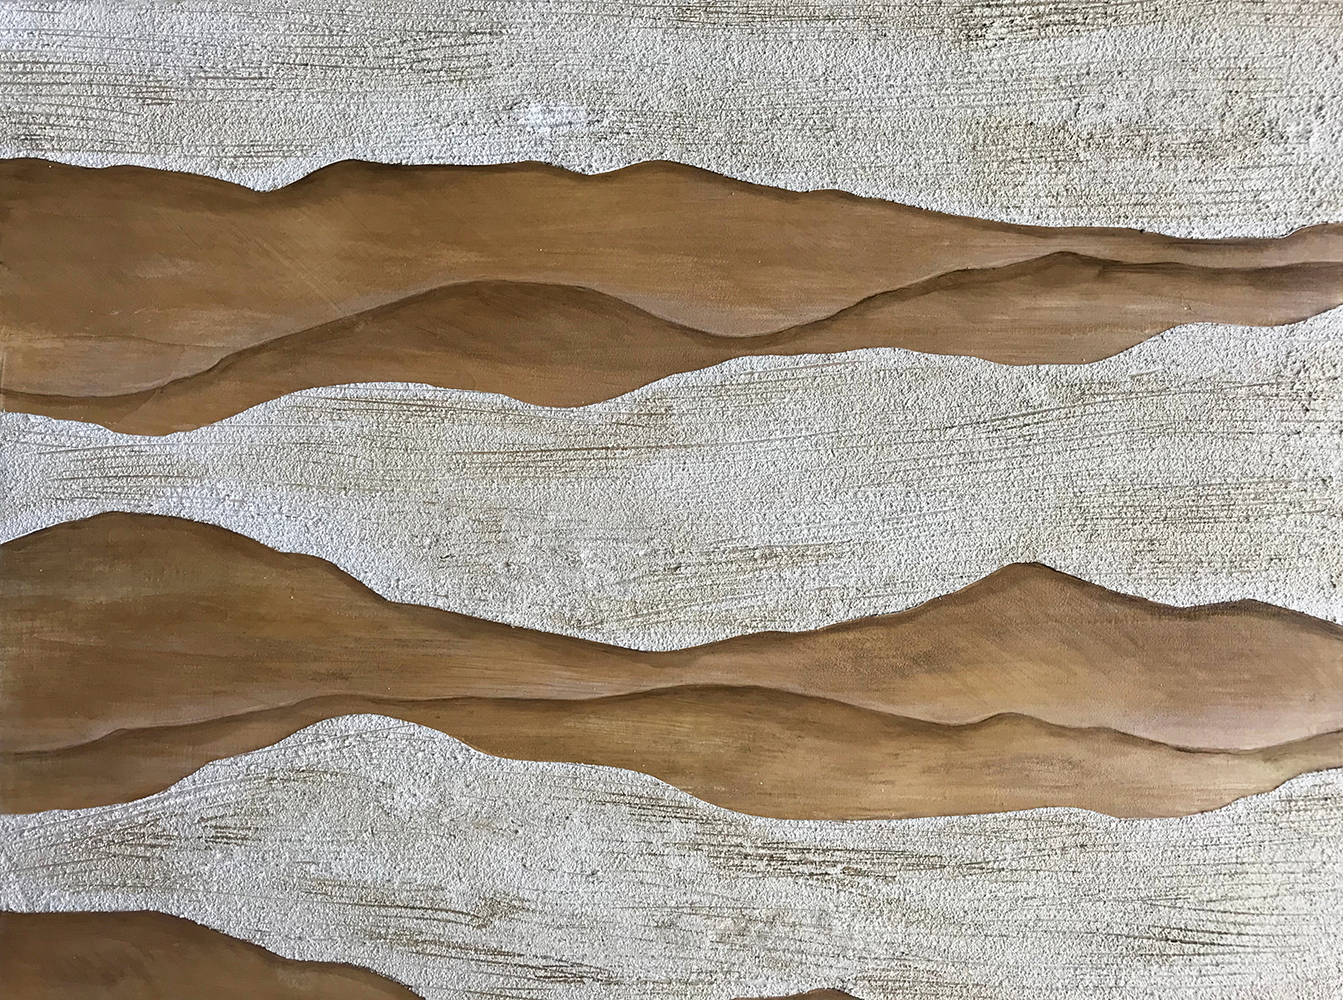
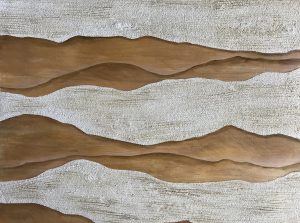
Here is the finalized texture.
(Photo 14)

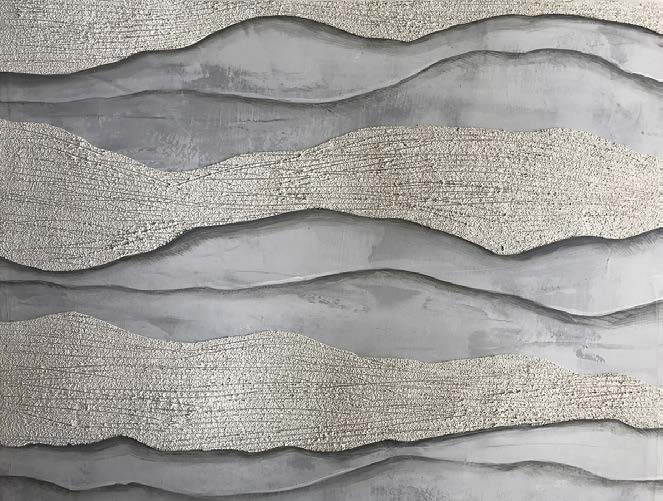
OPTION: I’ve also included another colorway in gray, so that you can see the versatility in tones.
(Photo 15)

Featured Products

About the Artist
Carmen Lomax specializes in creative wall finishes for home decor, children’s rooms and commercial and residential spaces. She works directly with homeowners and business-owners, as well as help develop projects for interior designers, architects, and commercial developers. Design options range from wall finishing and texturing to thematic murals, ceilings and three-dimensional artwork. Absolutely any hand-painted technique can be incorporated, from loose and whimsical to fine art detail and photo-realism.
More from this artist

Looking for more inspiration? Click here to view all of the decorative finishes from our Limited Edition Collections.