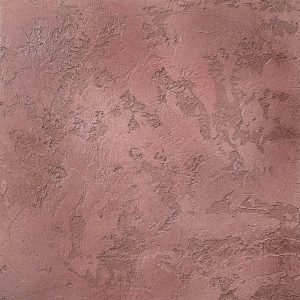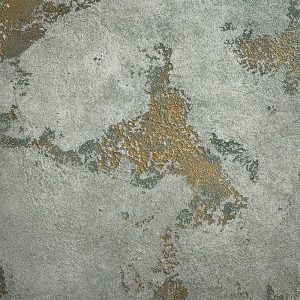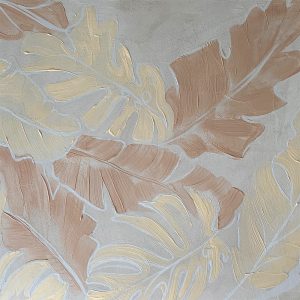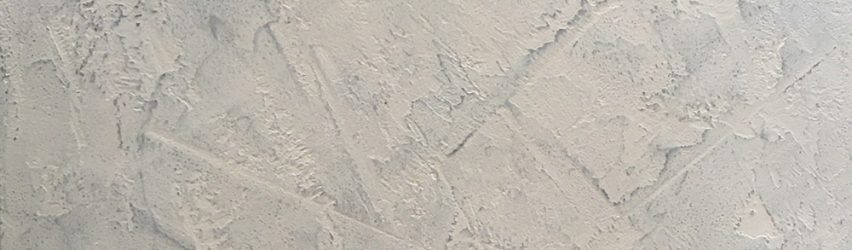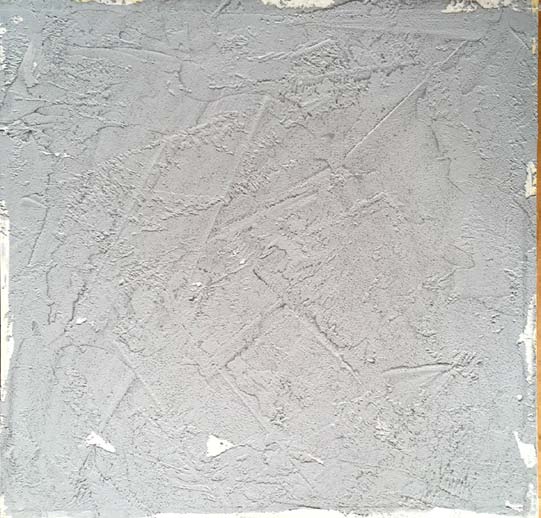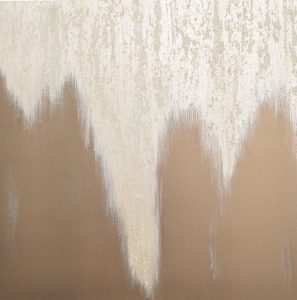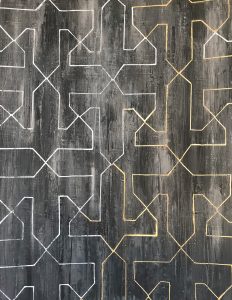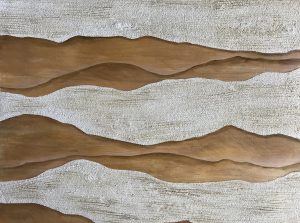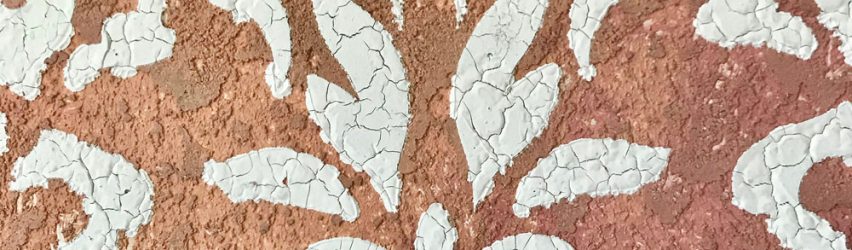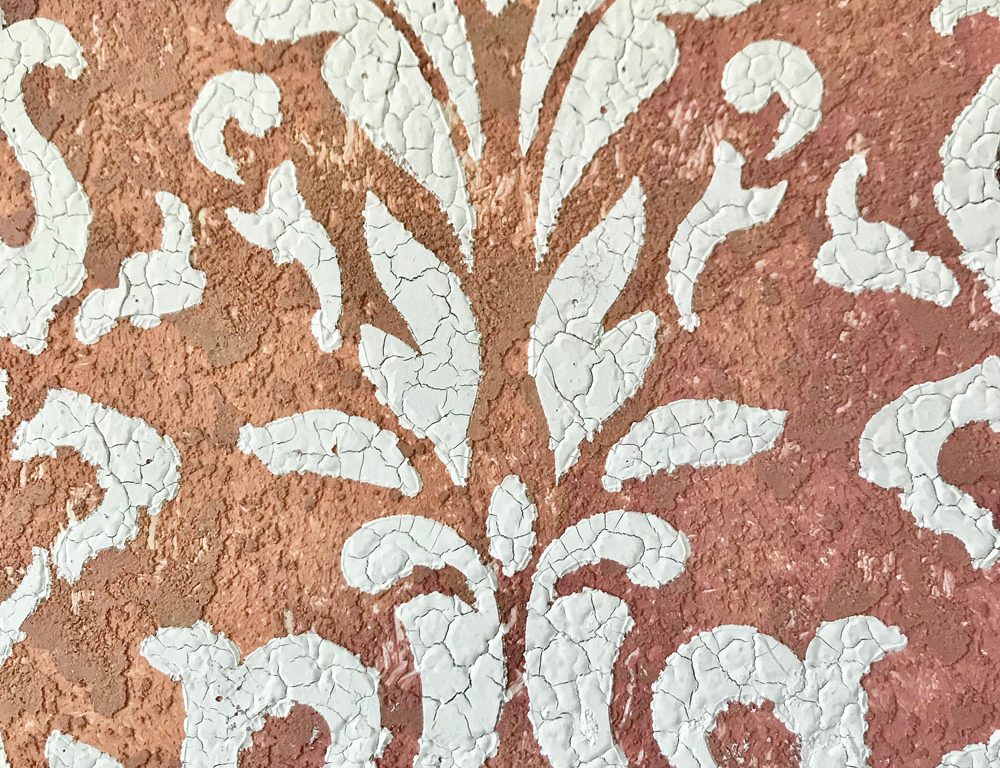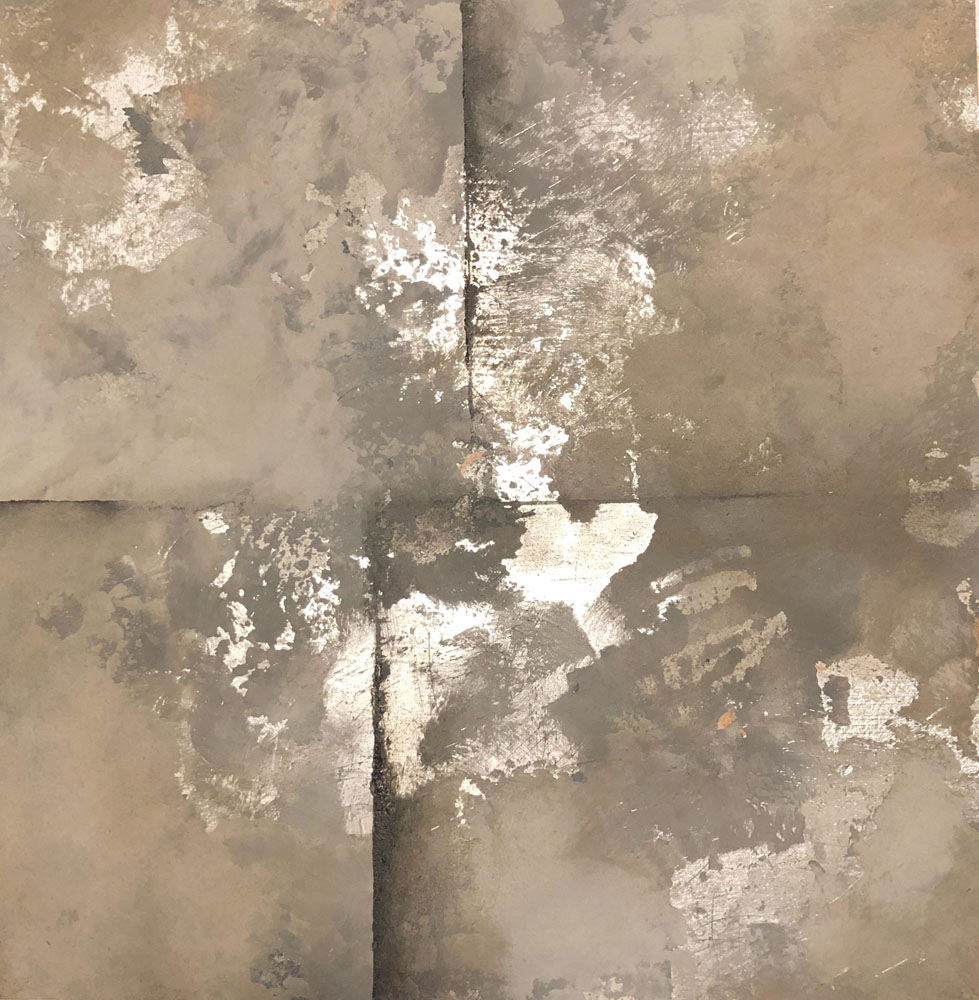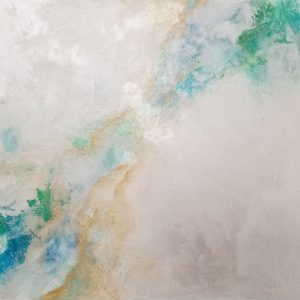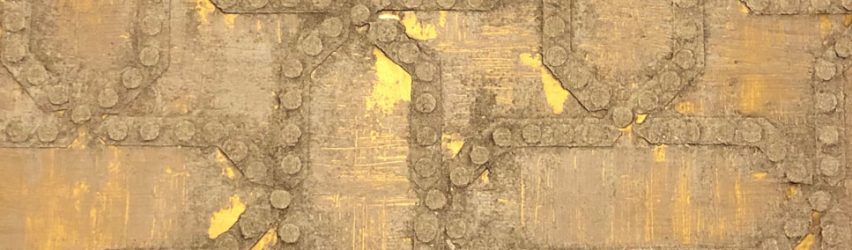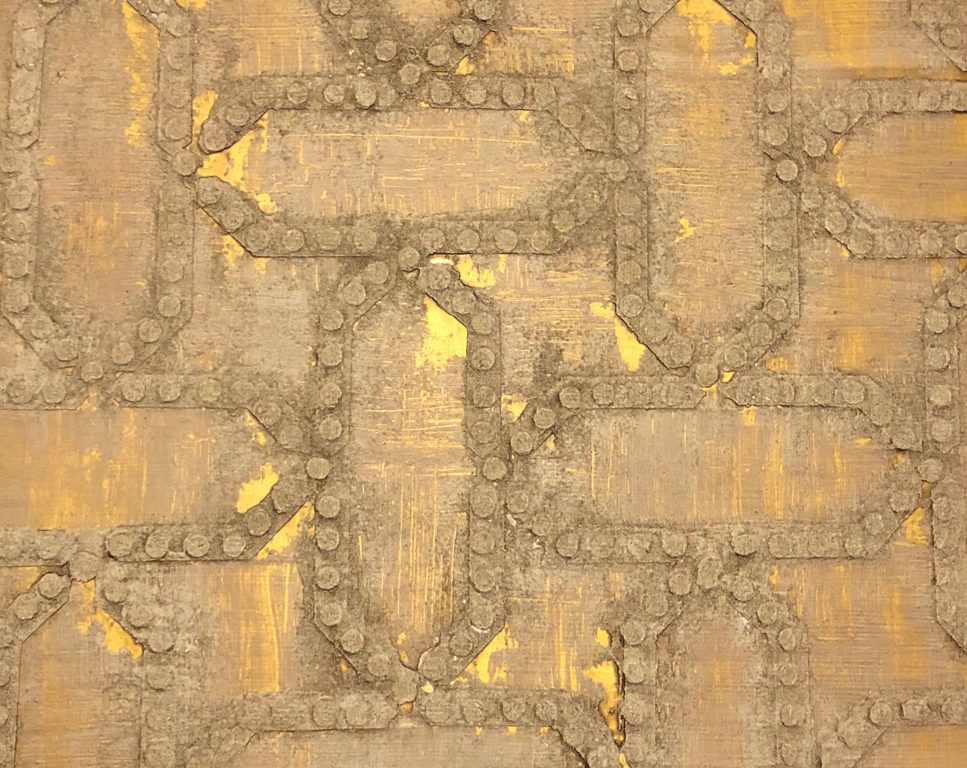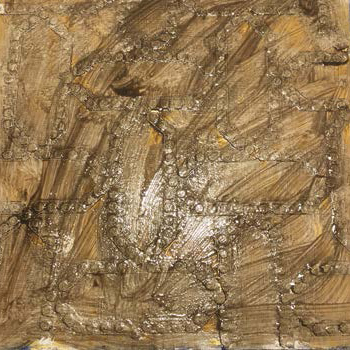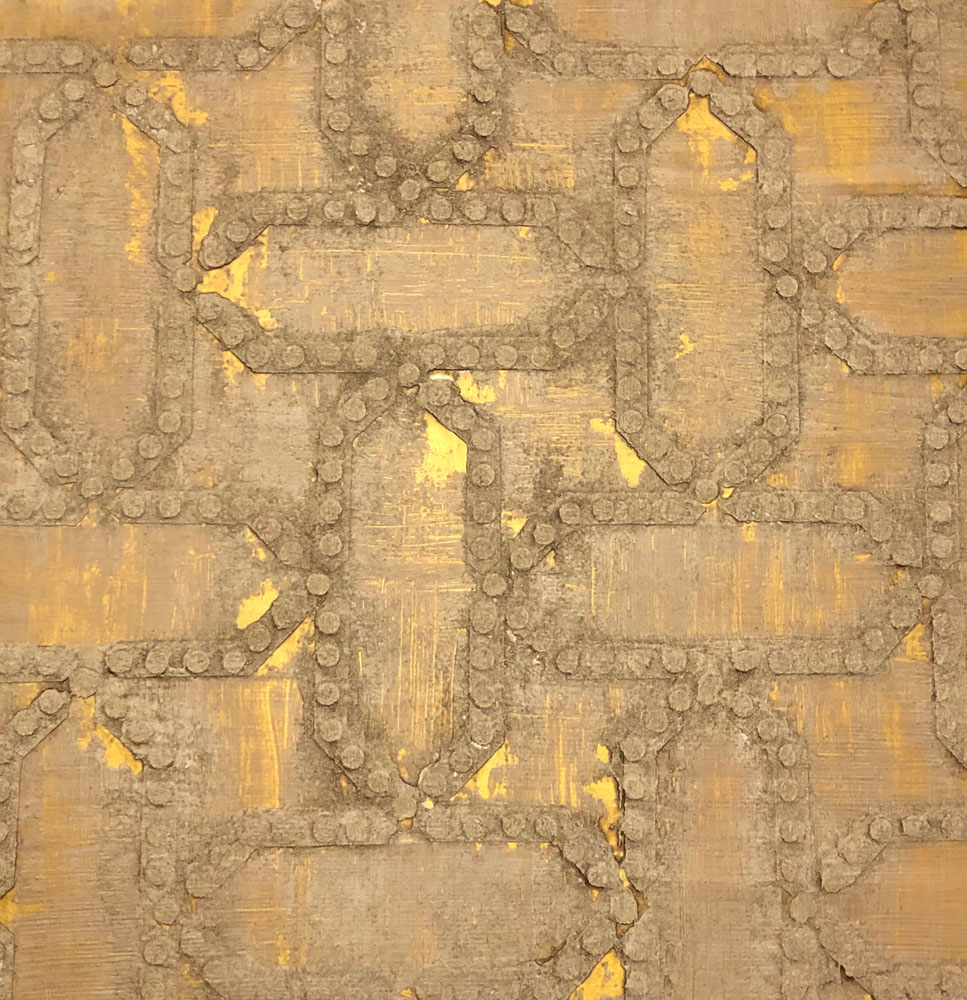
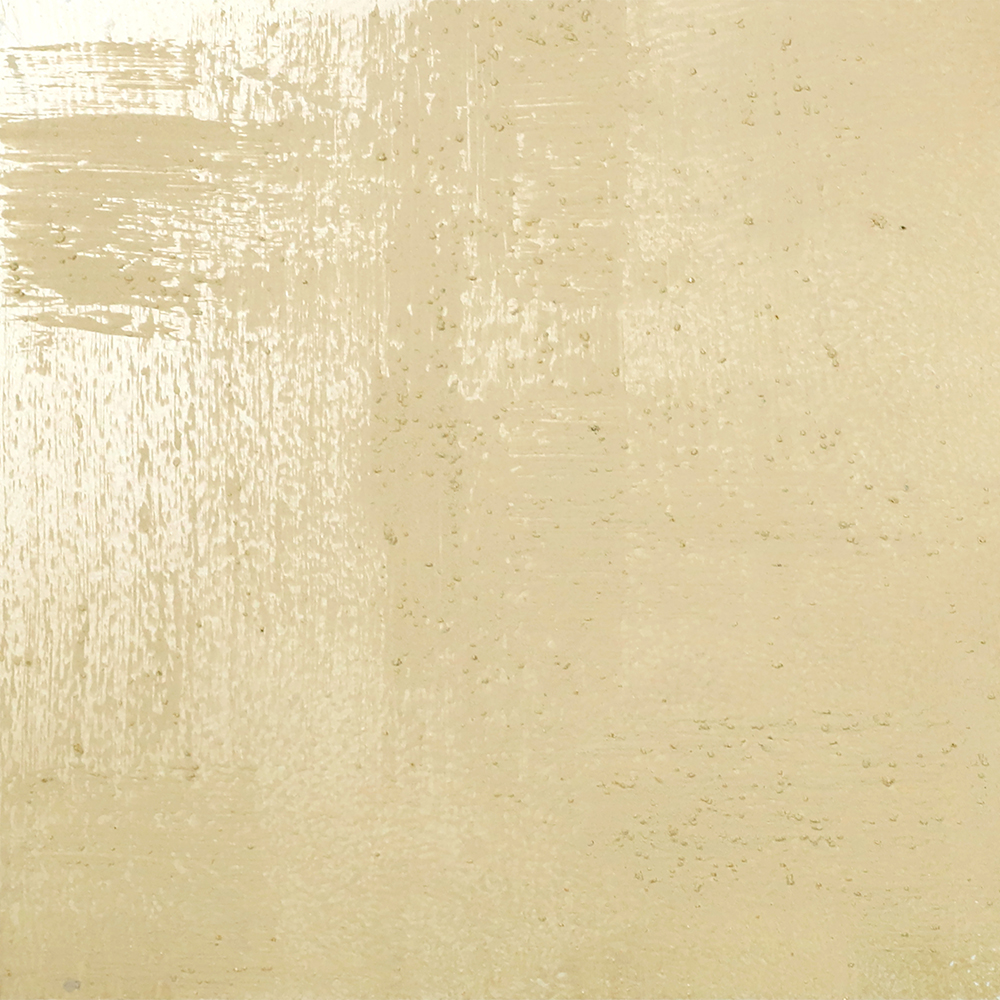
Decorative Finish: Weathered White Gold

DECORATIVE FINISH HOW-TO

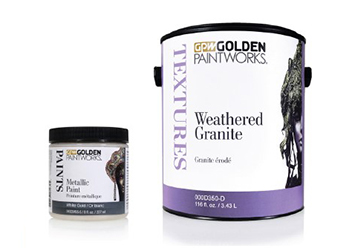
Weathered White Gold

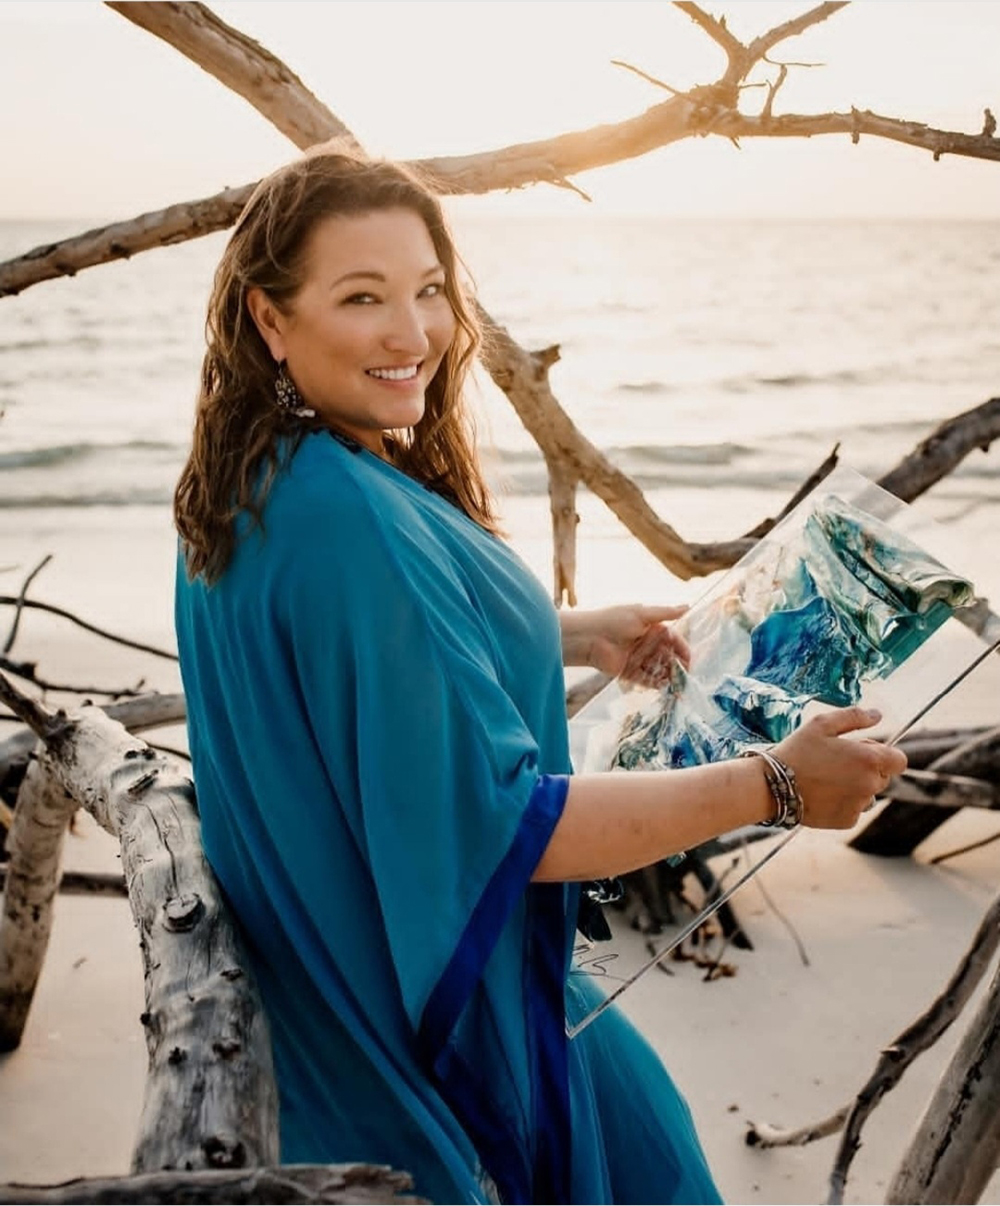
Artist: Shiree Ingram

Share this article

PROJECT SUPPLIES:

INSTRUCTIONS:

1 | Base paint with a white, high-hiding, all purpose primer.

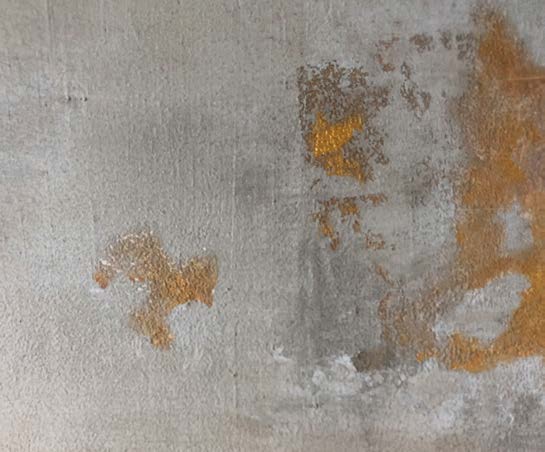
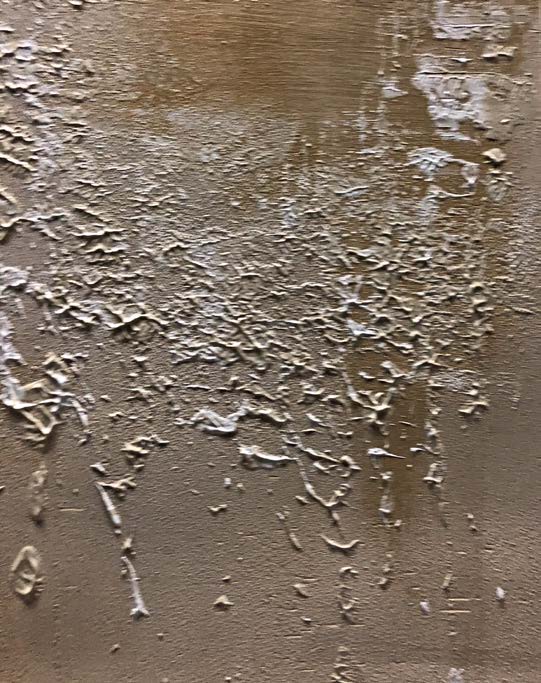
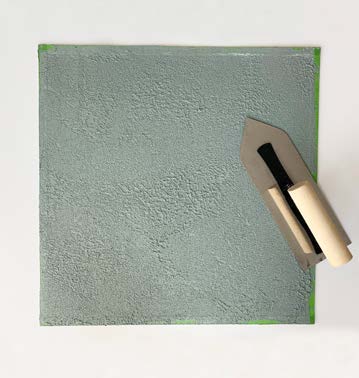
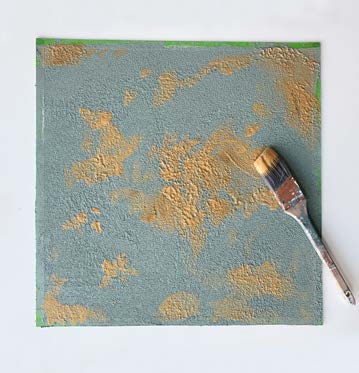
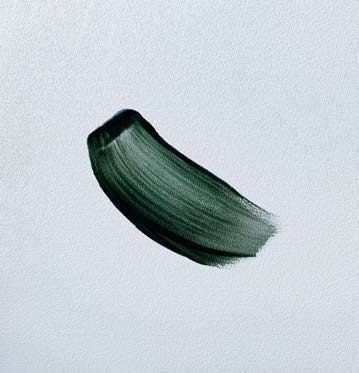
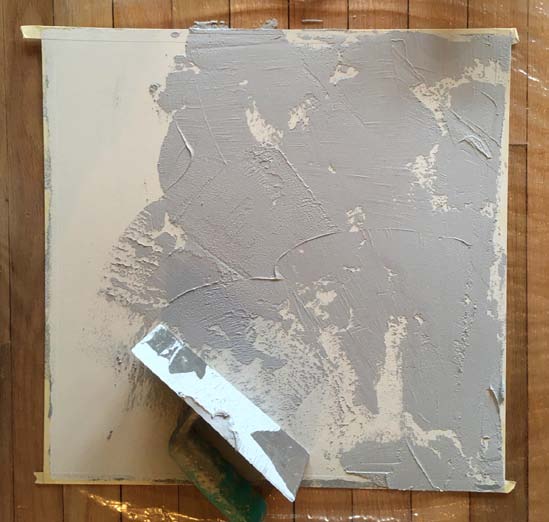
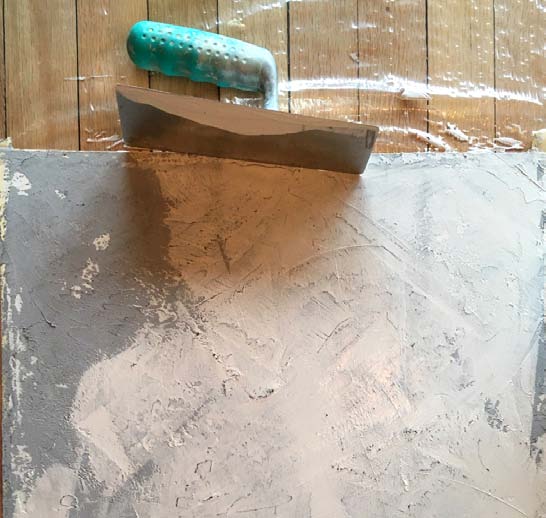
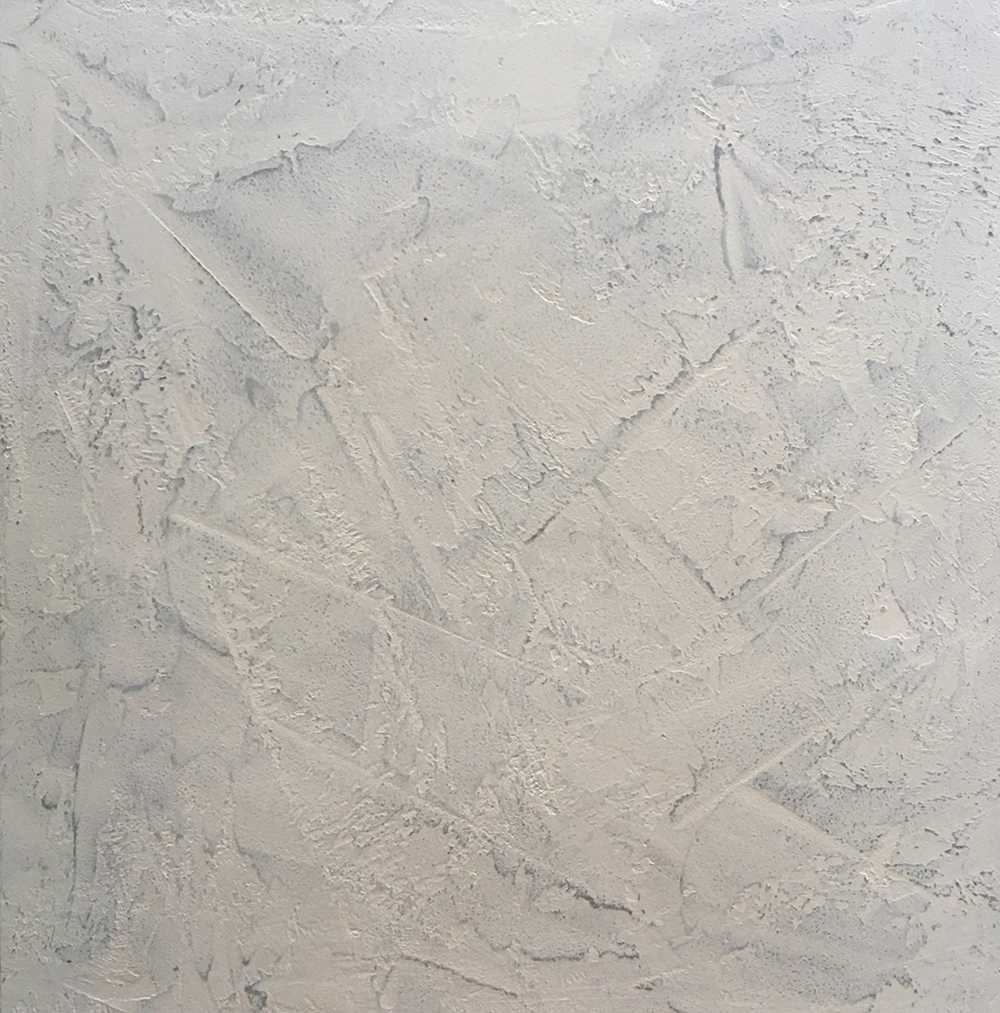
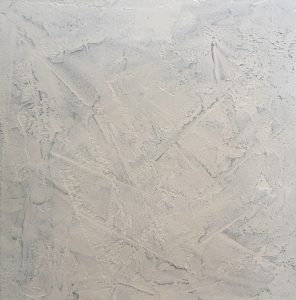
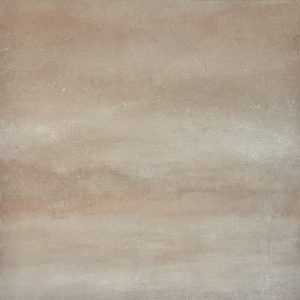
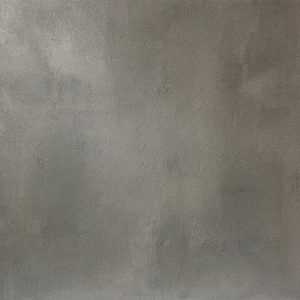
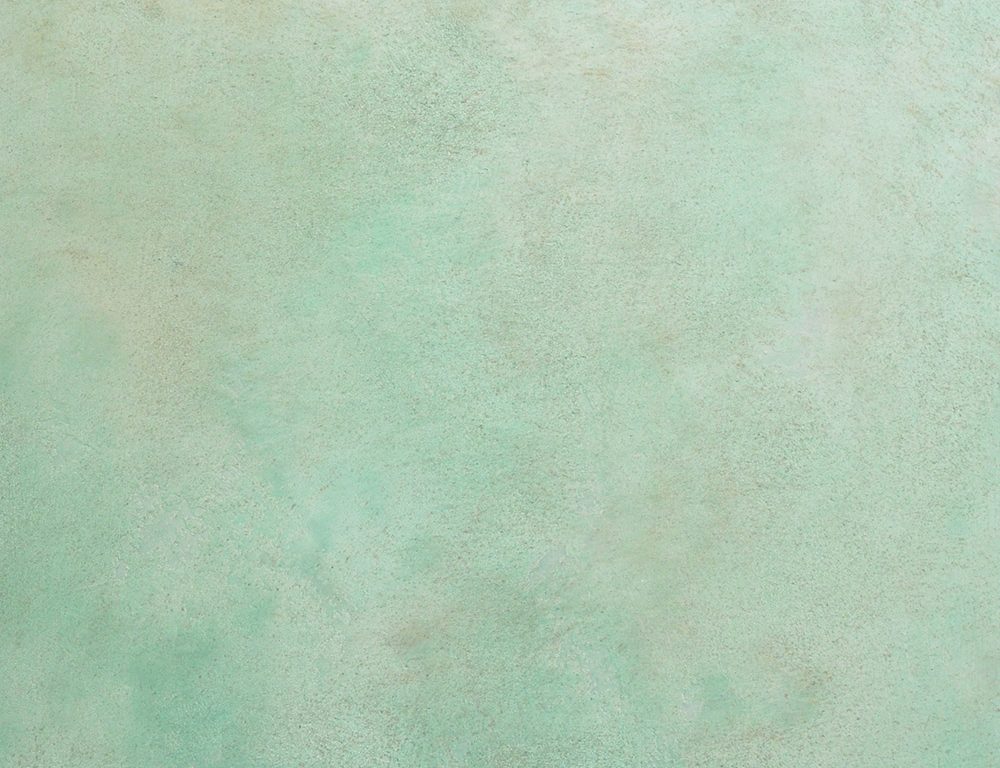
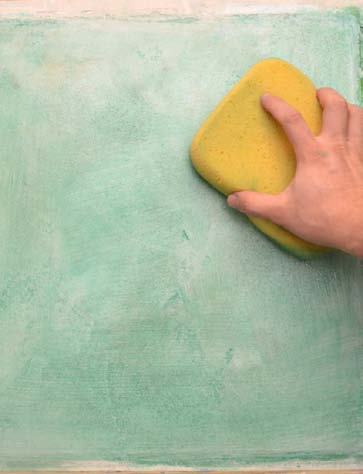
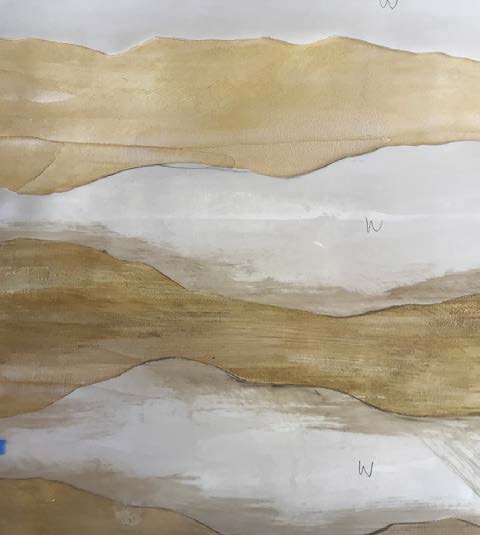
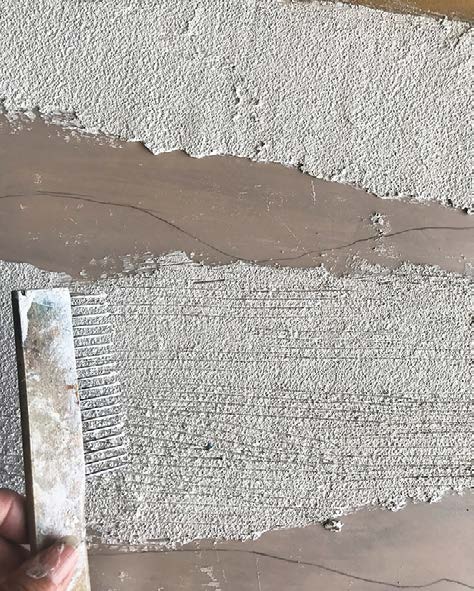
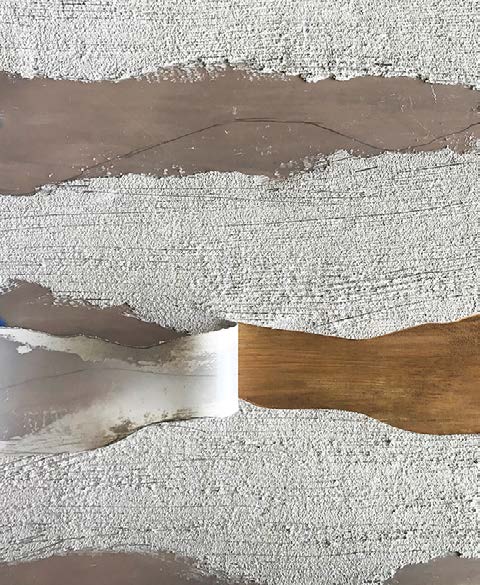
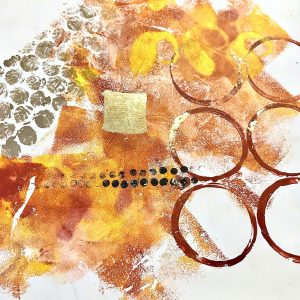
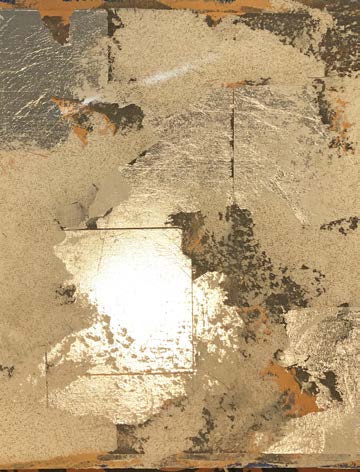
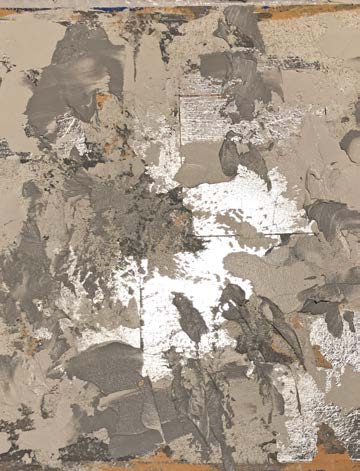
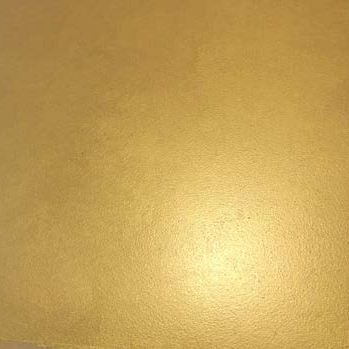
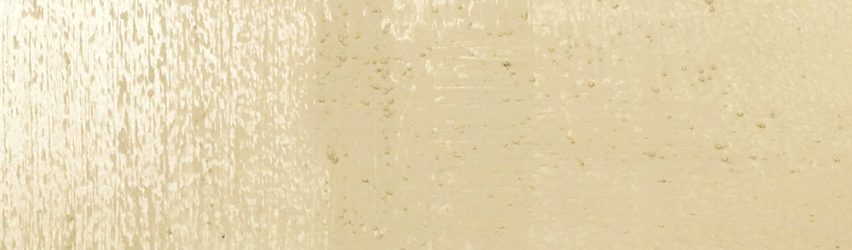
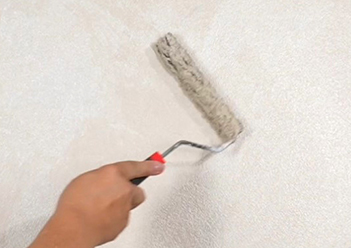
2 | Using a nappy winnie roller, apply one coat of Golden Paintworks Metallic White Gold. Apply full coverage, rolling in a random pattern; for this application overlapping paint lines is not a concern.
(Photos 1-2)

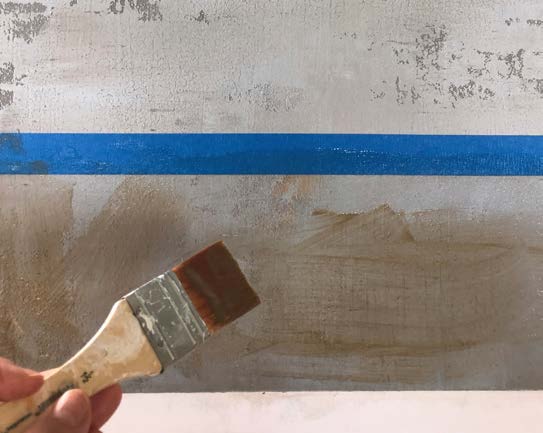
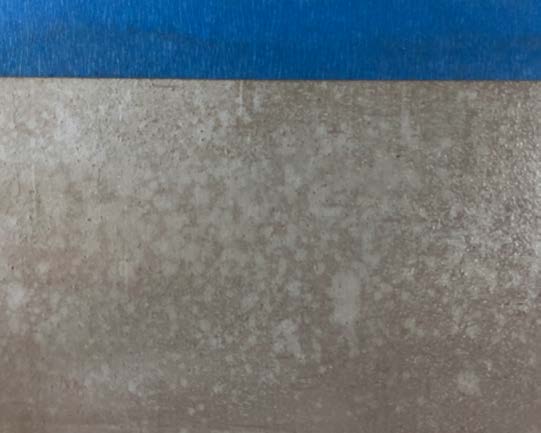
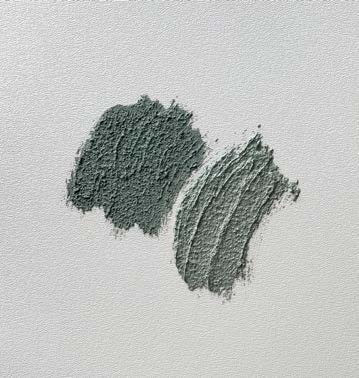
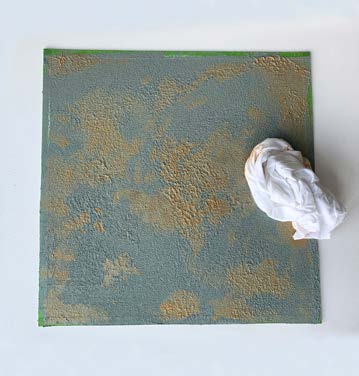
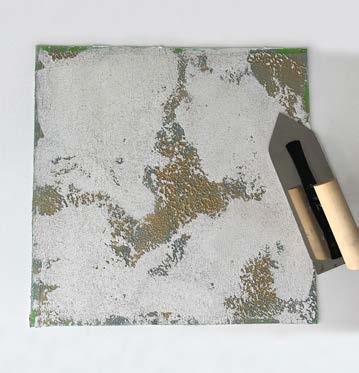
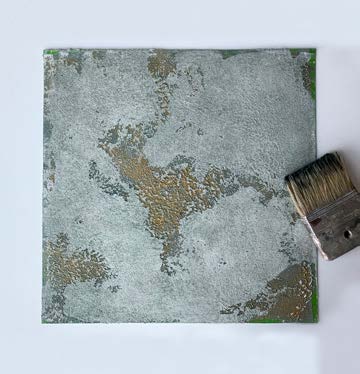
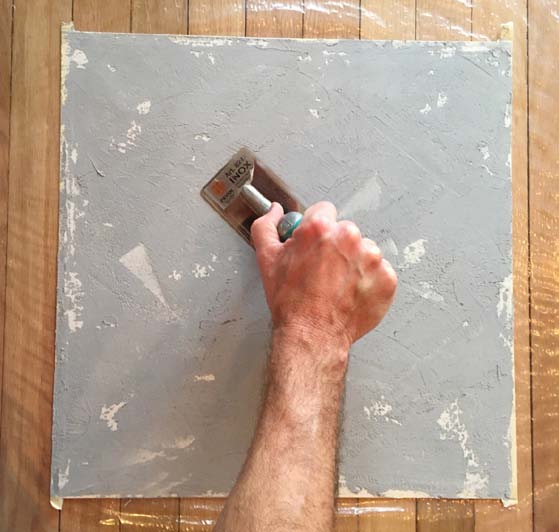
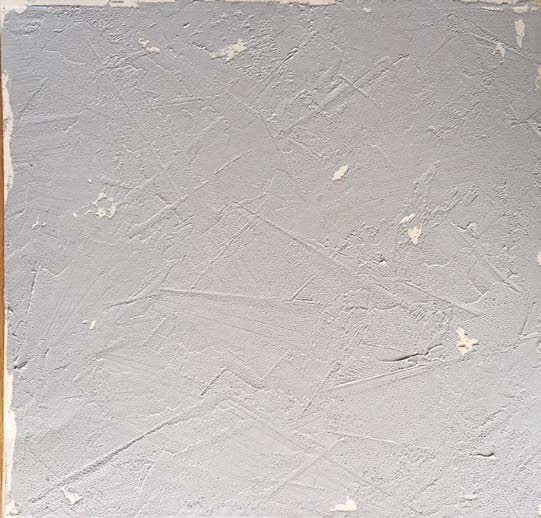
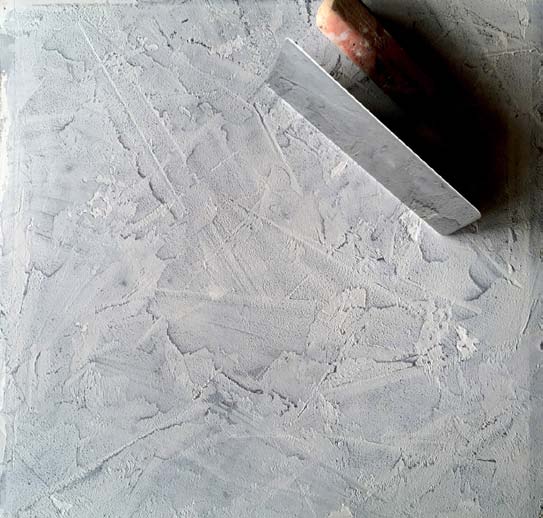
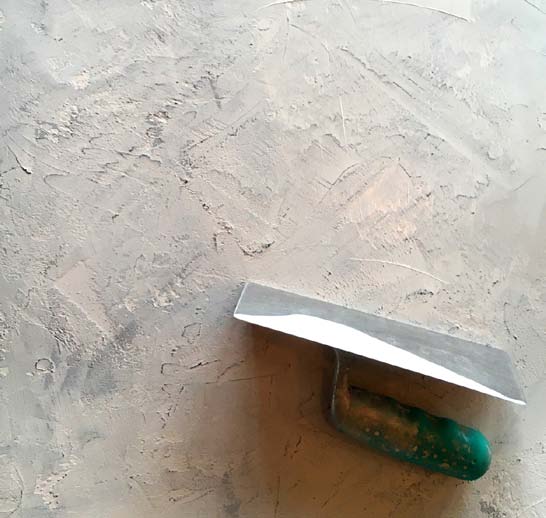
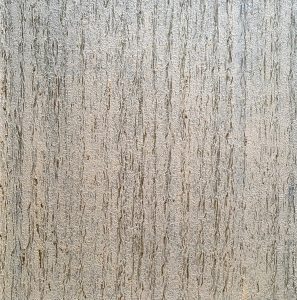
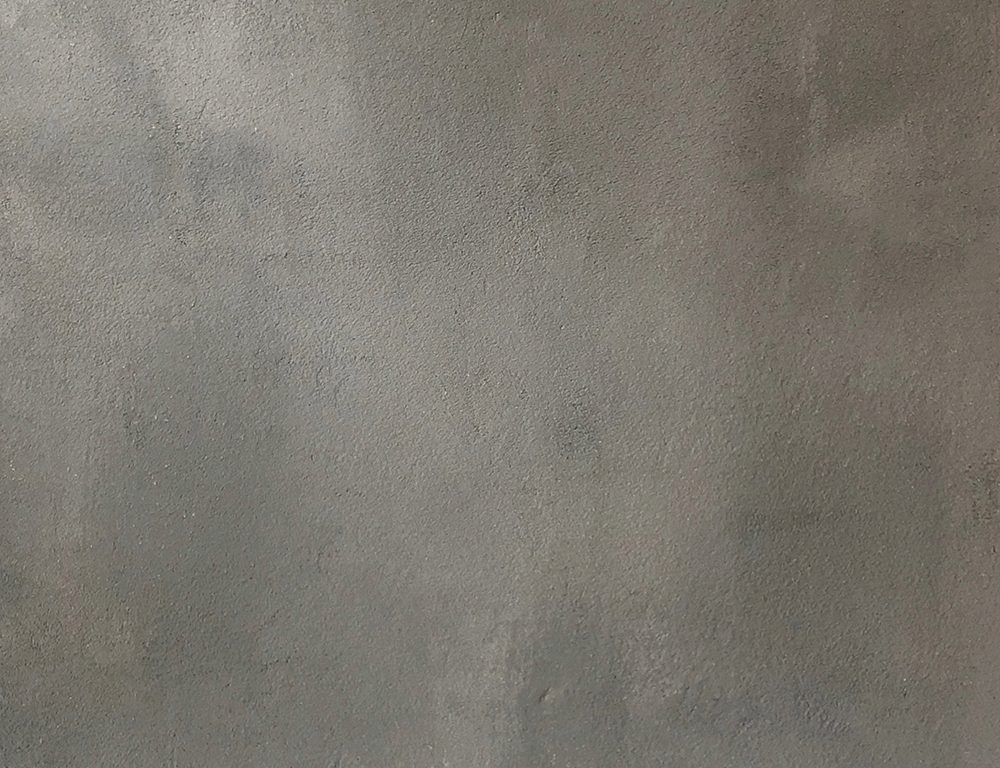
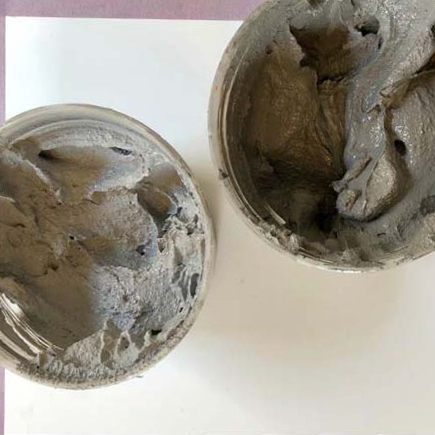
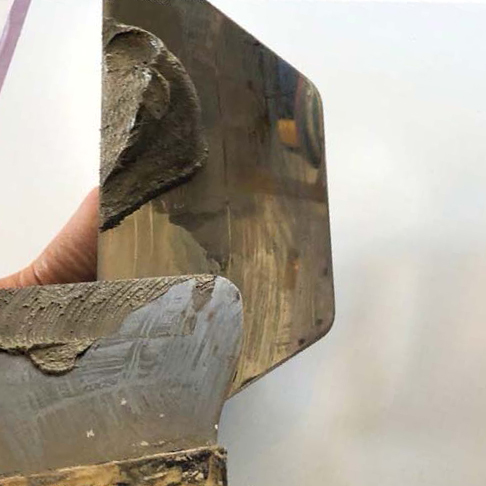
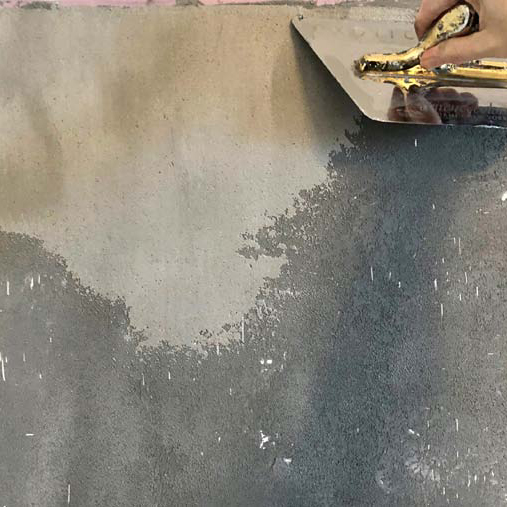
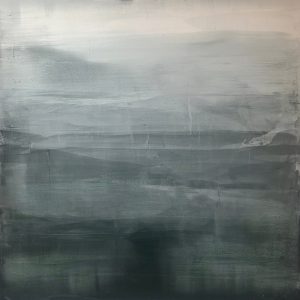
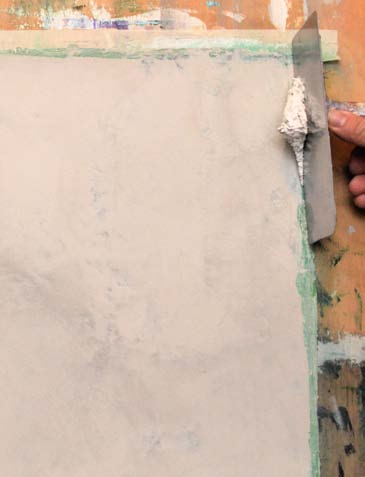
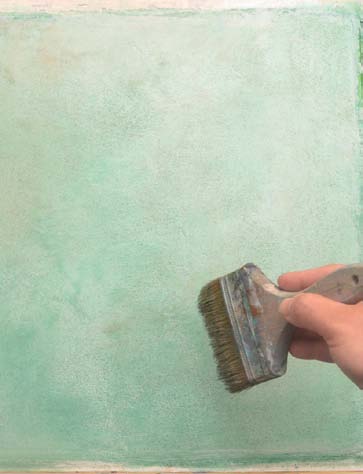
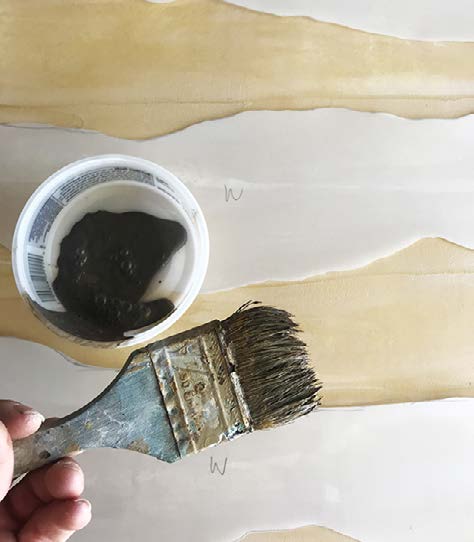
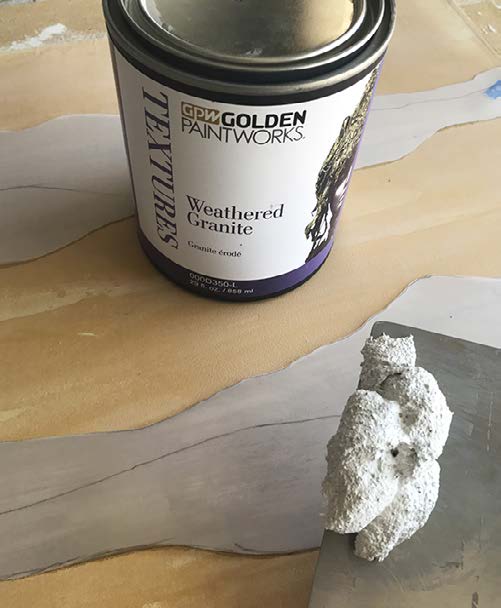
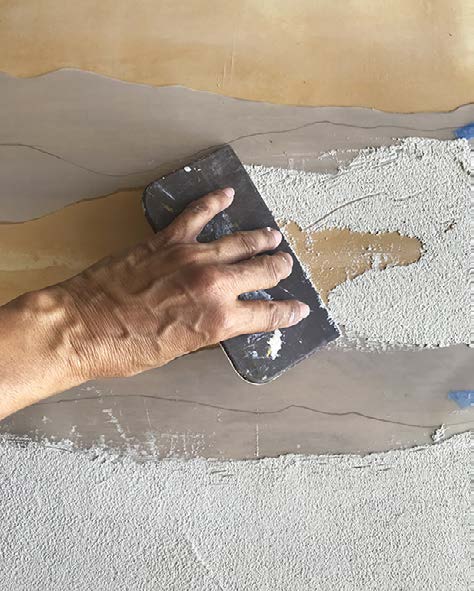
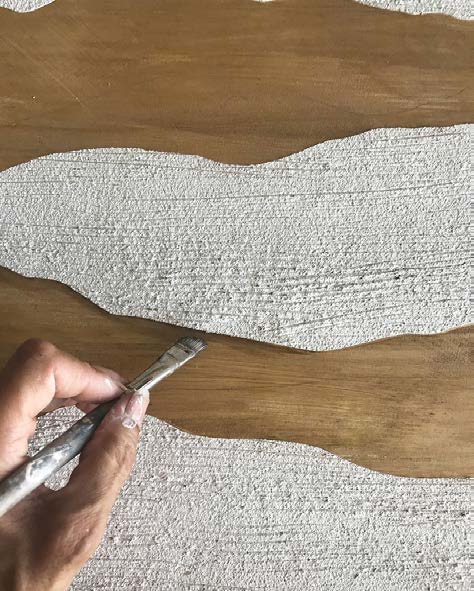
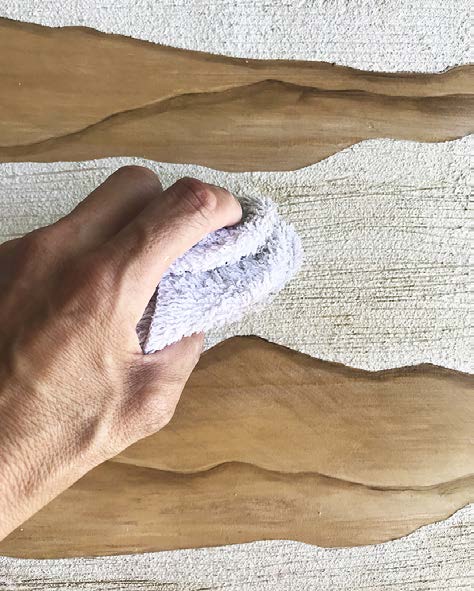
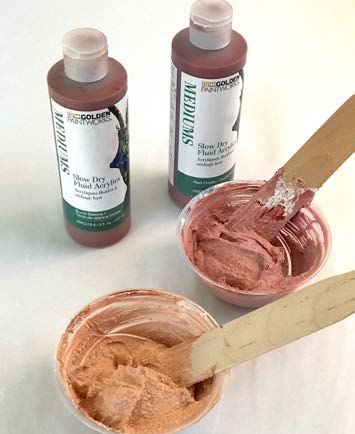
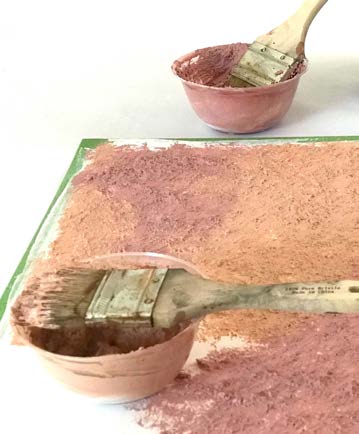
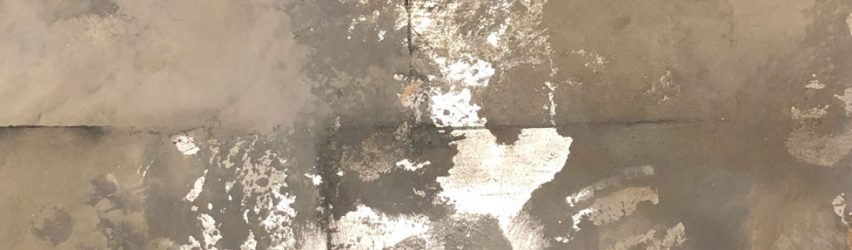
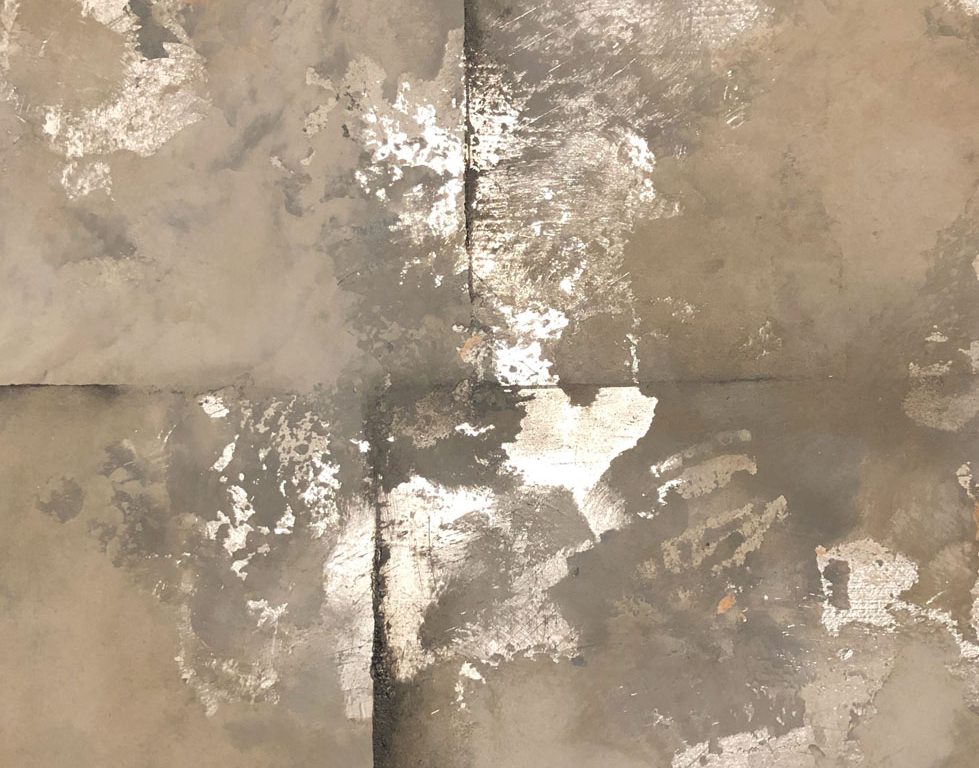
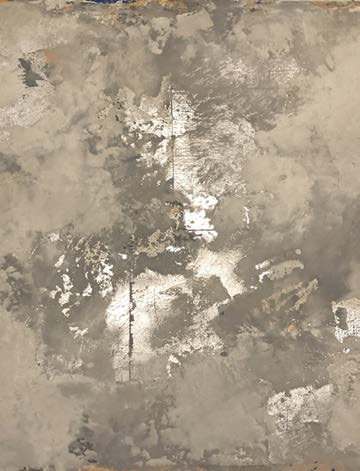
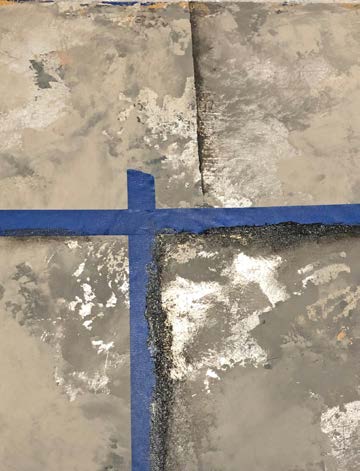
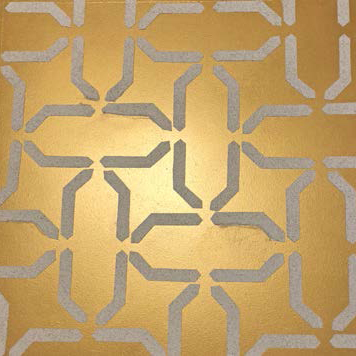
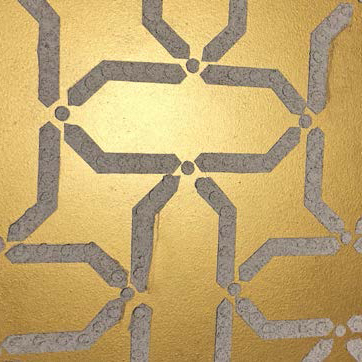
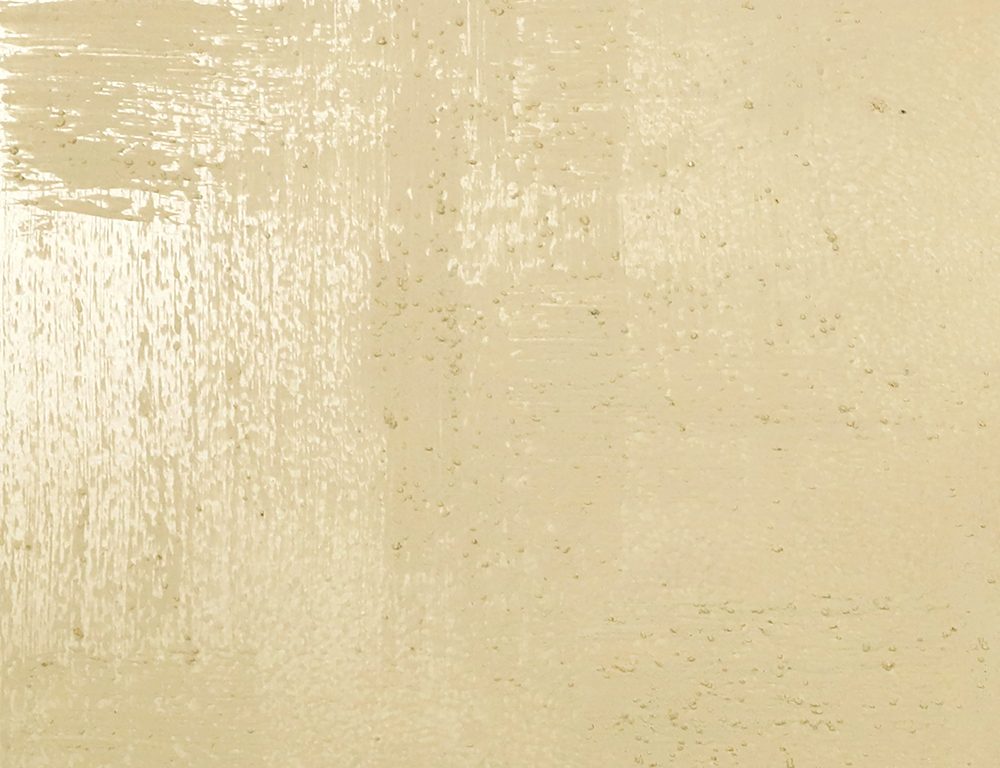
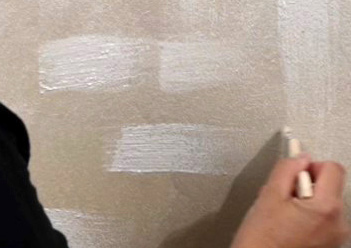
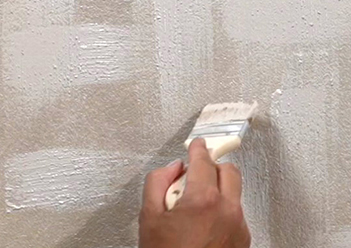
3 | Mix 1 part Golden Paintworks Weathered Granite with 1 part White Gold Metallic, then add 25% water. Using a 2” chip brush, apply random horizontal strokes, leaving open spaces to see the background. While these areas are wet, applying the same mixture in the same application, but apply strokes vertically. Work about a 3’ x 3’ space at a time. With this pattern, it’s ok to leave and come back to this finish and begin again.
(Photos 3-4)

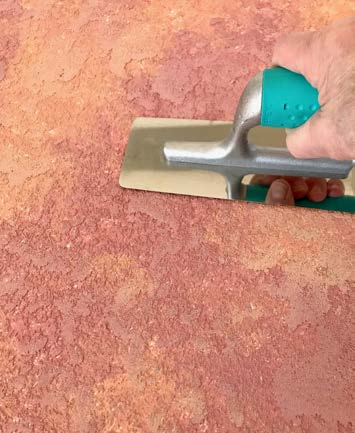
4 | If necessary, after drying, touch ups could always be
added to create more texture.

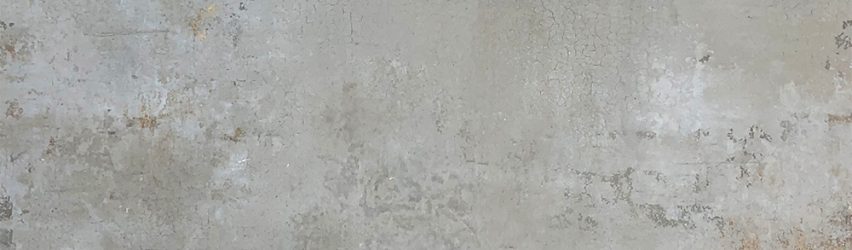
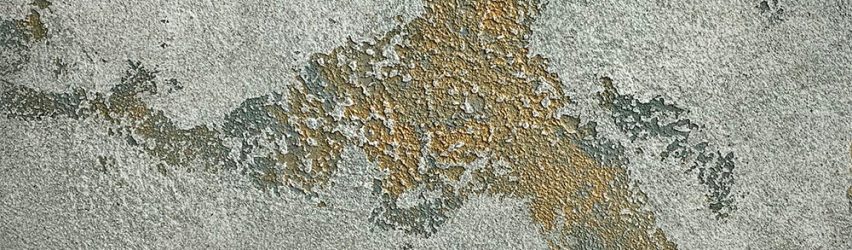
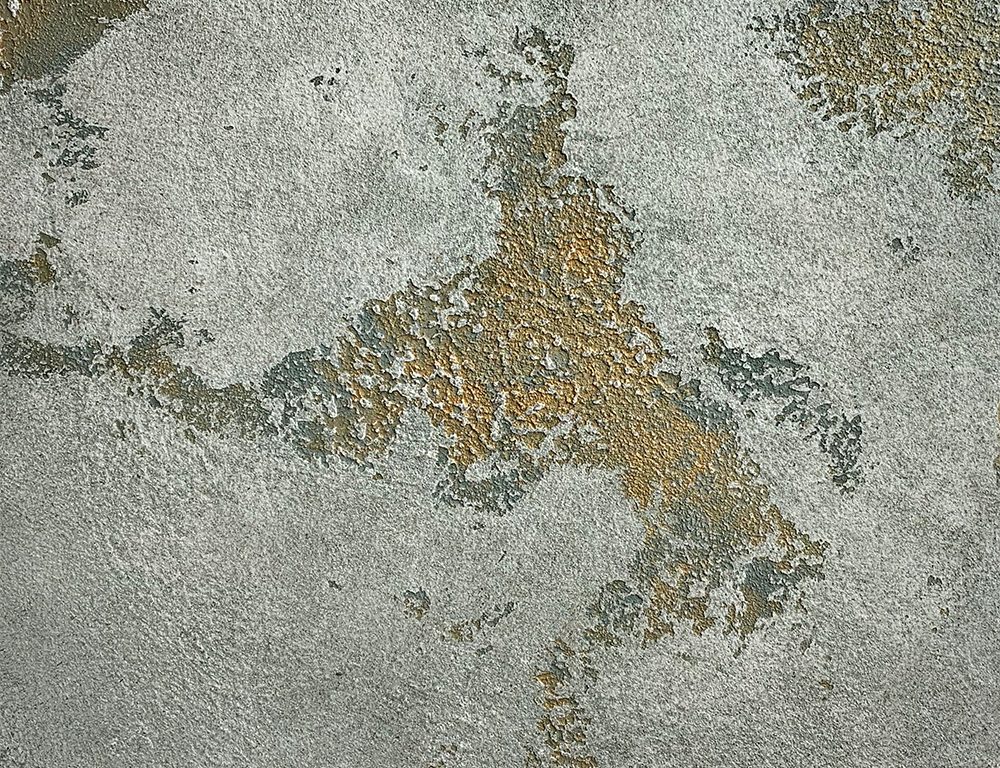
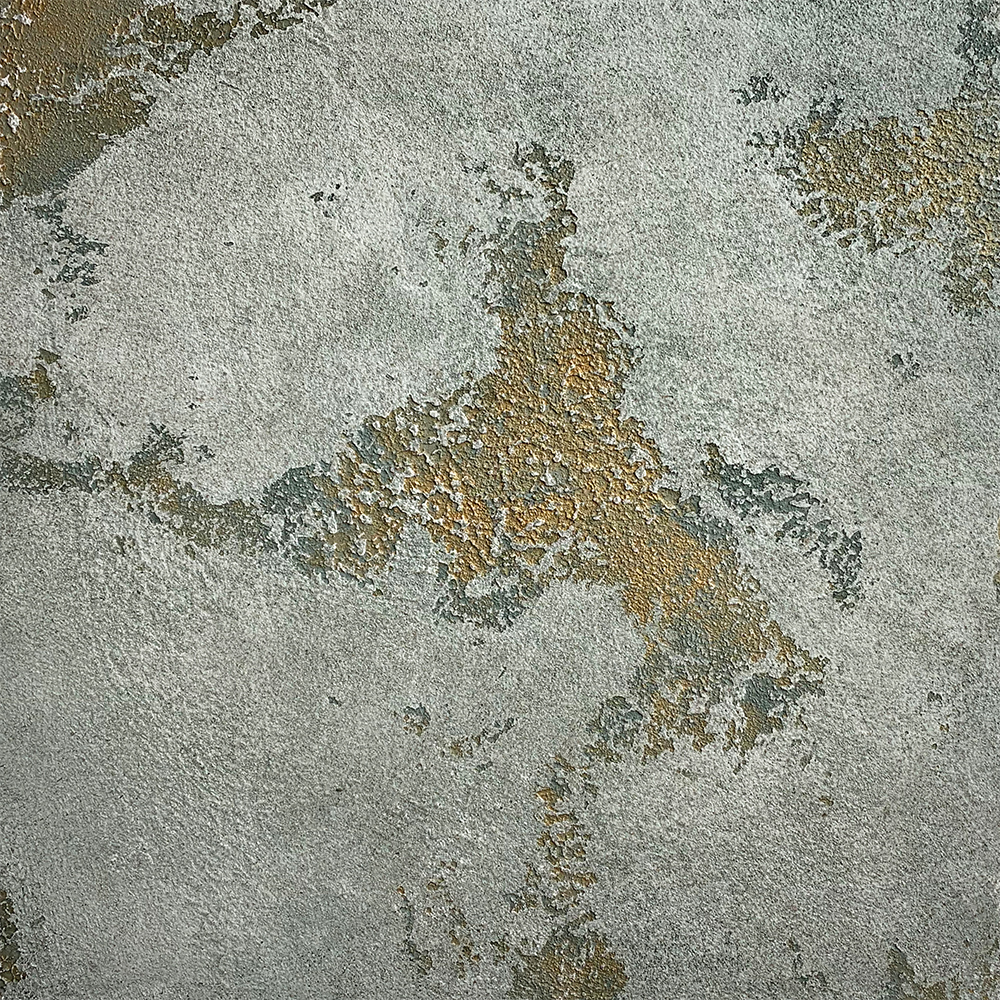
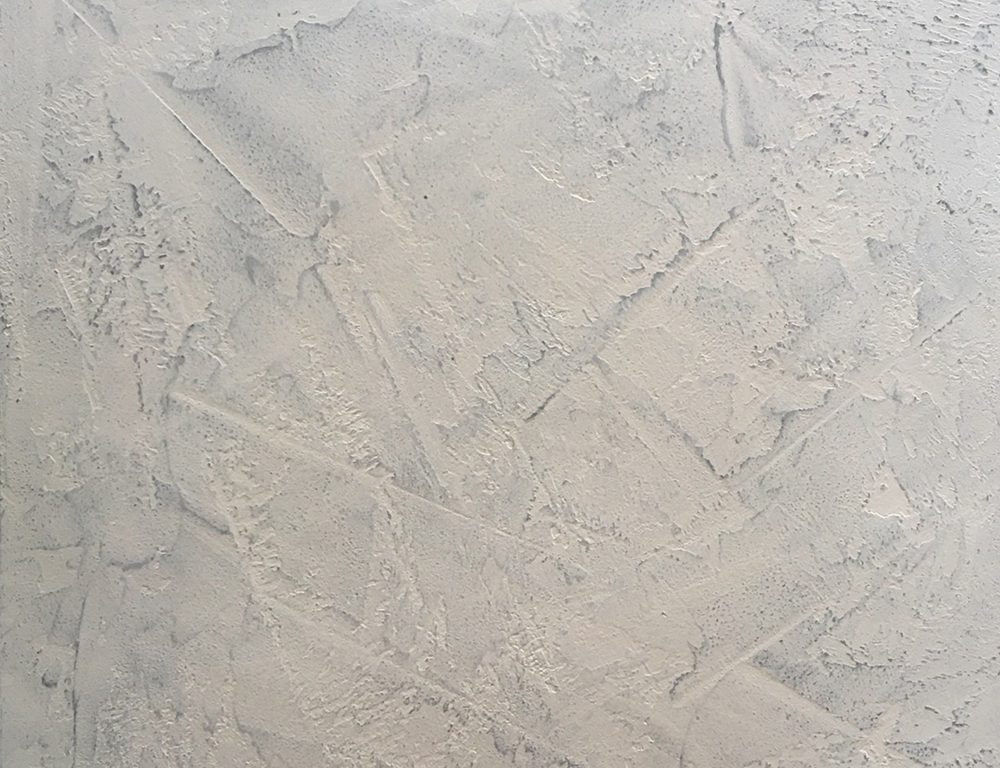
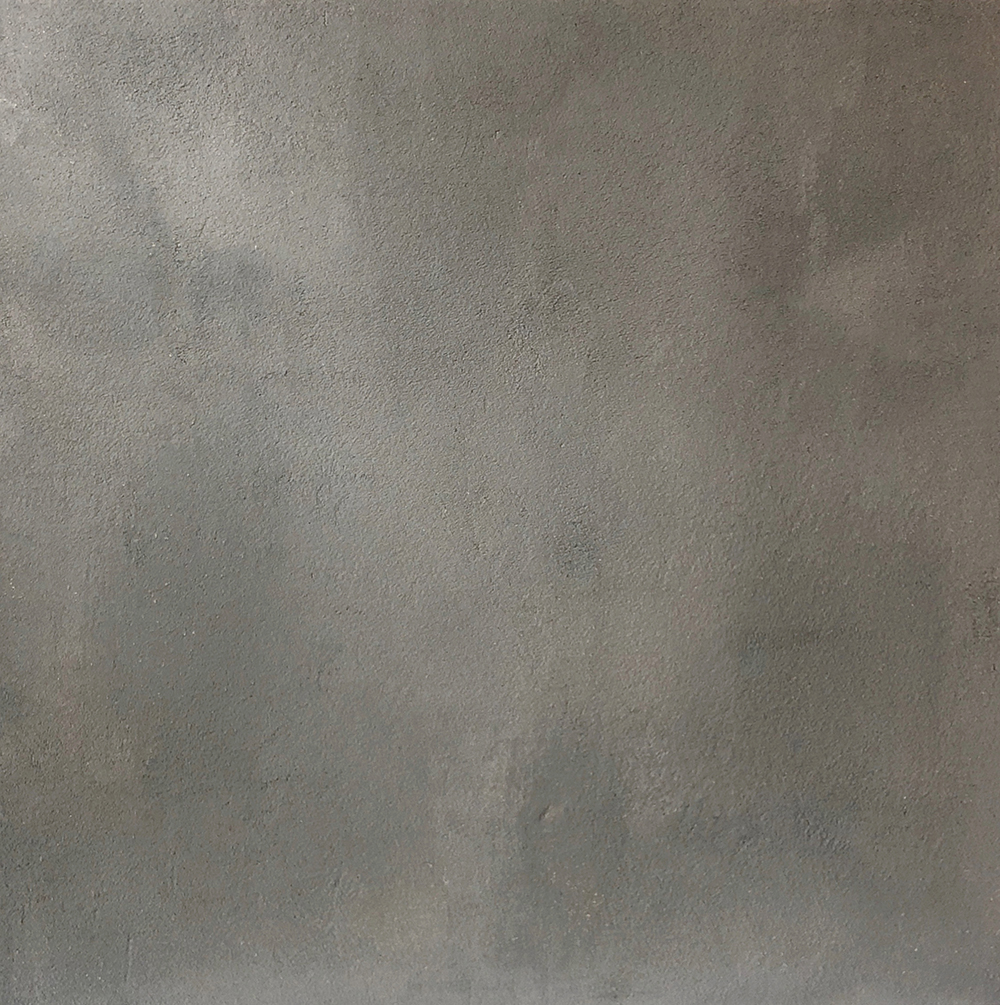
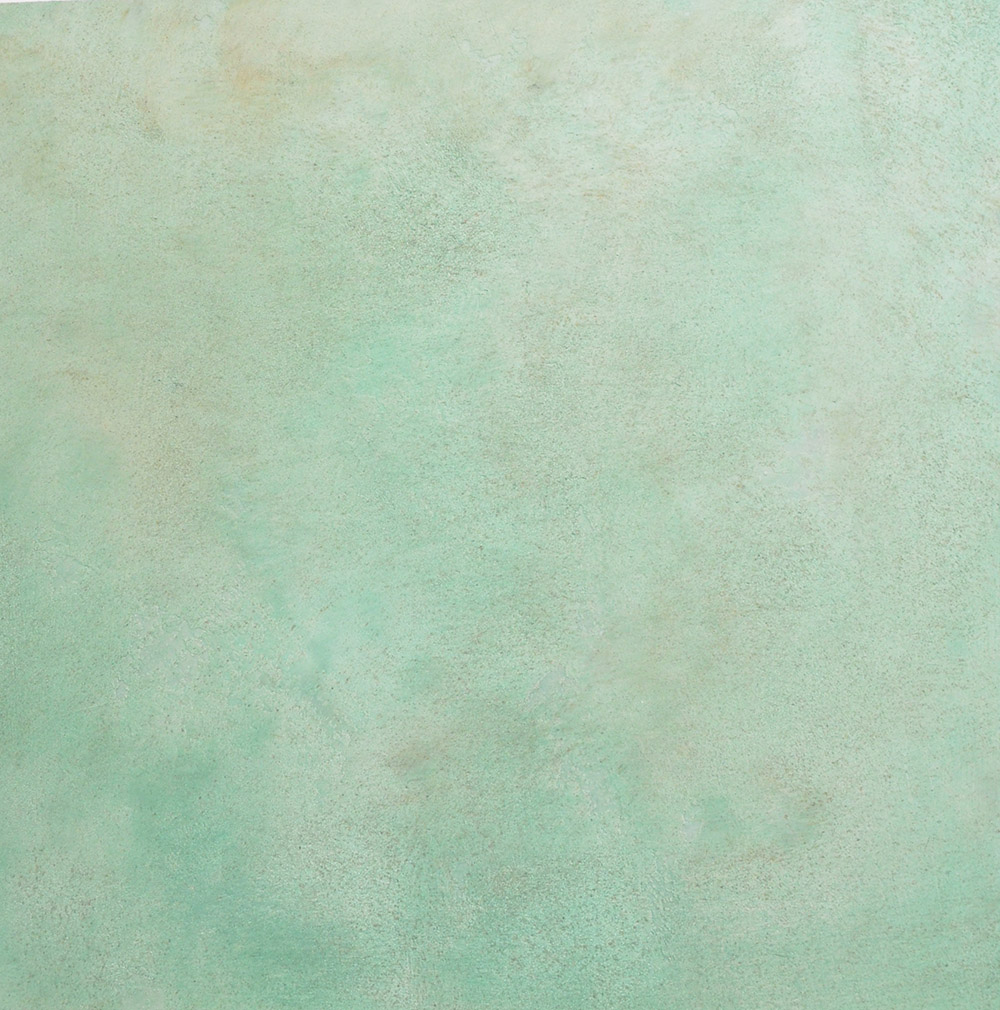
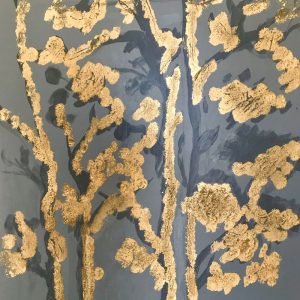
Here is the final finish.
(Photo 5)

Featured Products

About the Artist
Shiree, of Shiree Nichole Designer Finishes LLC, based in Naples, FL, has been in the faux art industry for over twenty years. The oldest of four girls, born in Newport Oregon and growing up in southwest Montana. She comes from a hard-working family with her father as a logger and later owning a drywall business. All four girls worked in drywall and much of Shiree’s knowledge and love for texture comes from working with her father. Shiree loves learning about new products, techniques and the chemistry behind the product. Shiree believes there is nothing like on-the-job training, experimenting, and she’s always open to learning something new. Shiree loves the diversity of finishes she creates and the collaboration she has with designers and decorators. In addition to her work creating decorative finishes, Shiree began honing her fine art skills in 2006 with oils on canvas and over the years has expanded to abstract acrylic art on Lucite and watercolors. 

Learn more about Shiree in our Behind the Texture artist feature series.
More from this artist

Looking for more inspiration? Click here to view all of the decorative finishes from our Limited Edition Collections.

Decorative Finish: Woodward

"Woodward" decorative finish
DECORATIVE FINISH HOW-TO

Woodward

Artist: Robin Belisle

Share this article

PROJECT SUPPLIES:

INSTRUCTIONS:

NOTE: All mixed colors below will reference a Benjamin Moore paint color where needed to guide you while you are mixing your colors. They are for reference only.

1 | Start with a clean dry surface that is at least
primed any color.

2 | Mix the Weathered Granite to a color close to Benjamin Moore 1599 Marina Gray using Slow Dry Fluid Acrylics in Van dyke Brown Hue, Phthalo Blue (Green Shade), and a small amount of Carbon Black. You’re just looking for a basic mid-tone cement color.

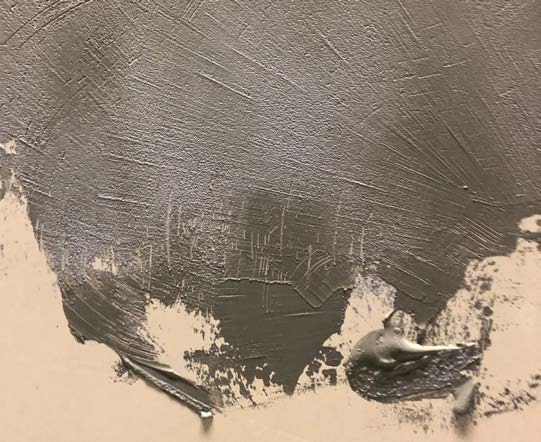
3 | Trowel all areas with a combo of the above mixture and a small amount of untinted Weathered Granite. Apply them both to your trowel and cover the surface. This provides more interesting areas to work around in the next steps.
(Photo 1)

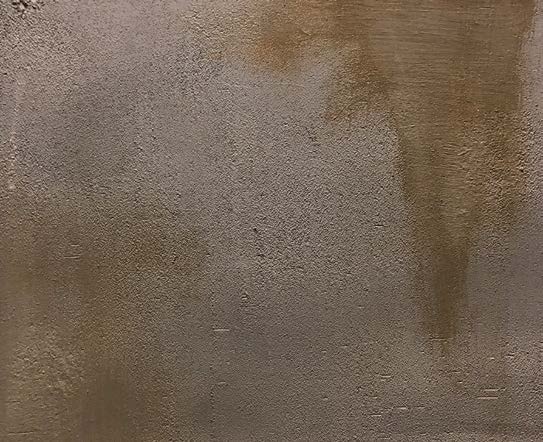
4 | Mix a custom color glaze with the Glazing Medium and Raw Sienna, Van Dyke Brown Hue, and small amount of Purple Dioxazine. (The Purple Dioxazine is very strong, use sparingly). It produces a warm faded color tint. Keep a bit aside for use later. Using your chip brush, lightly brush in vertically in some areas just to add some color. This is random spacing but shoot for approximately 10% coverage over your surface. Some areas should have larger areas tinted than others. Let dry.
(Photo 2)

5 | Dip your sea sponge into the Pre-Mixed Metallic Paint in Roman Gold and dot it into some of the tinted surface areas from previous layer. If necessary, flatten and smash into crevices with trowel. Let dry.
(Photo 3)

6 | Mix 3 separate 1/3 cup batches using the Venetian Plaster in the following colors:

  • Benjamin Moore1530 Senora Gray using the Slow Dry Fluid Acrylics in Raw Sienna, Raw Umber, Titanium White, and very small amount of Carbon Black
  • Benjamin Moore1550 Cumulus Cloud using Slow Dry Fluid Acrylics in Van Dyke Brown Hue, Titanium White, Phthalo Blue (Green Shade), and a small amount of Carbon Black
  • Benjamin Moore 1592 Blue Springs using Slow Dry Fluid Acrylics in Phthalo Blue (Green Shade), and a small amount of Dioxazine Purple, Van Dyke Brown Hue, Titanium White, and Carbon Black.

7 | Using 2 of the mixed colors from Step 6 — not mixed together but separately on your trowel at the same time — begin troweling around the texture and color pockets you created previously with the color glaze and Roman Gold Metallic Paint. Start by dotting onto your surface to offload your trowel and as you near being empty on them, use the remaining plaster to dot into your previously created pockets. (You shouldn’t avoid the pockets, but you don’t want to start dotting in a pocket with a fully loaded trowel as this will fill in too much).
(Photo 4)

Once your trowel is offloaded, smooth down or flatten the plaster by pulling with the trowel horizontally and vertically. Continue in this manner until all areas are covered, changing between the 3 plasters randomly, any two in a combination on your trowel. Fill in areas of your pockets until they are pleasing in composition. Let dry.

8 | Reapply mixed color glaze and/or the Roman Gold Metallic Paint to taste, as well as another pass on the plasters, applying in the same manner as above until you are satisfied with the look. Let dry. Note that some of these areas will crackle on their own.

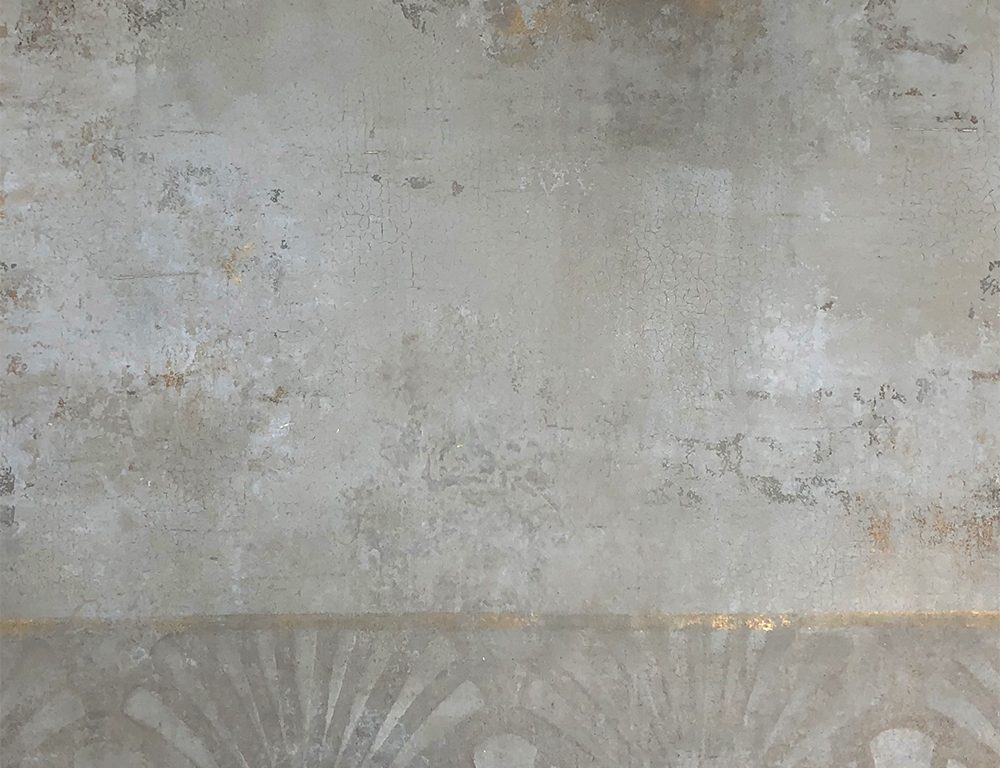
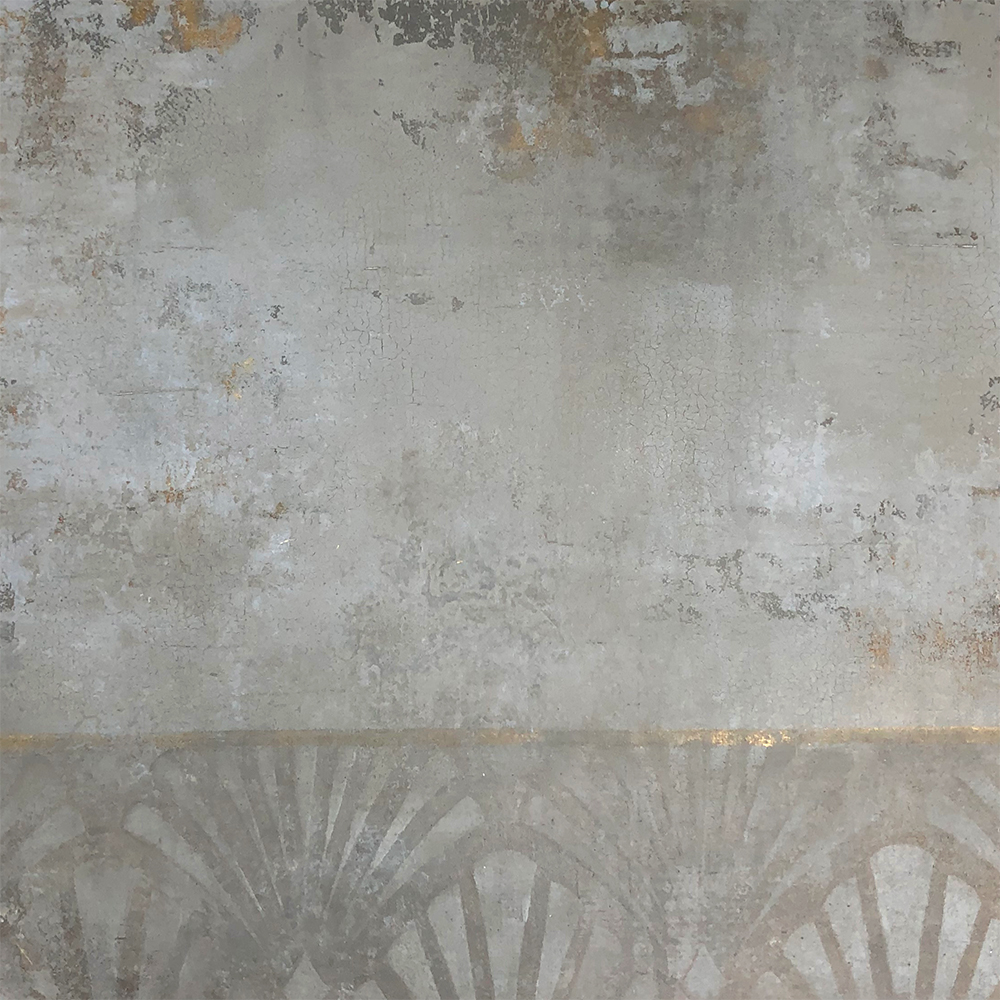
9 | Fresco: I wanted a fresco type look so I taped off an area along the bottom and used the tinted glaze from Step 4 to fully fill in the area below the tape line.
(Photo 5)

Terry towel to soften, lightly mist with Windex, count to twenty and blot with terry towel and immediately start to lightly pull in all directions with the sponge applicator. It will pull off where the Windex has bitten in but keep in mind you are not going for complete removal.
(Photo 6)

You are trying to have a very weathered effect. Let dry and then stencil with the Art Deco pattern with the color glaze, using a small amount more of Raw Umber and Van Dyke Brown Hue. Lightly blot and fade with terry towel and pull stencil carefully. Clean up any edges and let dry.

Here’s the final texture.
(Photo 7)

Featured Products

About the Artist
Robin Belisle, owner and Decorative Artist at Faux Couture, is a self taught artist who began her decorative painting career in 1998 after an extraordinary encounter with a faux finishing class. From there, she made a pointed decision to become the best decorative painter she could be and searched out award winning designers and builders to work with. She has traveled to Italy, Paris, many times to Morocco and all over the world leaving her mark on homes and hotels in need of artistic interpretation. This in turn has helped her hone her craft and create many signature finishes based on her travels. She has been featured in magazine articles, trade shows and the local news as trends to watch. She began teaching in her own studio and then taught many classes across the US. She joined the Board of Directors for the International Decorative Artisans league (IDAL) as education chair. As that chapter drew to a close, she knew she would eventually be teaching more. She has since joined other instructors on THE PAINT HIVE teaching online decorative painting classes.

More from this artist

Looking for more inspiration? Click here to view all of the decorative finishes from our Limited Edition Collections.

Decorative Finish: Emerald & Gold Granite

"Emerald & Gold Granite" decorative finish
DECORATIVE FINISH HOW-TO

Emerald and Gold Granite

Artist: Jess Kollar

Share this article

PROJECT SUPPLIES:

INSTRUCTIONS:

1 | Mix Phthalo Blue (Green Shade), Raw Sienna, Burnt Umber and Carbon Black Slow Dry Fluid Acrylics into the Weathered Granite until desired color is achieved. The tinted granite will dry 2 shades darker.
(Photo 1)

2 | Trowel a thin, rough layer. Let dry.
(Photo 2)

3 | Mix one part Glazing Medium to one part Gold Metallic Paint and dab it into the rougher areas of the plaster.
(Photo 3)

4 | Using a dabbing motion, wipe excess Gold Metallic Paint away with a cloth. Let dry.
(Photo 4)

5 | Skip trowel untinted Weathered Granite across the surface. Let dry.
(Photo 5)

6 | Mix your same Slow Dry Fluid Acrylics in Phthalo Blue (Green Shade), Raw Sienna, Burnt Umber and Carbon Black into Glazing Medium.
(Photo 6)

7 | Brush colored Glazing Medium across entire surface with a natural bristle brush. Let dry.
(Photo 7)

Here’s the final texture.
(Photo 8)

Decorative Finish: Arctic Ice

DECORATIVE FINISH HOW-TO

Arctic Ice

Artist: Tim Glastetter

Share this article

PROJECT SUPPLIES:

INSTRUCTIONS:

1 | Roll surface with Benjamin Moore Light Pewter and let dry. Mix 1 part Weathered Granite with 3 parts Sandstone. Tint with Slow Dry Fluid Acrylic Ultramarine Blue and a drop of Slow Dry Fluid Acrylic Carbon Black (just enough to dirty it up). Apply to area using using a skip trowel technique. This base texture technique will transfer through to the finish layers.
(Photos 1 – 3)

2 | Burnish with same 7″ trowel. Not much time is required for this step – it’s super quick and just a light skip over this texture will produce a heavy burnish. A lighter burnish can be produced, if preferred.
(Photo 4)

3 | Tint Soapstone with Slow Dry Fluid Acrylic Titanium White and just a drop of Slow Dry Fluid Acrylic Raw Umber. Apply over Weathered Granite/Sandstone texture, covering 90 – 100%. Do not pull tight, some texture is okay.
(Photo 5)

4 | Apply second layer of Soapstone (same mix as in previous step). This time cover 100% and pull material tight.
(Photo 6)

5 | Apply a clear wax of choice – I used Briwax (clear), buffed to a desired sheen.
(Photo 7)

Here’s the final texture.
(Photo 8)

Featured Products

Tim Glastetter

About the Artist
Tim Glastetter is a native of the St. Louis area. His lifelong passion and innovative use of painting techniques began in childhood. Tim transforms a client’s perspective of paint from a simple medium into a critical design component. This passion and vision forged the pathway for his professional career as a decorative painter. He pursued arts throughout his college education and continues to hone and innovate his craft through class and trade show participation. He is an active member of the International Decorative Artists League (IDAL) and Metro Artisans Guild (MAG). Functionality, adaptive reuse, and nature are central to Tim’s contemporary vision. Designers, contractors, architects, and homeowners seek his counsel on innovative design. Tim’s studio, RiverHouse, was originally a condemned property along the scenic bluffs of the Bourbeouse River, located nearly 45 mins west of St Louis. His resourceful and inventive use of paint during the remodeling process of the RiverHouse has been featured in multiple magazines and newspapers. More information about Tim and his Riverhouse Project can be found on his website, Tim Glastetter.

More from this artist

Looking for more inspiration? Click here to view all of the decorative finishes from our Limited Edition Collections.

Decorative Finish: Concrete

DECORATIVE FINISH HOW-TO

Concrete

Artist: Michelle Kole Decorative Services

Share this article

PROJECT SUPPLIES:

INSTRUCTIONS:

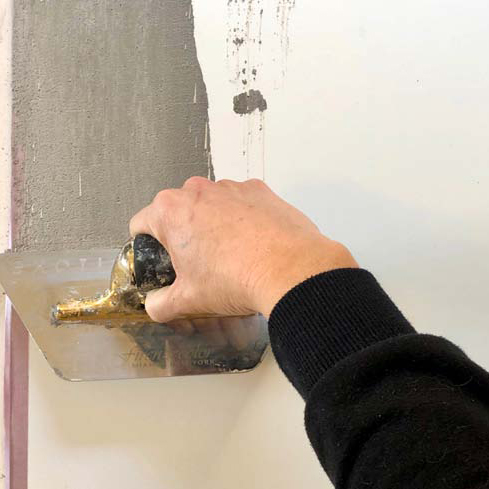
1 | Mix two batches of concrete-like grays with the Weathered Granite and Slow Dry Fluid Acrylic colors – one light gray and one darker gray to taste. Keep in mind the final product will look predominately somewhere in between the two. Mix enough for two coats. You can add a bit of water to stretch your product further.
(Photo 1)

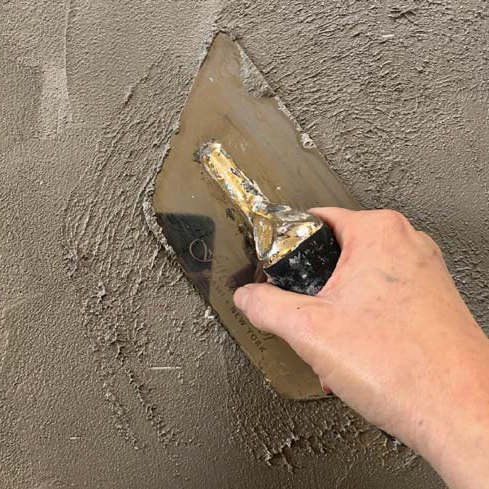
2 | Apply a small amount of each color to the edge of your trowel. Use your spatula/knife to pick up and mix them together once or twice onto the trowel.
(Photo 2)

3 | Spread this onto the wall in mainly vertical strokes.
(Photo 3)

While the product is wet, press your trowel flat onto the wet plaster, pulling up and creating texture like tiny mountain peaks. Continue adding both colors in the same manner across the wall.
(Photo 4)

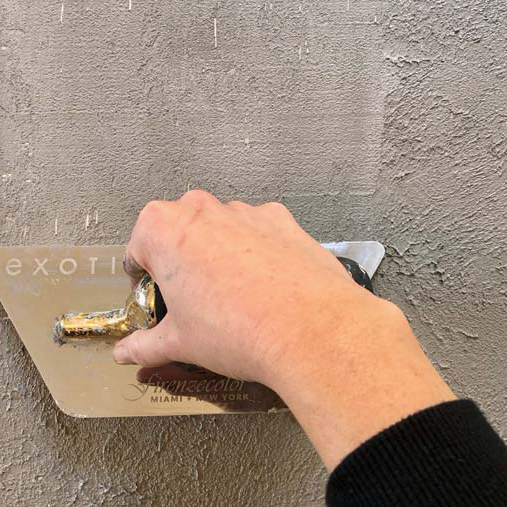
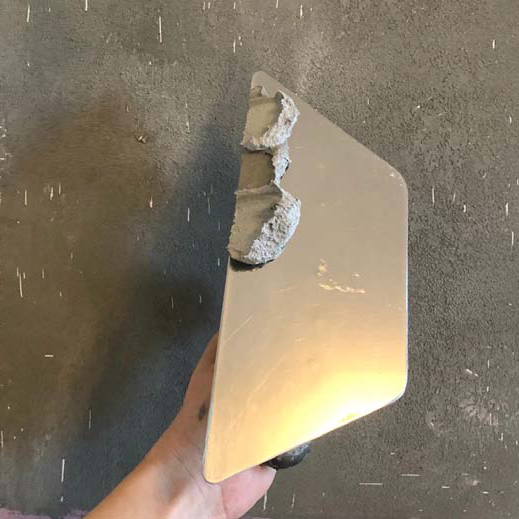
4 | Allow the product to “set up”, meaning to start to stiffen but not harden completely. Clean your trowel and “knock down” or flatten the texture by gliding vertically across the surface. Clean your trowel often to avoid dragging marks. Small scratches here and there are fine, and will be blended in the next coat.
(Photo 5)

5 | Apply the next coat in the same manner, but this time consider where you want more light areas and darker areas. Alternate using more or less of each shade.
(Photo 6)

Hold your trowel at a flatter angle to the wall for a thicker, rougher concrete look. Pulling it tighter will crush and bring out more of the natural brown colored aggregate in the Weathered Granite.
(Photo 7)

Here’s the finished texture.
(Photo 8)

Featured Products

Michelle Kole

About the Artist
Michelle Kole is a multidisciplinary artist specializing in the creation and installation of decorative surfaces for the interior design and architectural industry. Her love of interiors, art, and beautiful things lead to the creation of Michelle Kole Decorative Surfaces. Michelle has over 20 years experience in the field of custom, hand-applied specialty finishes and site-specific art. Interior designers, architects, and homeowners alike come to her for a unique combination of aesthetic vision, technical knowledge, and craftsmanship. Michelle works in time-honored techniques and mediums and builds upon them in contemporary ways. Based in Brooklyn, NY, her walls, custom artwork and design embellishments can be seen in luxury homes and commercial spaces throughout the New York City tri-state area and beyond.

More from this artist

Looking for more inspiration? Click here to view all of the decorative finishes from our Limited Edition Collections.

Decorative Finish: Tint Stone

DECORATIVE FINISH HOW-TO

Tint Stone

Artist: Jason Rosales, Artisan Factor

Share this article

PROJECT SUPPLIES:

INSTRUCTIONS:

1 | Prime and plaster – I primed the sample board with a quality bonding primer and applied a trowel coat of Sandstone as a base layer. Once I applied the full coat, I wiped the trowel and went back and “popped” the texture by laying my trowel face down onto the finish and pulling it directly off. Wiping the trowel clean again, I then lightly smoothed out the finish by knocking it down and troweling in random directions – keeping a relatively low, smooth texture.
(Photo 1)

2 | Sand the surface lightly and apply about 90% coverage of random sections in Weathered Granite over the Sandstone and pull tight. You can trowel in random directions in order to smooth out the look of the crushable, colored aggregate in the Weathered Granite. Let dry.
(Photo 2)

3 | Mix Glazing Medium and Slow Dry Fluid Acrylic Phthalo Green for a gem green glaze. Add a little bit of Carbon Black to deepen the color. Apply this glaze all over with a brush of your choice – either synthetic or natural bristle.
(Photo 3)

Use a tile sponge or separate brush to then soften out your brush strokes. Natural bristle brushes work well for this.
(Photo 4)

Here is the final finish.
(Photo 5)

Featured Products

Jason Rosales

About the Artist
Artisan Factor is a professional cabinet refinishing & decorative finishing company servicing the Central Florida area in the residential, commercial and hospitality fields. With over 15 years of faux and decorative finishing experience. Jason Rosales provides a wide range of looks on cabinetry, millwork, interior/exterior walls, and ceilings using glazes, paints, plaster, texture, wood graining, marbling, gilding, stenciling and embossing. He has a commitment to quality that shows in every step of a project, from his product selection and surface preparation to the final finish results. As a problem solver and a hands-on type, he has helped many find the best solution for their space while staying within budget. Creating a beautiful and stylish environment for his client is a passion and doing so with a commitment to care and an eye for detail only comes naturally.

More from this artist

Looking for more inspiration? Click here to view all of the decorative finishes from our Limited Edition Collections.

Decorative Finish: Contemporary Mountainscape

Contemporary Mountainscape by Carmen Lomax
DECORATIVE FINISH HOW-TO

Contemporary Mountainscape

Artist: Carmen Lomax

Share this article

PROJECT SUPPLIES:

INSTRUCTIONS:

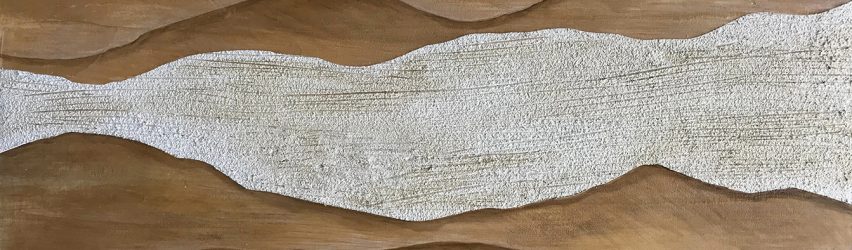
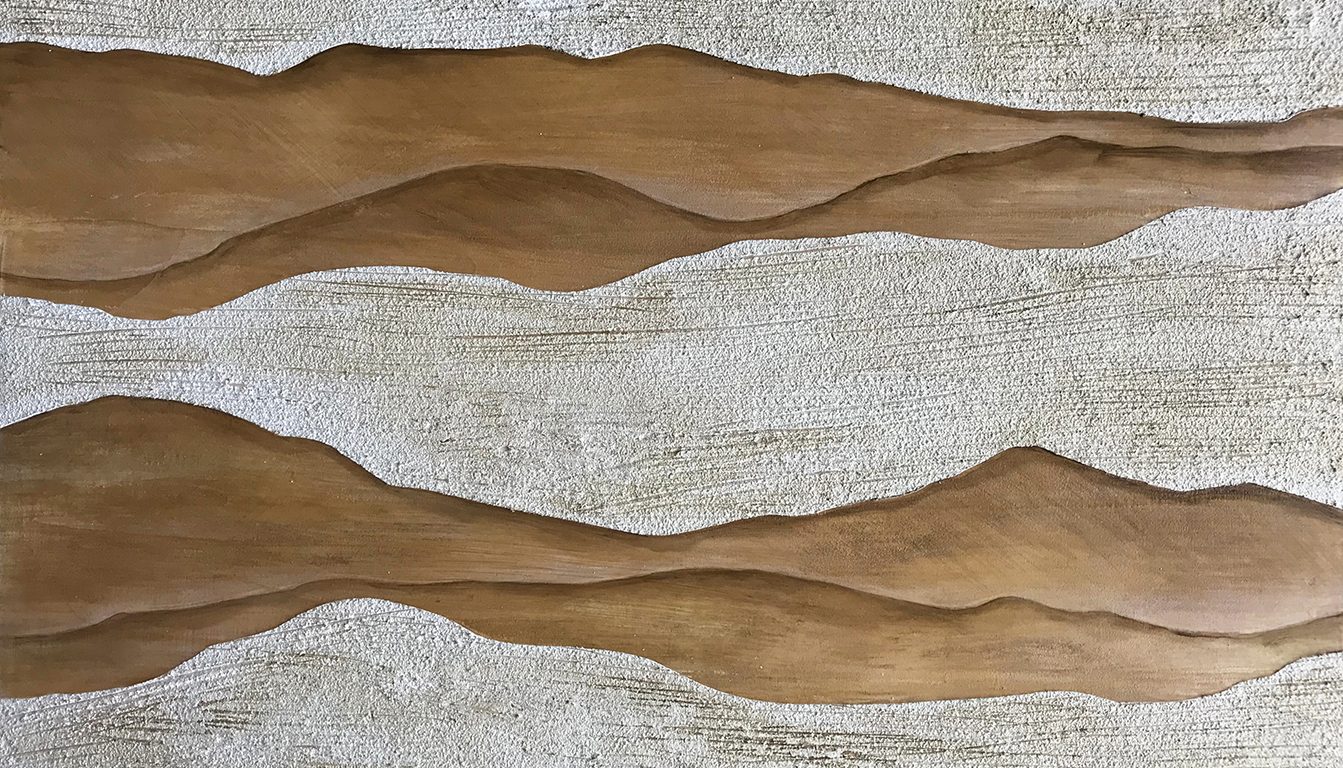
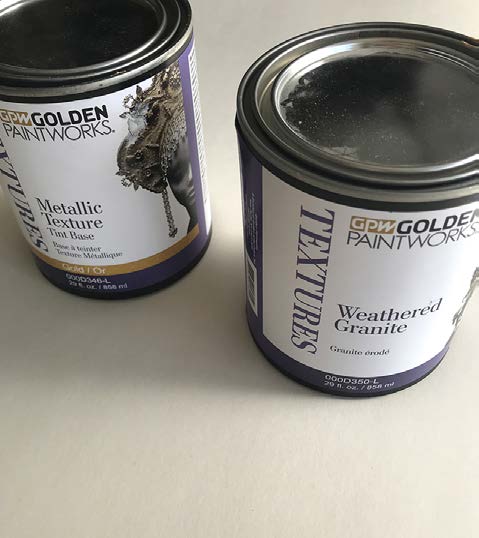
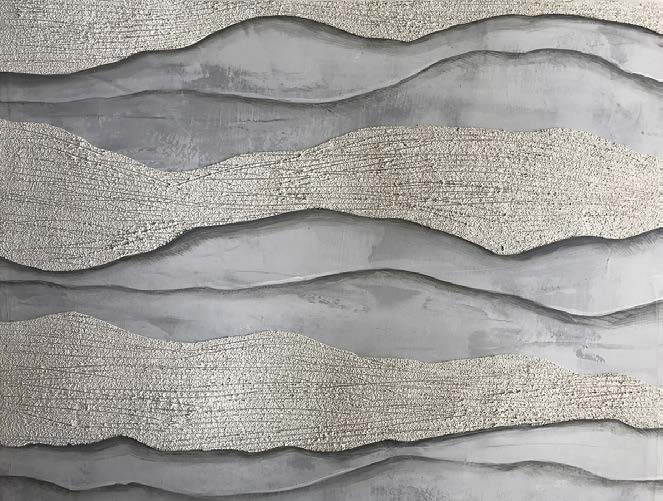
1 | Roll your surface with a neutral off white base coat and let dry. Proceed with one coat layered in with your trowel horizontally with Metallic Texture Tint Base Gold. It will appear uneven in terms of light areas and coverage but the lighter base coat telepathing through will give some nuance to your sections. Let dry.
(Photos 1-2)

2 | Skim coat Soapstone evenly over the Metallic Textures Tint Base Gold horizontally. Let dry.
(Photo 3)

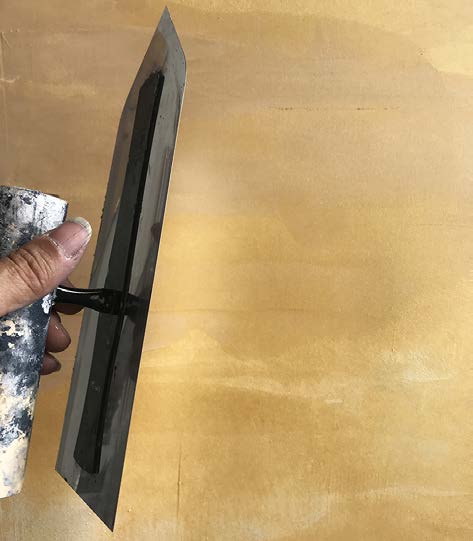
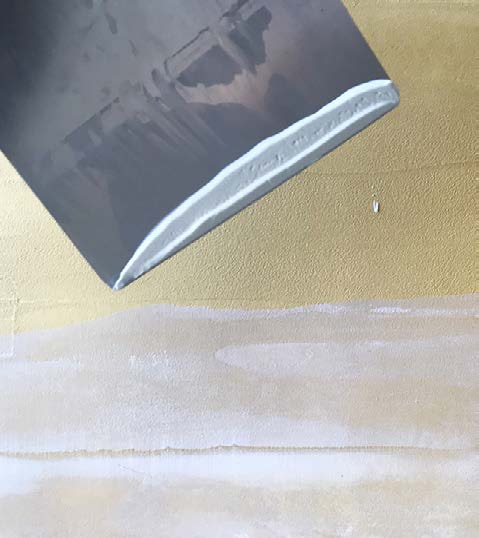
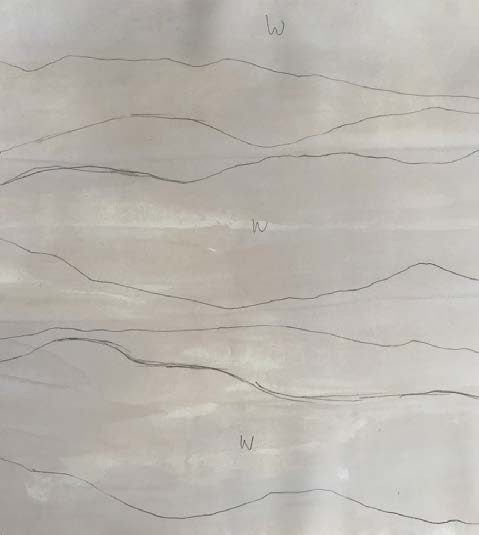
3 | For your next step, you can always use stencil mylar, but here I used some drafting vellum because it is slightly thinner and easier to cut, plus you can sketch on it. Lay out and cut your mountainscapes, noting which sections are slated for the lighter Weathered Granite.
(Photos 4-5)

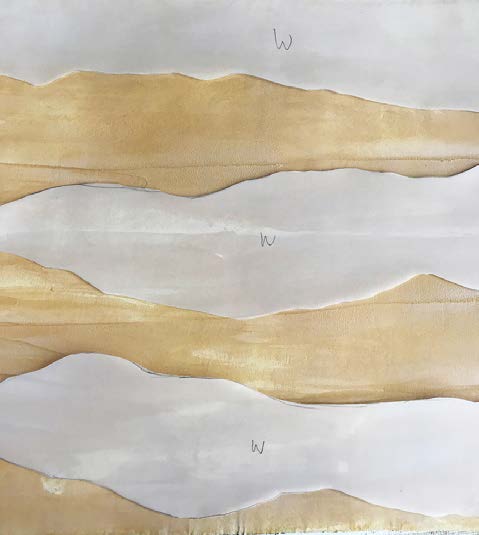
4 | Expose the first section to be treated. Next, prepare some Glazing Medium with Slow Dy Fluid Acrylic Raw Umber, not too dark, just enough to give some interest to our gold. Blend horizontally. Let dry.
(Photos 6-7)

5 | Cover the areas you just completed once dry, now exposing the areas to be done in Weathered Granite.
(Photo 8)

Here, I used a rubber blade but any spatula would do to trowel on the Weathered Granite.
(Photo 9)

While still wet, follow with a teeth tool and drag through horizontally.
(Photo 10)

Remove the acetate or vellum. Let dry.
(Photo 11)

6 | Using your same Raw Umber glazing solution from Step 4, add drop shadows and blend under each section.
(Photo 12)

And lastly, thinning out your umber solution a little more, add and wipe off with a damp cloth so that a little of that same color gets in the creases on your granite sections, tying everything together. Let dry completely.
(Photo 13)

Here is the finalized texture.
(Photo 14)

OPTION: I’ve also included another colorway in gray, so that you can see the versatility in tones.
(Photo 15)

Featured Products

About the Artist
Carmen Lomax specializes in creative wall finishes for home decor, children’s rooms and commercial and residential spaces. She works directly with homeowners and business-owners, as well as help develop projects for interior designers, architects, and commercial developers. Design options range from wall finishing and texturing to thematic murals, ceilings and three-dimensional artwork. Absolutely any hand-painted technique can be incorporated, from loose and whimsical to fine art detail and photo-realism.
More from this artist

Looking for more inspiration? Click here to view all of the decorative finishes from our Limited Edition Collections.

Decorative Finish: Natural Beauty

Natural Beauty decorative finish
DECORATIVE FINISH HOW-TO

Natural Beauty

Artist: Debbie Hayes

Share this article

PROJECT SUPPLIES:

INSTRUCTIONS:

ARTIST NOTE: Scale is everything with this finish. For example, on a focus wall, the scale should be quite large, versus on an art canvas. So adjust the size of the stencil scale accordingly.

1 | Roll on 2 coats of primer. Let dry between coats.

2 | Mix 2 basecoat texture colors in 2 containers. Use approximately 1 part Burnt Sienna to 10 parts Weathered Granite, then 1 part Red Oxide for the other. Adjust color as needed.
(Photo 1)

3 | Use a chip brush for each color. Tap on a heavy coat of Red Oxide in artful drifts. Then use the Burnt Sienna mixture to fill in.
(Photo 2)

4 | Let dry for a few minutes. With the stainless steel trowel, knock down the peaks. Some of the white basecoat will show. Let dry.
(Photo 3)

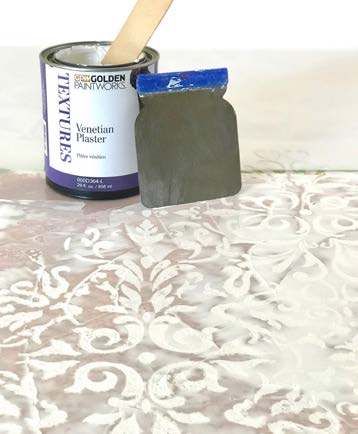
5 | Apply and secure the stencil. Use a Japan trowel to apply the Venetian Plaster, being careful not to let it seep through the design.
(Photos 4-5)

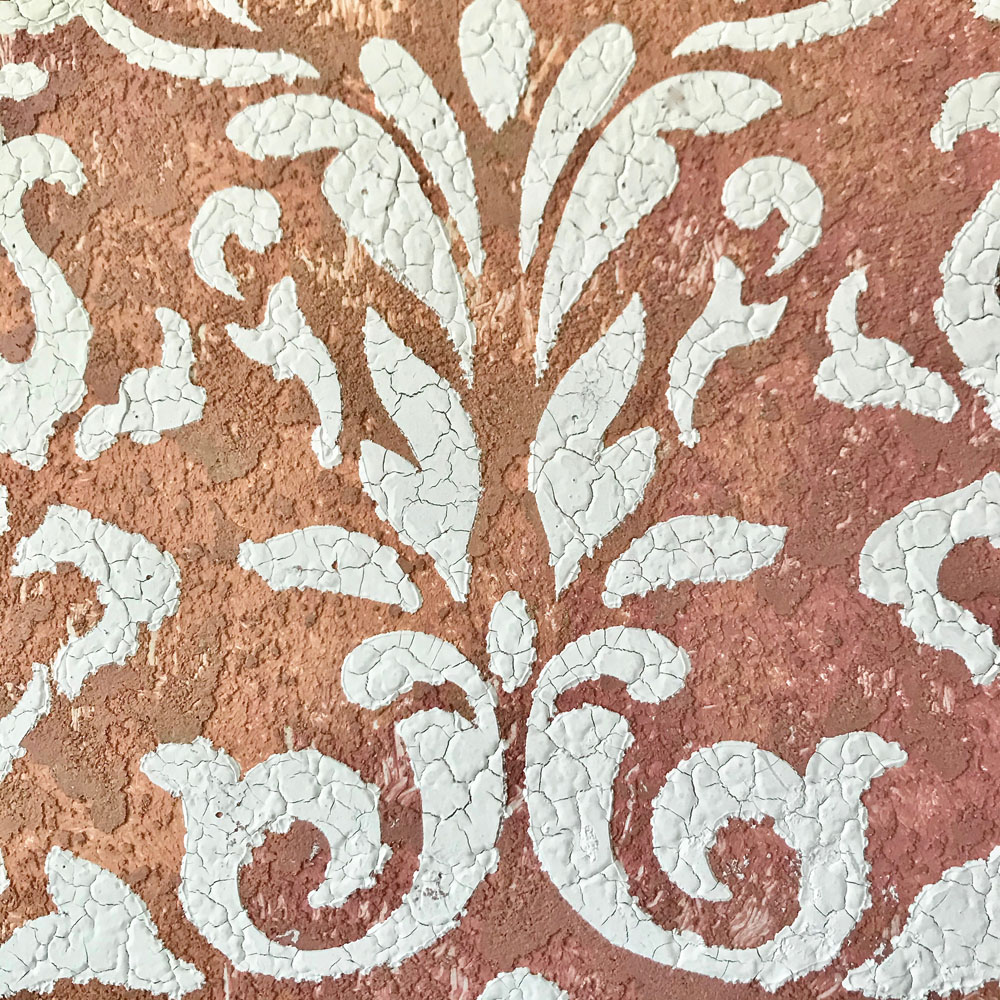
6| Let dry to crackle naturally. Here is the final finish.
(Photo 6)

Featured Products

About the Artist
Debbie Hayes earned a BA in Fine Arts, concentrating on painting, and has spent 95% of her career as a full-time artist. She is a book illustrator, graphic artist, art director, photographer, stylist, website designer, writer, faux finisher for 20 years, and DIY tutorial blogger. Many decorative painters know her from events like the annual ArtFusion Event and IDAL Decorative Artisans League where she has been an instructor, teaching various faux finishing techniques using the products and stencils she loves most.

More from this artist

Looking for more inspiration? Click here to view all of the decorative finishes from our Limited Edition Collections.

Decorative Finish: Urban Luxe

Urban Luxe decorative finish
DECORATIVE FINISH HOW-TO

Urban Luxe

Artist: Decorative & Faux Finishes

Share this article

PROJECT SUPPLIES:

INSTRUCTIONS:

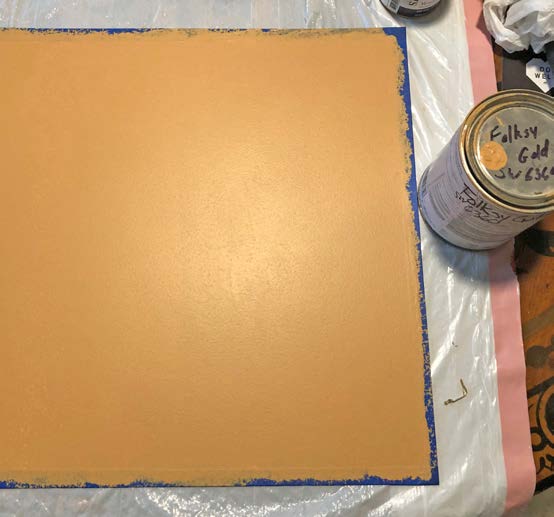
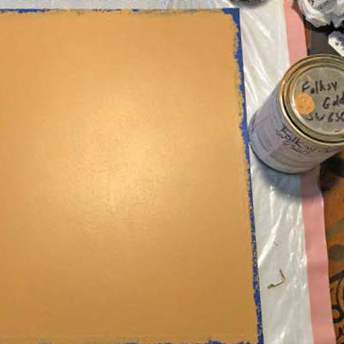
1 | Basecoat in Sherwin Williams Folksy Gold satin or color of choice. Let dry.
(Photo 1)

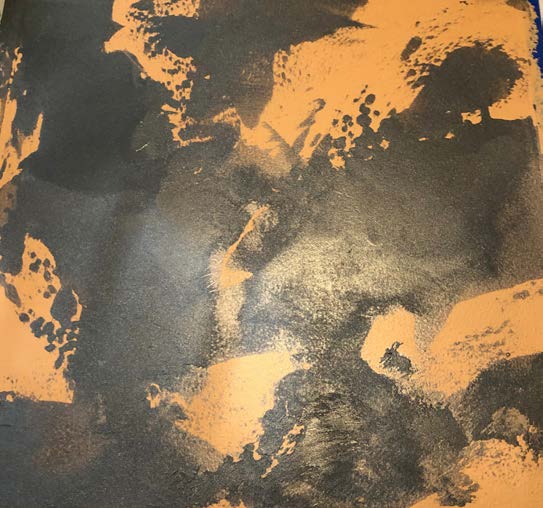
2 | Mix Slow Dry Fluid Acrylics in Carbon Black into the Metallic Texture Tint Base Pearl to a dark charcoal or desired color. Trowel randomly over 70% of surface. Let dry.
(Photo 2)

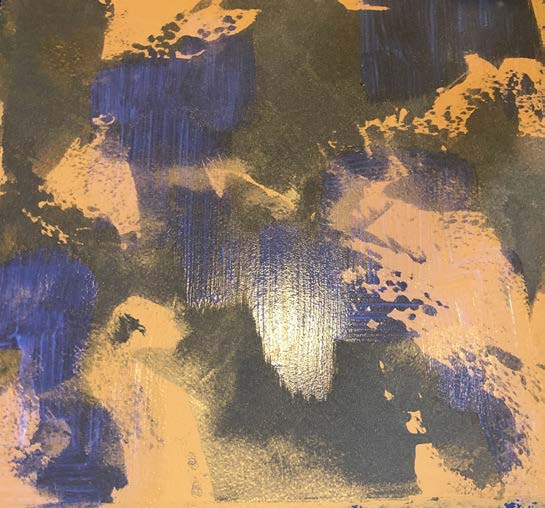
3 | Roll Foil/Leaf Size adhesive randomly on surface and let set up.
(Photo 3)

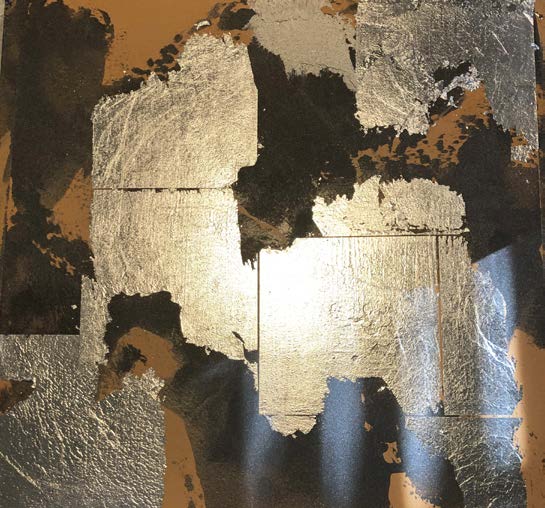
4 | Lay down Foil/Leaf squares on sized areas. This sample has groupings of 2 – 4 squares. Let dry.
(Photo 4)

Tip: You could also substitute Golden Paintworks Pre-Mixed Metallic Paint in Silver or Bright Silver randomly on surface.

5 | Mix Weathered Granite with a little Slow Dry Fluid Acrylics in Raw Umber to desired color. Trowel randomly, leaving some of previous steps still showing. Let dry.
(Photo 5)

6 | Mix 2 Sandstone mixtures:

a) Sandstone with a little Slow Dry Fluid Acrylics in Raw Umber, and

b) Sandstone with a little Slow Dry Fluid Acrylics in Carbon Black.

7 | Pop on both colors with a trowel wet on wet over 25 – 30% with previous layers still showing in areas. Do not apply heavily.
(Photo 6)

8 | Lightly blend with a trowel and then a barely damp stain pad or flat sponge. If a lighter look is needed, you can skip trowel a bit of un-tinted Sandstone.
(Photo 7)

9 | Mix Glazing Gel with Slow Dry Fluid Acrylics in Raw Umber and Black to desired color. Tape off random lines across the surface and run product along tape line with a brush. You can use some of your leaf lines as guides. Remove the random tape lines and let dry.
(Photo 8)

10 | Mix Glazing Medium with Slow Dry Fluid Acrylics in Raw Umber to desired color. Add just a little to surface randomly and blend with a barely damp stain pad or flat sponge. Let dry. If desired, roll on Golden Paintworks Clear Topcoat Satin. Here is the final finish.
(Photo 9)

Featured Products

About the Artists
Decorative & Faux Finishes, a decorative arts team, has been in business since 1998 creating custom faux finishes and murals for homeowners, designers, businesses, and contractors in the greater Houston area and beyond. The team has studied under master artisans from all over the world. With dedication to this art, Decorative and Faux Finishes provides experience, talent, and attention to detail. While sensitive to every client’s desired style and budget, they receive the benefit of a certified professional finisher eager to create something special… just for you.

Learn more about Decorative & Faux Finishes in our Behind the Texture artist feature series.

More from this artist

Looking for more inspiration? Click here to view all of the decorative finishes from our Limited Edition Collections.

Decorative Finish: Golden Links

Golden Links decorative finish
DECORATIVE FINISH HOW-TO

Golden Links

Artist: Decorative & Faux Finishes

Share this article

PROJECT SUPPLIES:

INSTRUCTIONS:

1 | Basecoat in Sherwin Williams Folksy Gold satin or color of choice, and let dry.
(Photo 1)

2 | Roll on the 24K Gold Metallic Paint or color of choice. Repeat if necessary, and let dry.
(Photo 2)

3 | Spray the back side of the Antiquity Stencil 2 part pattern or stencil of choice with stencil adhesive. Using a bondo scraper, pull over Weathered Granite through Part 1 of the Wallover stencil. Slight bleed under is okay. Let dry.
(Photo 3)

4 | Line up and tape Part 2 of stencil (dots) over Part 1 and lightly trowel Weathered Granite through dots. They do not have to be perfect. Let dry.
(Photo 4)

5 | Mix 1 part Glazing Medium with 3 parts Weathered Granite to allow it to move a little easier. Chip brush randomly in vertical pattern over 85% of stencil sections, and while wet, pull over stenciled patterns with a bondo scraper, applying pressure in a vertical and horizontal direction. A linen affect will naturally happen on the flat gold areas. Let dry.
(Photo 5)

6 | Mix the Glazing Medium with Slow Dry Fluid Acrylics in Raw Umber to desired color. Apply liberally to the surface and while wet, pull off desired amount of glaze using a damp stain pad or sponge, pulling off in a vertical movement and then across with a horizontal movement to create a linen look. Let dry.
(Photo 6)

7 | If desired, roll on Golden Paintworks Clear Topcoat Satin. Here is the final finish.
(Photo 7)

Featured Products

About the Artists
Decorative & Faux Finishes, a decorative arts team, has been in business since 1998 creating custom faux finishes and murals for homeowners, designers, businesses, and contractors in the greater Houston area and beyond. The team has studied under master artisans from all over the world. With dedication to this art, Decorative and Faux Finishes provides experience, talent, and attention to detail. While sensitive to every client’s desired style and budget, they receive the benefit of a certified professional finisher eager to create something special… just for you.

Learn more about Decorative & Faux Finishes in our Behind the Texture artist feature series.

More from this artist

Looking for more inspiration? Click here to view all of the decorative finishes from our Limited Edition Collections.