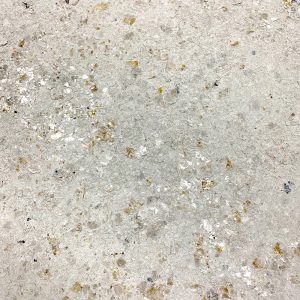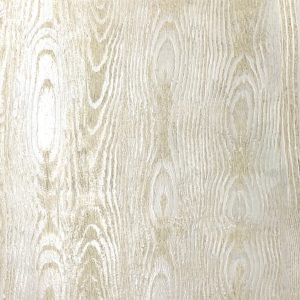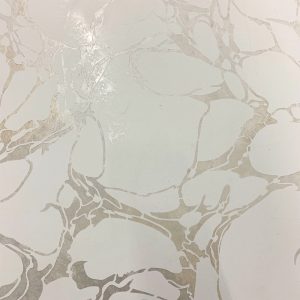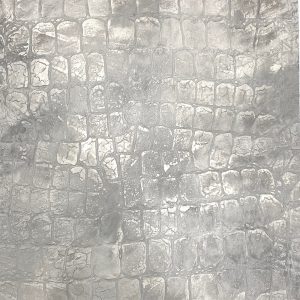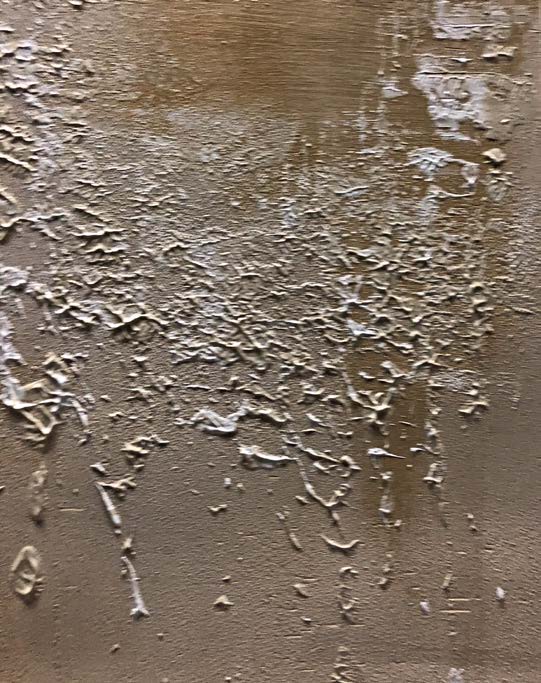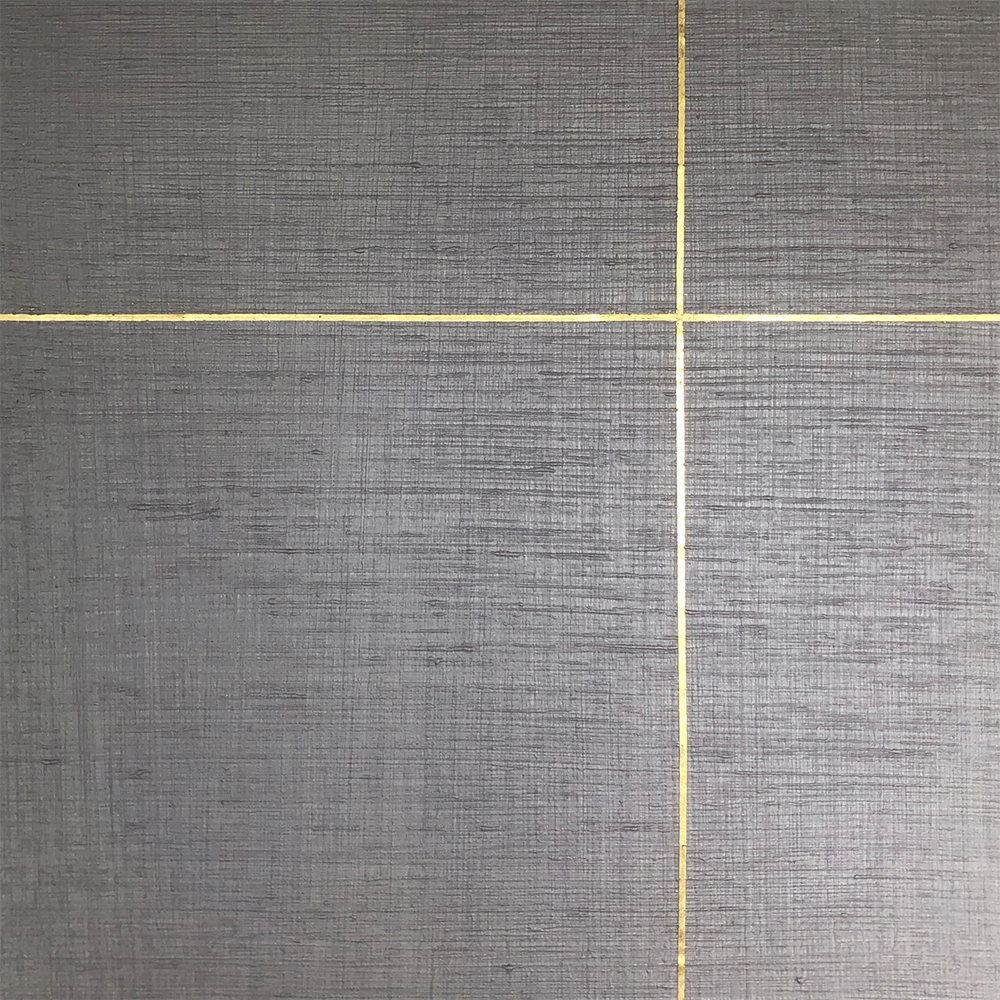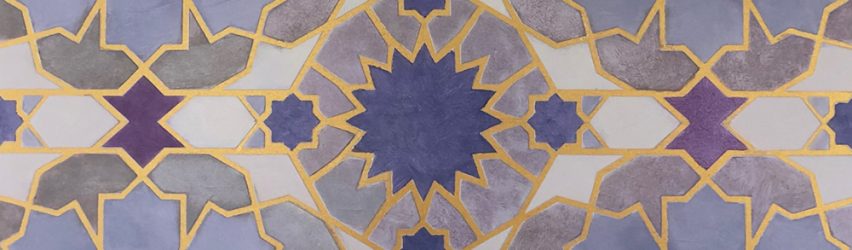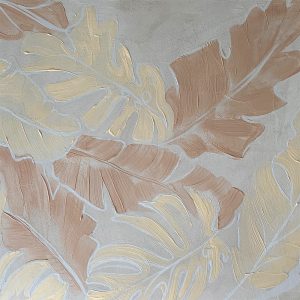



Decorative Finish: White Gold Limewash

DECORATIVE FINISH HOW-TO

White Gold Limewash

Artist: Shiree Ingram

Share this article

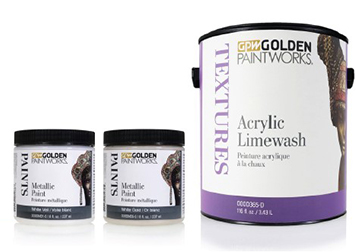
PROJECT SUPPLIES:

INSTRUCTIONS:

1 | Base paint with a white, high-hiding, all purpose primer.

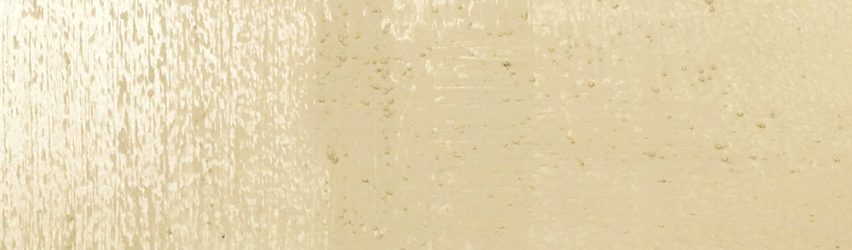
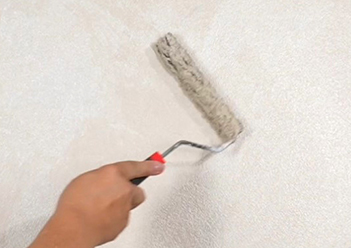
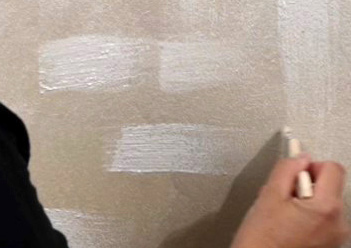
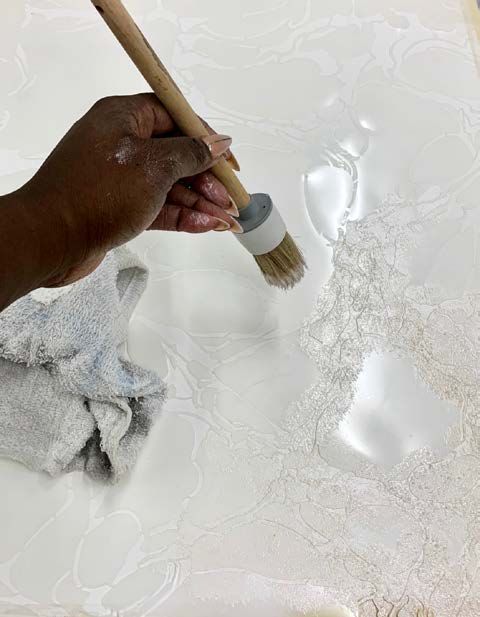
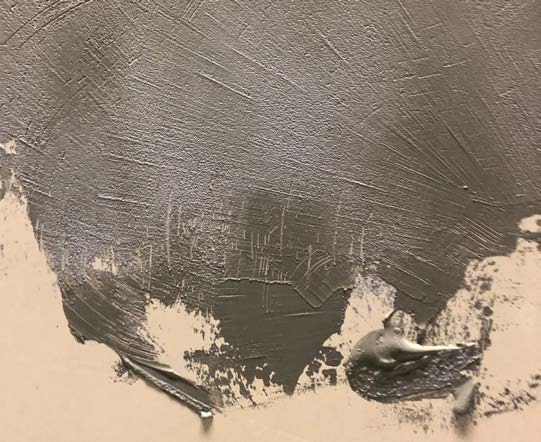
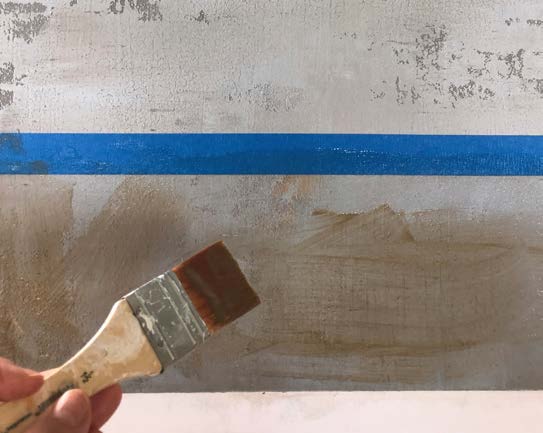
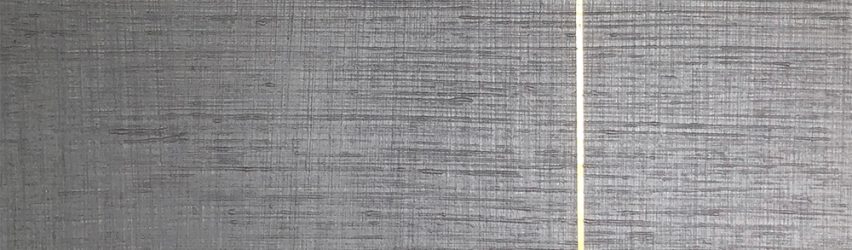
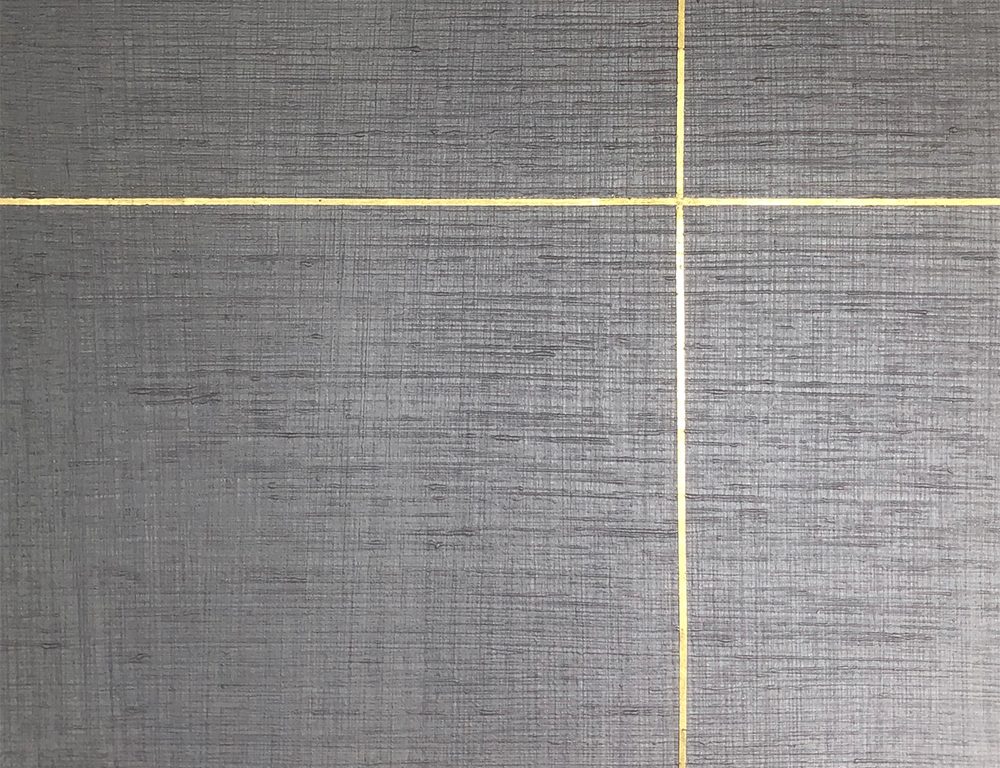
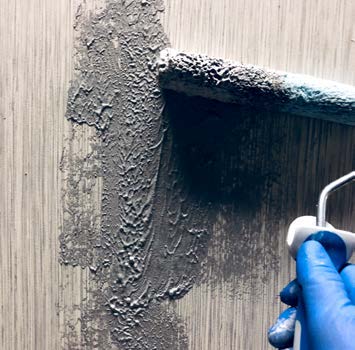
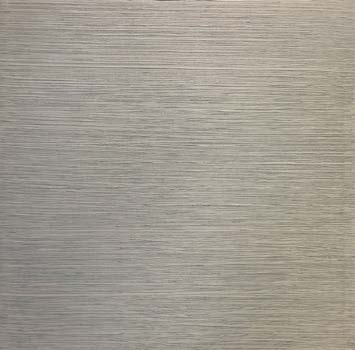
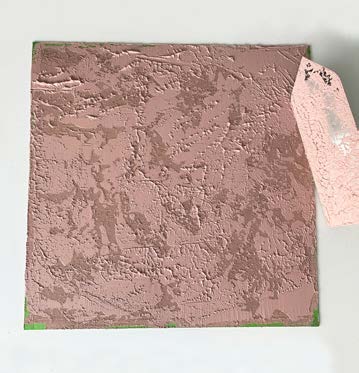
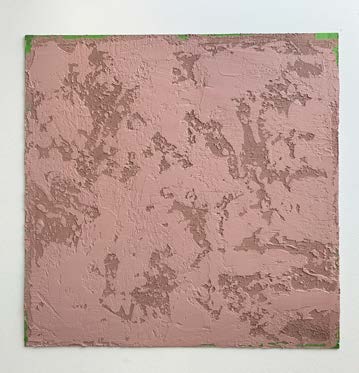
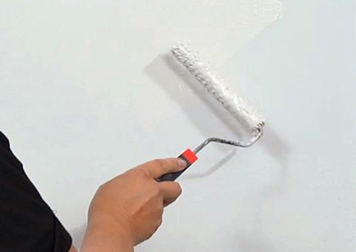
2 | Using a nappy winnie roller, apply two coats of Golden Paintwork, Metallic White Veil, dry in between coats. Apply full coverage, rolling in a random pattern; for this application overlapping paint lines is not a concern.
(Photos 1-2)

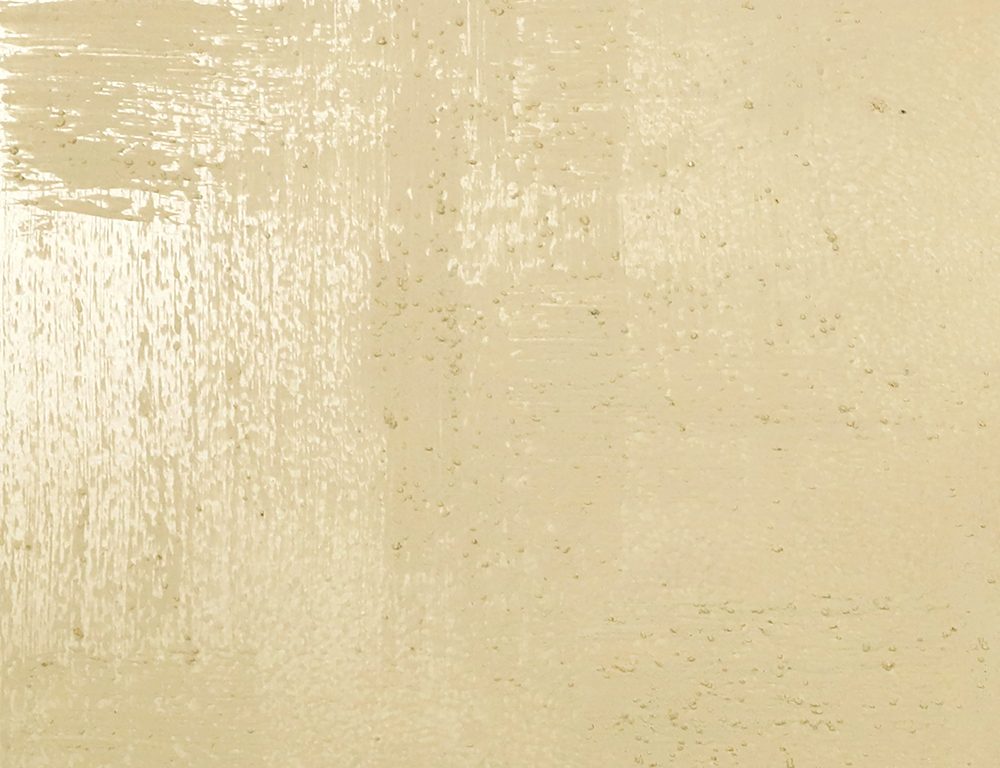
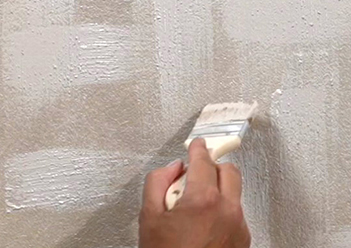
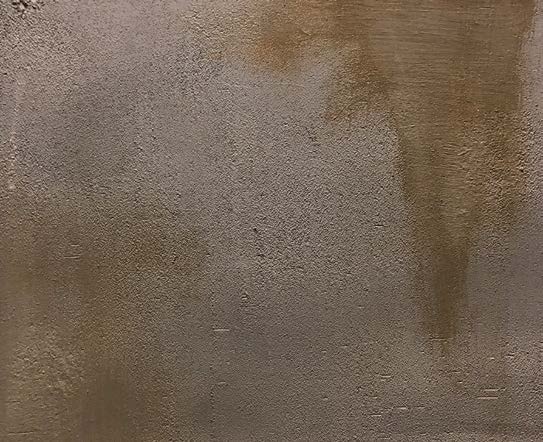
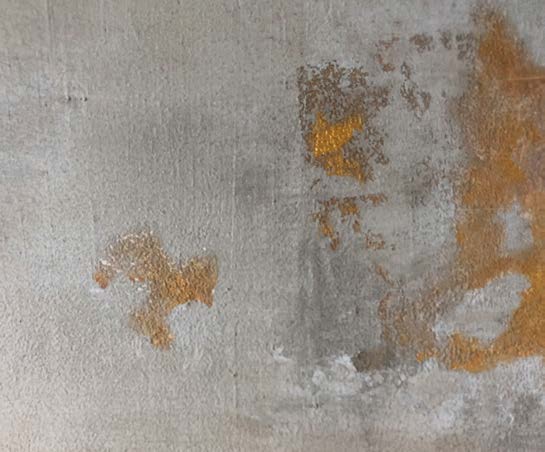
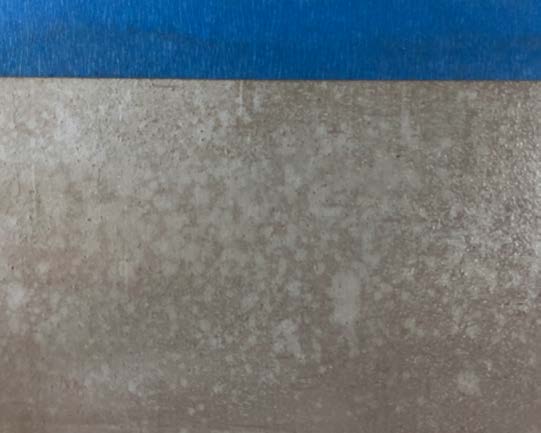
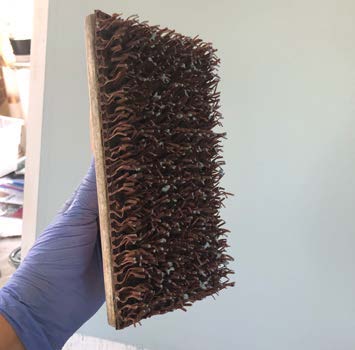
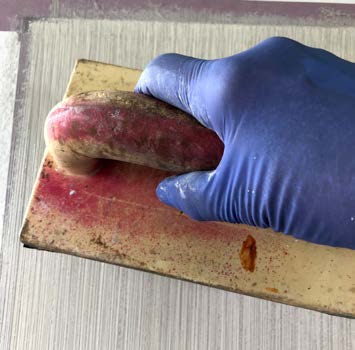
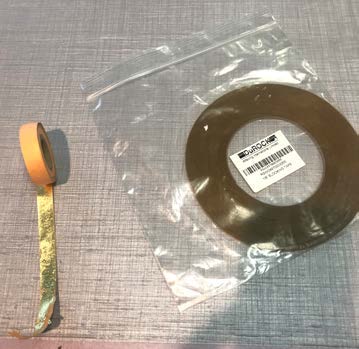
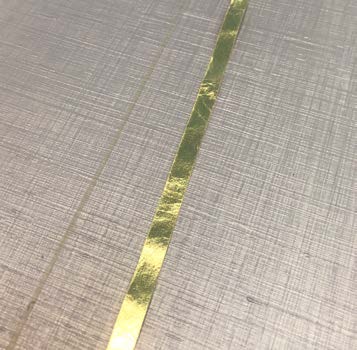
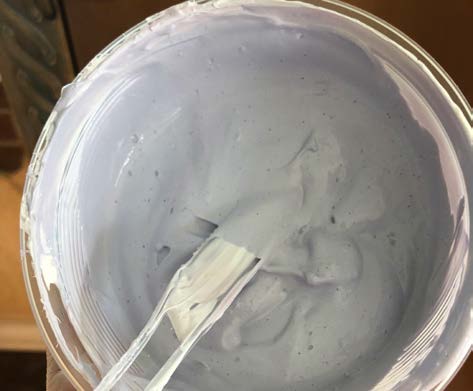
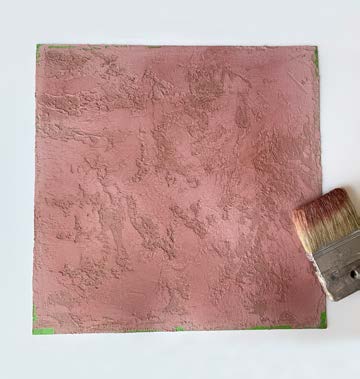
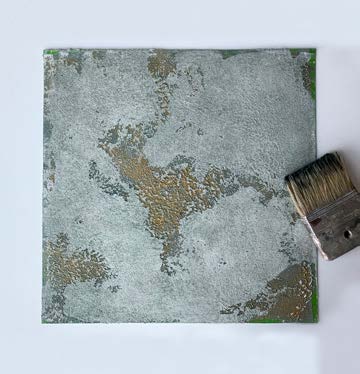
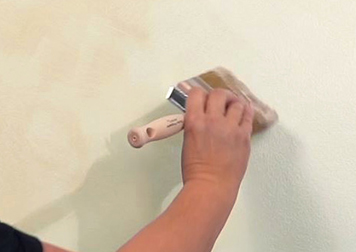
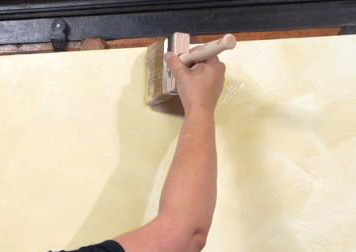
3 | Mix 1 part Metallic White Gold with 4 parts Acrylic Limewash. Using the box brush, apply random strokes in a crisscross pattern, achieving full coverage. Apply two coats, drying in between coats.
(Photos 3-4)

4 | Complete one wall at a time without any “stops and starts,” to provide a more uniform look.

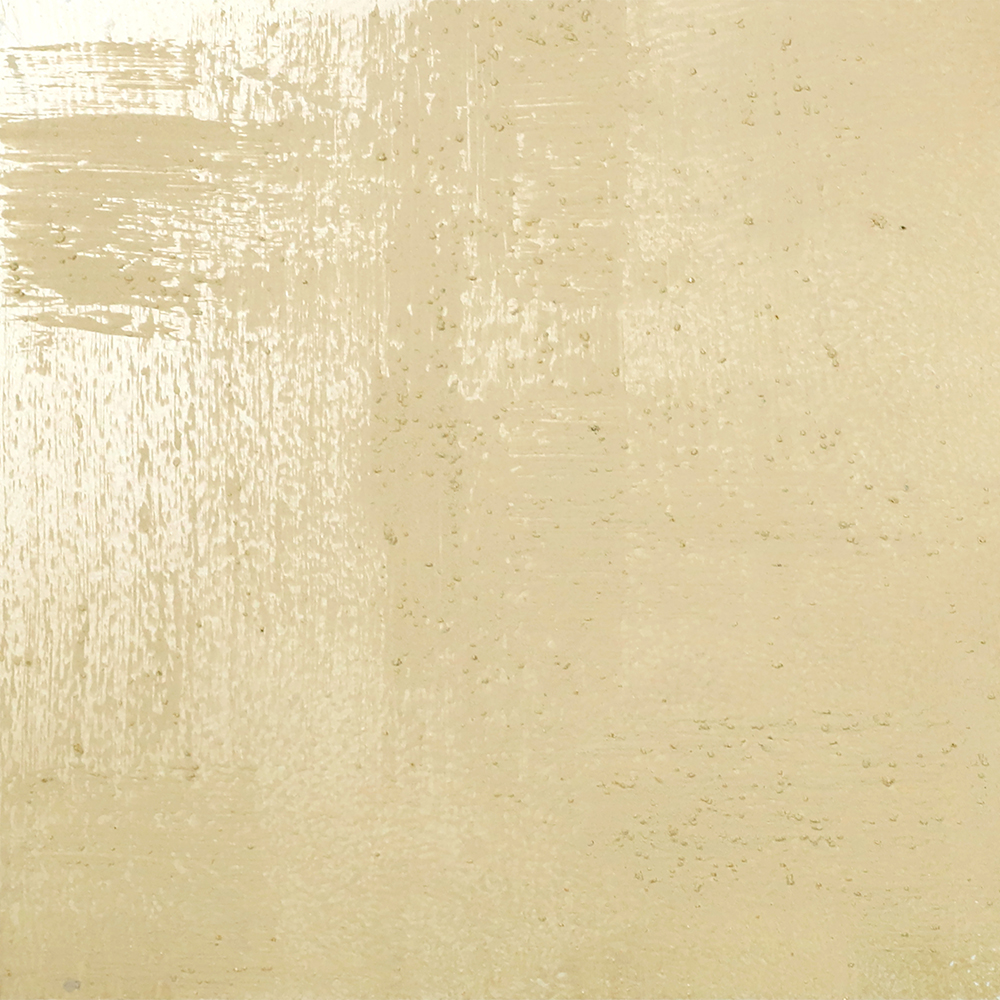
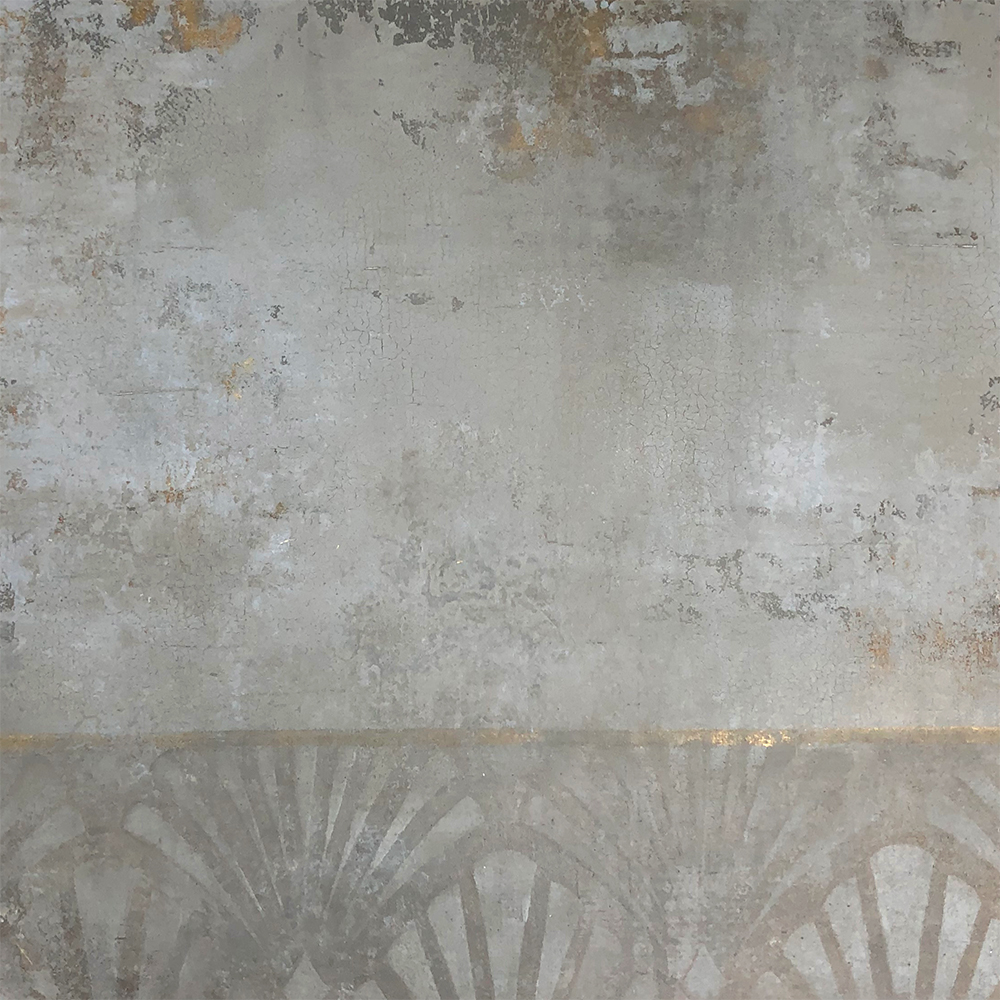
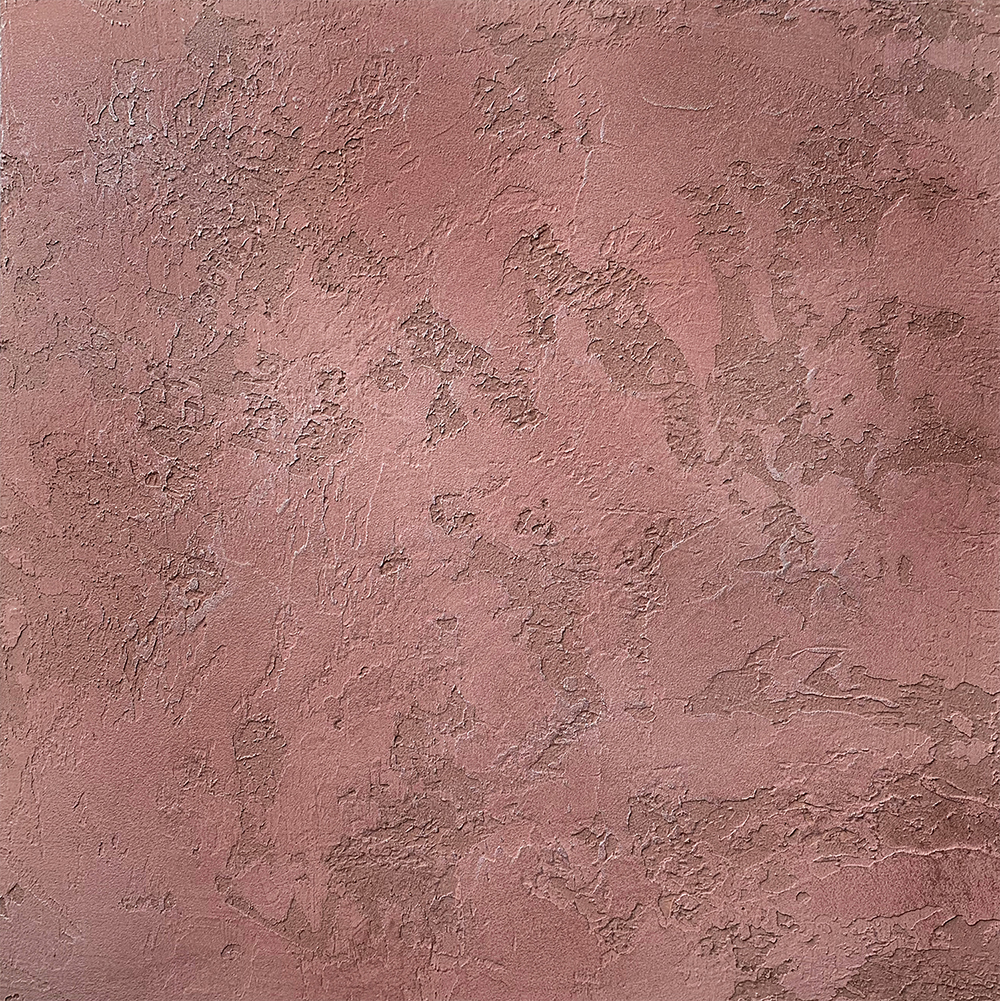
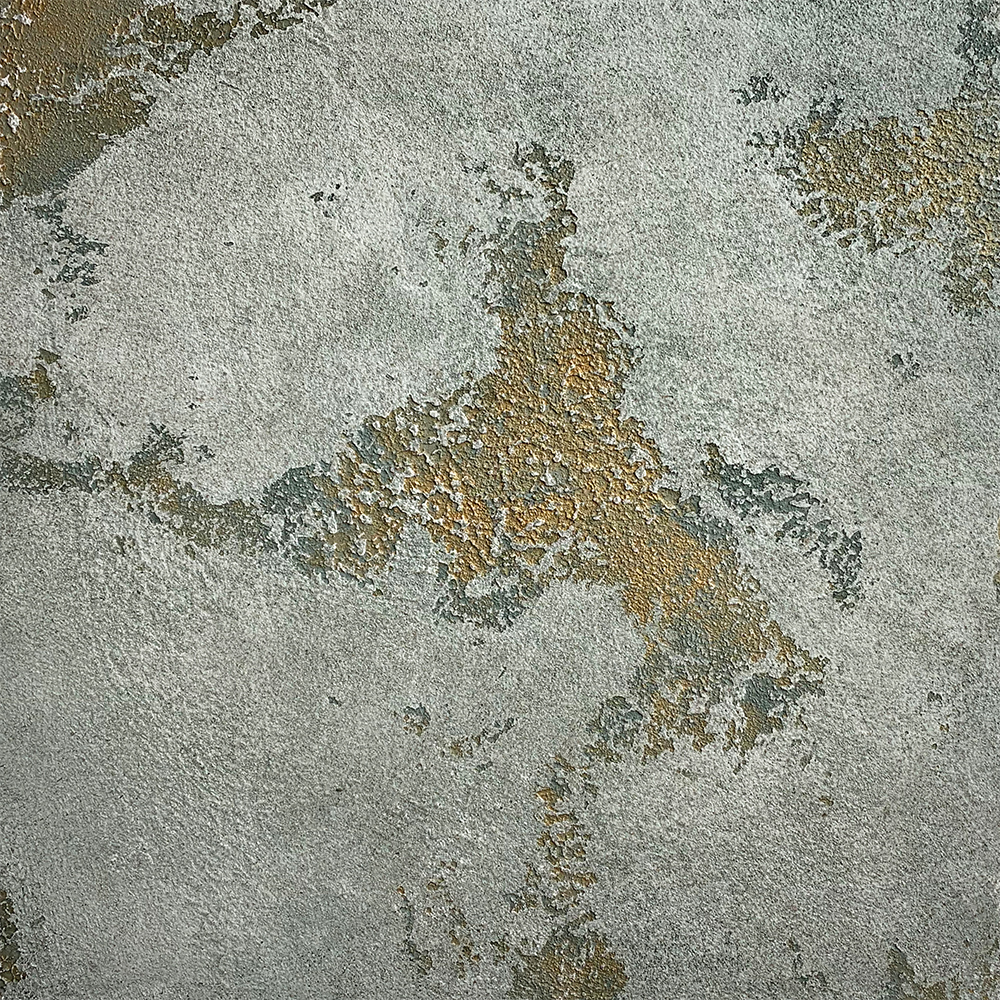
Here is the final finish.
(Photo 5)

Featured Products

About the Artist
Shiree, of Shiree Nichole Designer Finishes LLC, based in Naples, FL, has been in the faux art industry for over twenty years. The oldest of four girls, born in Newport Oregon and growing up in southwest Montana. She comes from a hard-working family with her father as a logger and later owning a drywall business. All four girls worked in drywall and much of Shiree’s knowledge and love for texture comes from working with her father. Shiree loves learning about new products, techniques and the chemistry behind the product. Shiree believes there is nothing like on-the-job training, experimenting, and she’s always open to learning something new. Shiree loves the diversity of finishes she creates and the collaboration she has with designers and decorators. In addition to her work creating decorative finishes, Shiree began honing her fine art skills in 2006 with oils on canvas and over the years has expanded to abstract acrylic art on Lucite and watercolors. 

Learn more about Shiree in our Behind the Texture artist feature series.

More from this artist

Looking for more inspiration? Click here to view all of the decorative finishes from our Limited Edition Collections.

Decorative Finish: Weathered White Gold

DECORATIVE FINISH HOW-TO

Weathered White Gold

Artist: Shiree Ingram

Share this article

PROJECT SUPPLIES:

INSTRUCTIONS:

1 | Base paint with a white, high-hiding, all purpose primer.

2 | Using a nappy winnie roller, apply one coat of Golden Paintworks Metallic White Gold. Apply full coverage, rolling in a random pattern; for this application overlapping paint lines is not a concern.
(Photos 1-2)

3 | Mix 1 part Golden Paintworks Weathered Granite with 1 part White Gold Metallic, then add 25% water. Using a 2” chip brush, apply random horizontal strokes, leaving open spaces to see the background. While these areas are wet, applying the same mixture in the same application, but apply strokes vertically. Work about a 3’ x 3’ space at a time. With this pattern, it’s ok to leave and come back to this finish and begin again.
(Photos 3-4)

4 | If necessary, after drying, touch ups could always be
added to create more texture.

Here is the final finish.
(Photo 5)

Featured Products

About the Artist
Shiree, of Shiree Nichole Designer Finishes LLC, based in Naples, FL, has been in the faux art industry for over twenty years. The oldest of four girls, born in Newport Oregon and growing up in southwest Montana. She comes from a hard-working family with her father as a logger and later owning a drywall business. All four girls worked in drywall and much of Shiree’s knowledge and love for texture comes from working with her father. Shiree loves learning about new products, techniques and the chemistry behind the product. Shiree believes there is nothing like on-the-job training, experimenting, and she’s always open to learning something new. Shiree loves the diversity of finishes she creates and the collaboration she has with designers and decorators. In addition to her work creating decorative finishes, Shiree began honing her fine art skills in 2006 with oils on canvas and over the years has expanded to abstract acrylic art on Lucite and watercolors. 

Learn more about Shiree in our Behind the Texture artist feature series.

More from this artist

Looking for more inspiration? Click here to view all of the decorative finishes from our Limited Edition Collections.

Decorative Finish: Brushed Whisper Shimmer

DECORATIVE FINISH HOW-TO

Brushed Whisper Shimmer

Artist: Shiree Ingram

Share this article

PROJECT SUPPLIES:

INSTRUCTIONS:

1 | Base paint with a white, high-hiding, all purpose primer.

2 | Using a nappy winnie roller, apply two coats of Golden Paintworks Metallic Whisper, let dry between coats. Apply full coverage, rolling in a random pattern; for this application overlapping paint lines is not a concern.
(Photos 1-2)

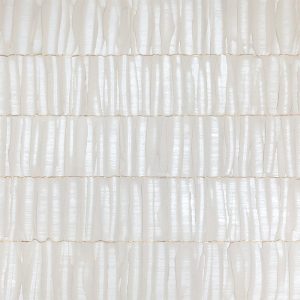
3 | Mix 1 part Golden Paintworks Metallic Whisper with 2 parts Metallic Texture Pearl, then mix in Extra Fine Silver Glitter (1 teaspoon for every 6 ounces of paint). Using a 4” chip brush, apply the paint in an “X” pattern, partially overlapping each “X”.
(Photos 3-4)

4 | Complete one wall at a time without any “stops and starts,” to provide a more uniform look.

Here is the final finish.
(Photo 5)

Featured Products

About the Artist
Shiree, of Shiree Nichole Designer Finishes LLC, based in Naples, FL, has been in the faux art industry for over twenty years. The oldest of four girls, born in Newport Oregon and growing up in southwest Montana. She comes from a hard-working family with her father as a logger and later owning a drywall business. All four girls worked in drywall and much of Shiree’s knowledge and love for texture comes from working with her father. Shiree loves learning about new products, techniques and the chemistry behind the product. Shiree believes there is nothing like on-the-job training, experimenting, and she’s always open to learning something new. Shiree loves the diversity of finishes she creates and the collaboration she has with designers and decorators. In addition to her work creating decorative finishes, Shiree began honing her fine art skills in 2006 with oils on canvas and over the years has expanded to abstract acrylic art on Lucite and watercolors. 

Learn more about Shiree in our Behind the Texture artist feature series.

More from this artist

Looking for more inspiration? Click here to view all of the decorative finishes from our Limited Edition Collections.

Decorative Finish: Metallic Woodgrain

"Metallic Woodgrain" decorative finish
DECORATIVE FINISH HOW-TO

Metallic Woodgrain

Artist: Tobey Renee Sanders

Share this article

PROJECT SUPPLIES:

INSTRUCTIONS:

1 | Paint basecoat color, OC-65 Chantilly Lace by Benjamin Moore. Let dry.

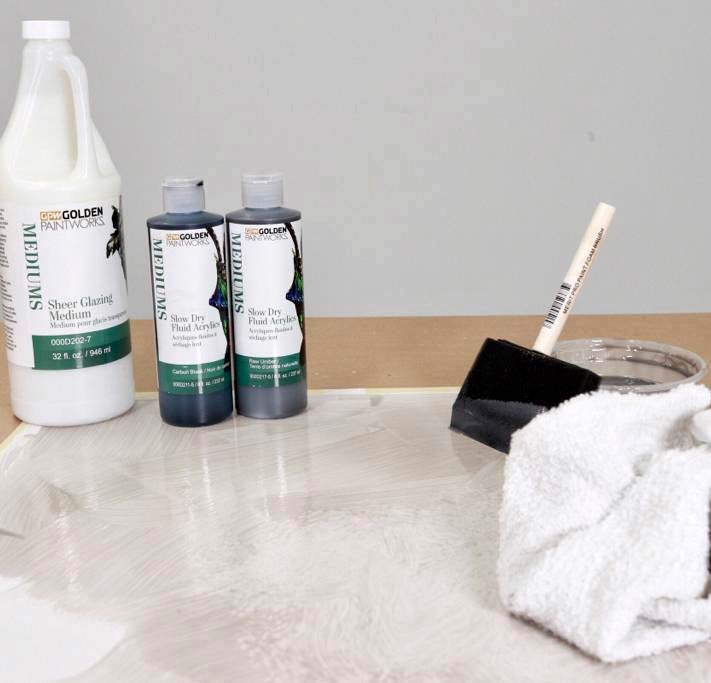
2 | Create glaze mixture using Sheer Glazing Medium mixed with Carbon Black and Raw Umber Slow Dry Fluid Acrylics. Using a 4″ foam brush, brush on the glaze in an organic motion, covering 100% of the surface.
(Photo 1)

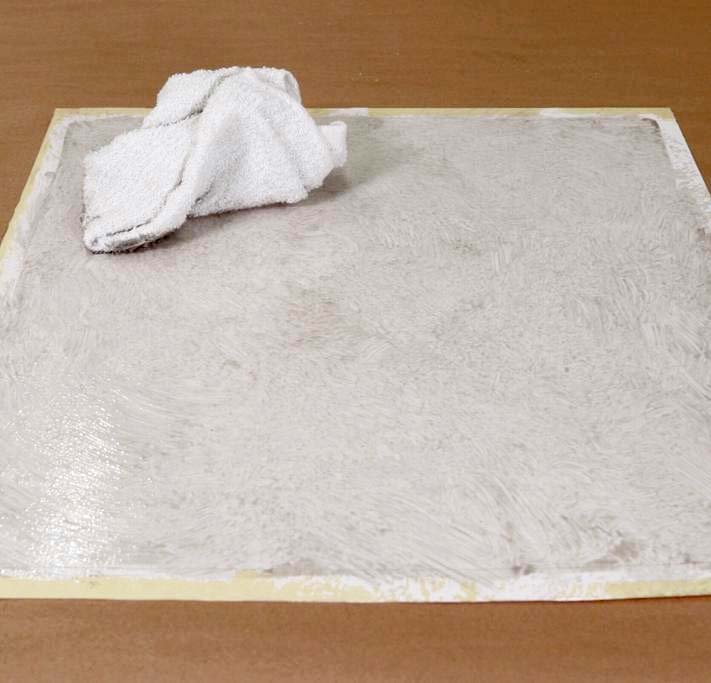
3 | Gently walk out the Carbon Black and Raw Umber glaze with a terry towel across the surface to get rid of the foam brush marks. Leave wet for next step.
(Photo 2)

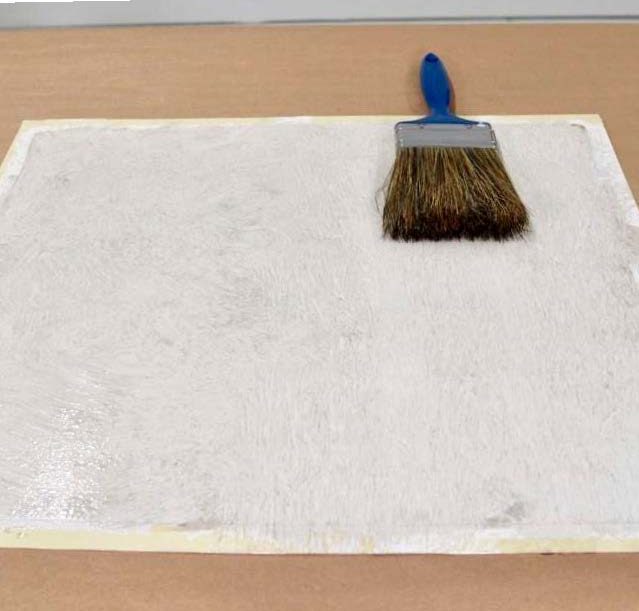
4 | Use a flogger to create the first layer of the wood grain technique. Gently pounce the flogger across the surface. Let completely dry.
(Photo 3)

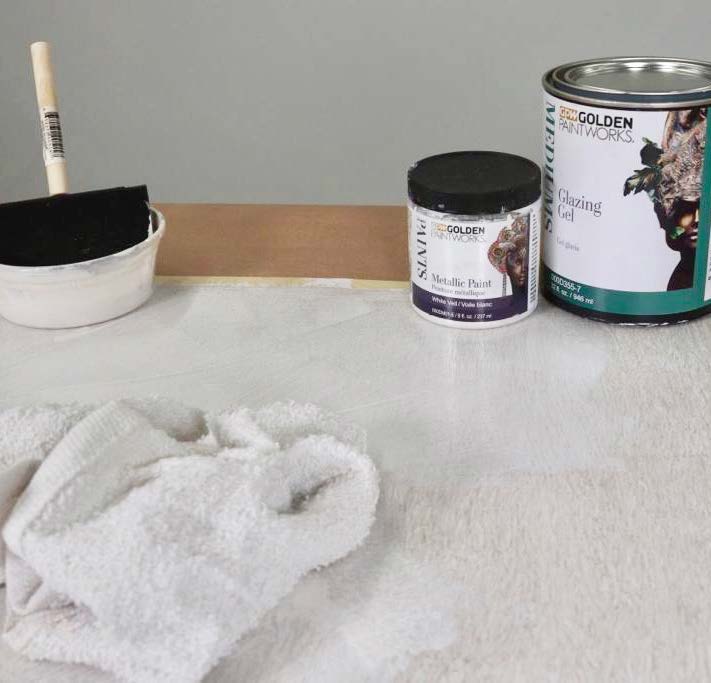
5 | Create a metallic glaze mixture using the Glazing Gel and White Veil Metallic Paint. Brush on using the foam brush and walk out again with a terry towel. Leave wet for next step.
(Photo 4)

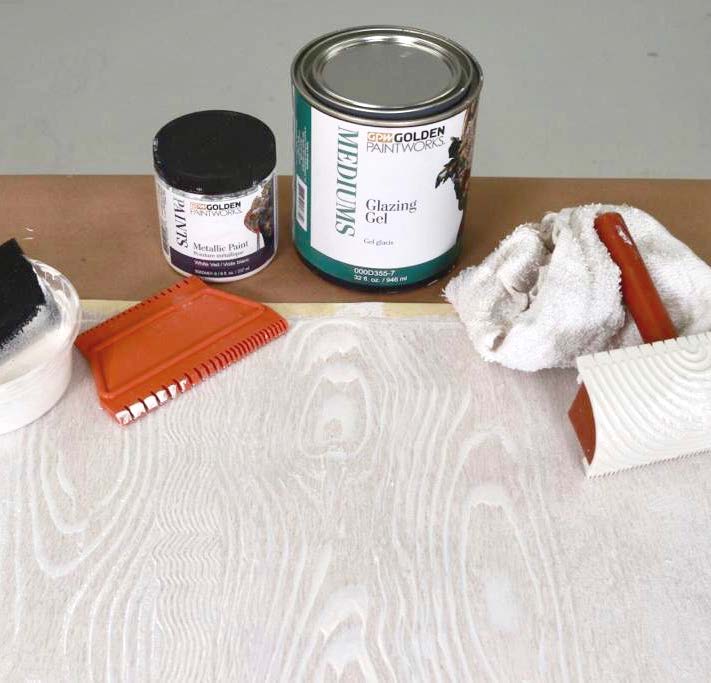
6 | Use the woodgraining rocker to create vertical wood grain lines. Use the striae graining tool to create more vertical veins.
(Photo 5)

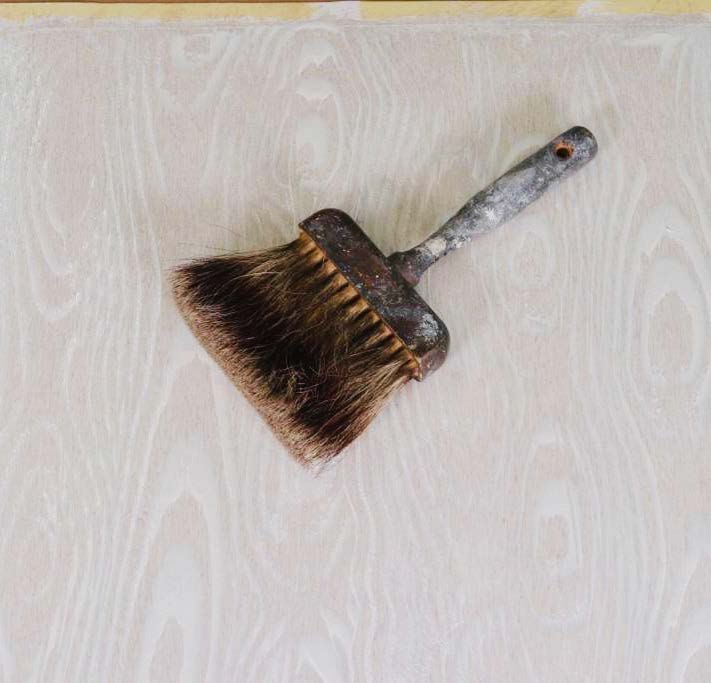
7 | Use badger blender to soften lines until desired look is achieved. Let dry.
(Photo 6)

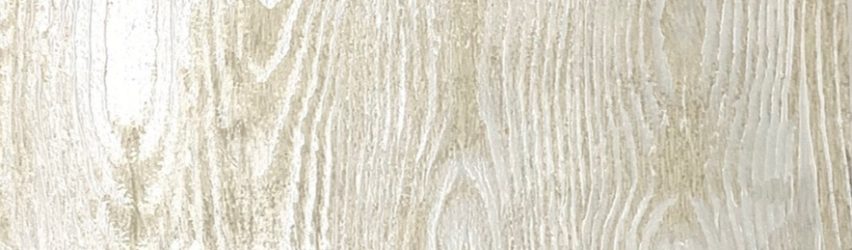
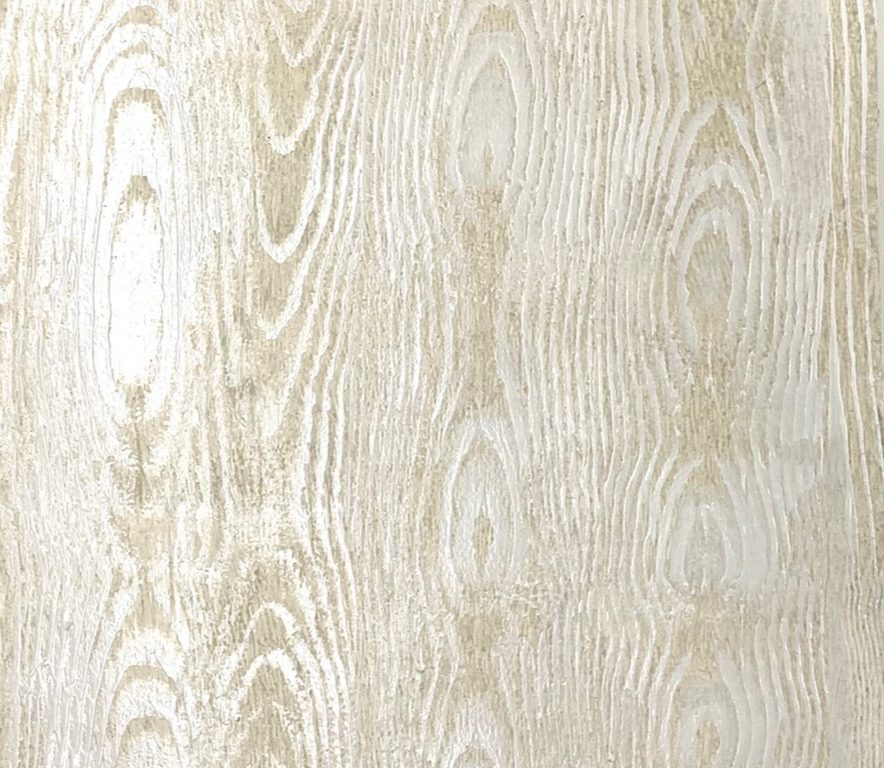
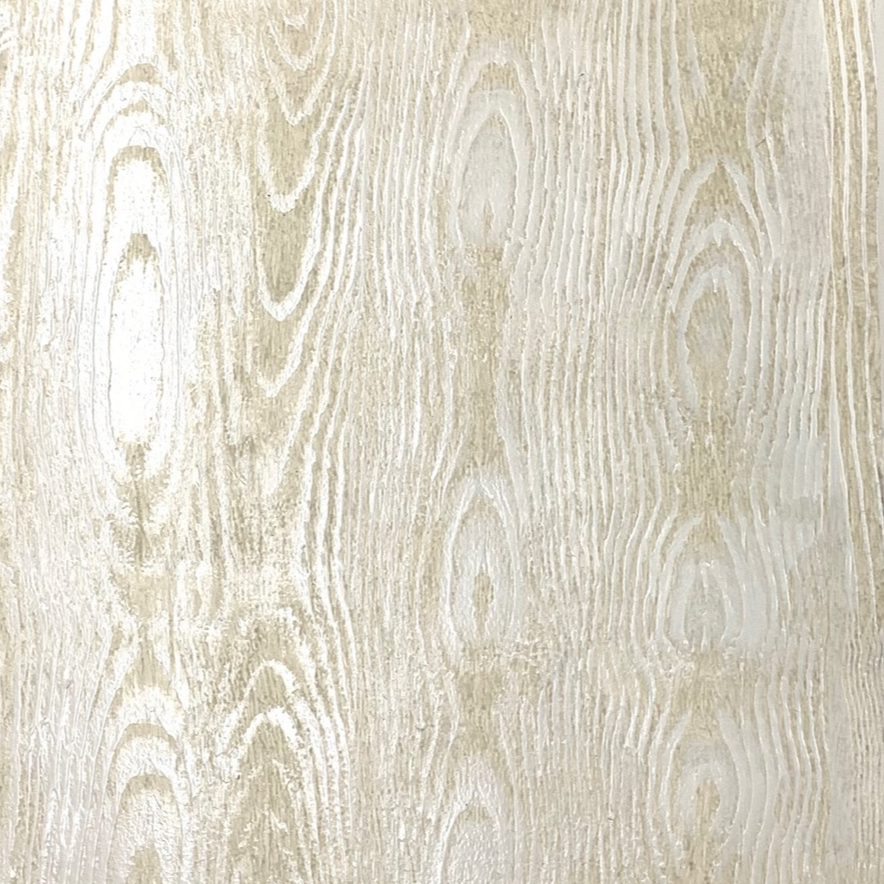
Here’s the final texture.
(Photo 7)

Featured Products

About the Artist
Tobey Renee Sanders is an accomplished Decorative Artist, Design expert and Tv personality born and raised in Atlanta, GA. Tobey Renee has more than 20 years of experience in Interior Design & Decorative Arts and is widely recognized for her custom faux finish techniques and stunning line of contemporary art. In 2003, She launched FauxDécor Design Studio, a super talented decorative painting company, providing residential spaces, commercial property and celebrity clients with uniquely designed and custom faux finishes. Tobey Renee specializes in rich high-end Plasters, such as Glassello and Marmorino. She is mostly known for her popular GlamRock Mica Finishes and Diamond Glass technique, that adorns the walls of Hollywood’s hottest A list celebrity homes. Her client list includes design firms and developers in Atlanta, Los Angeles, New York and Washington, DC, as well as entertainers and athletes across the nation. She has also been featured on HGTV’s Smart Home, Bravo’s “The Real Housewives of Atlanta” and Vh1’s K Michelle’s: My Life. Her faux finished rooms have been showcased in numerous publications such as, People Magazine, Black Enterprise and The Atlanta Journal Constitution.

More from this artist

Looking for more inspiration? Click here to view all of the decorative finishes from our Limited Edition Collections.

Decorative Finish: Marbleized

"Marbleized" decorative finish
DECORATIVE FINISH HOW-TO

Marbleized

Artist: Tobey Renee Sanders

Share this article

PROJECT SUPPLIES:

INSTRUCTIONS:

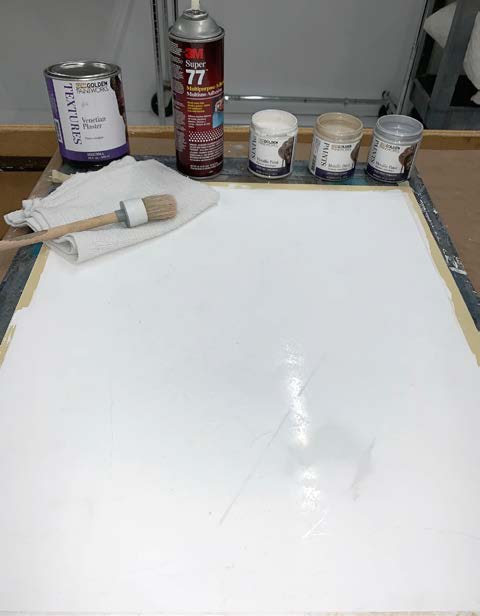
1 | Paint basecoat color, OC-65 Chantilly Lace by Benjamin Moore. Let dry.

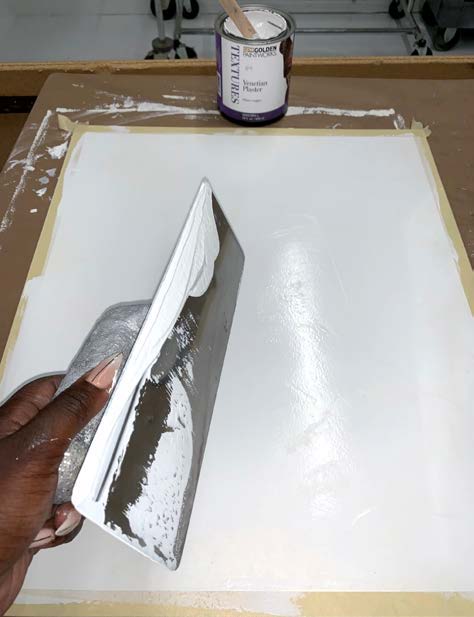
2 | Trowel on 2 skim coat layers of untinted Venetian Plaster. Let dry.
(Photo 1)

3 | Burnish Venetian Plaster with plastic trowel to a beautiful sheen.
(Photo 2)

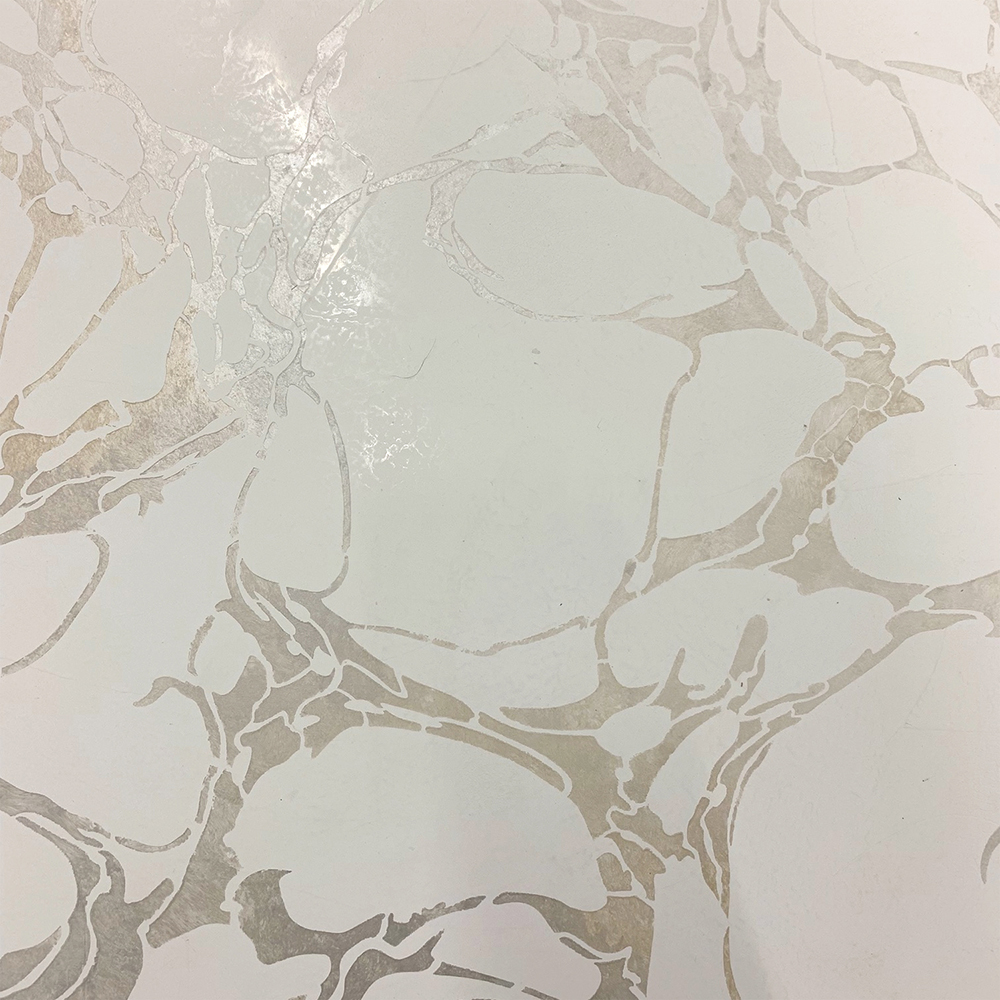
4 | Prep Marbleized stencil. Spray back of the stencil with stencil adhesive spray. Let dry 20 minutes.

5 | Place stencil over burnished Venetian Plaster surface. Stipple over stencil with White Veil, White Gold, and Bright Silver Metallic paint. Blend all 3 colors across the stencil at the same time. Pull stencil carefully and let dry.
(Photo 3)

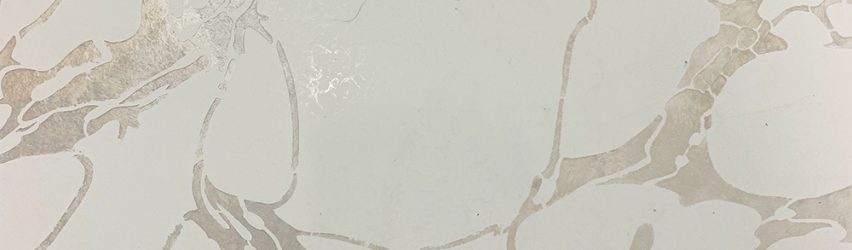
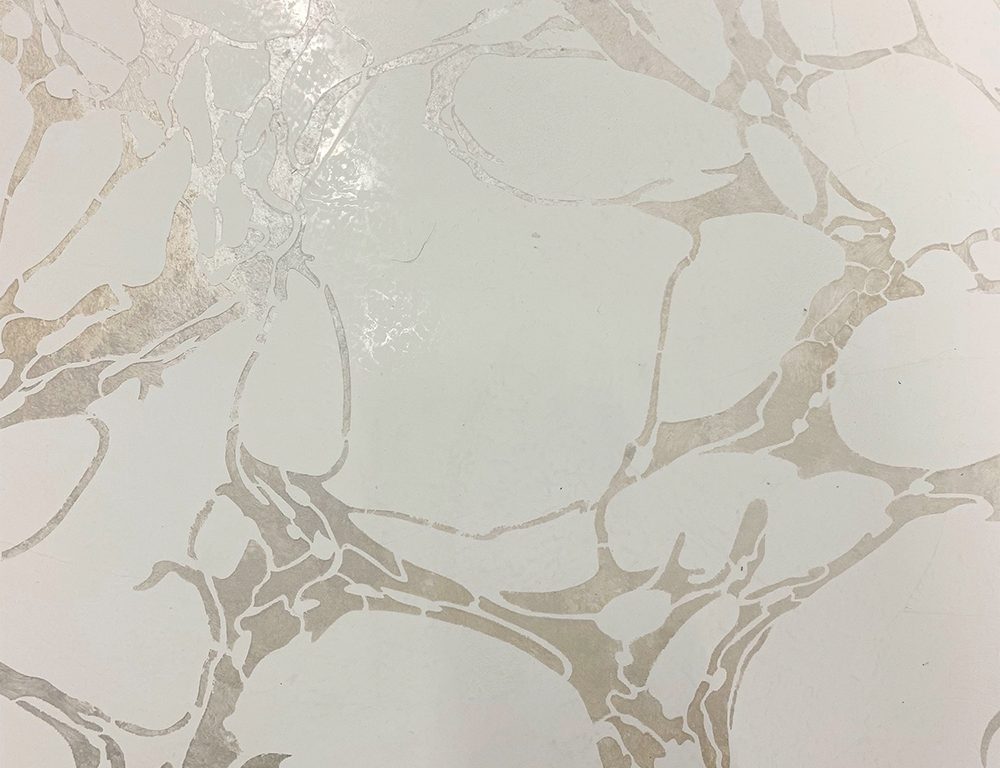
Here’s the final texture.
(Photo 4)

Featured Products

About the Artist
Tobey Renee Sanders is an accomplished Decorative Artist, Design expert and Tv personality born and raised in Atlanta, GA. Tobey Renee has more than 20 years of experience in Interior Design & Decorative Arts and is widely recognized for her custom faux finish techniques and stunning line of contemporary art. In 2003, She launched FauxDécor Design Studio, a super talented decorative painting company, providing residential spaces, commercial property and celebrity clients with uniquely designed and custom faux finishes. Tobey Renee specializes in rich high-end Plasters, such as Glassello and Marmorino. She is mostly known for her popular GlamRock Mica Finishes and Diamond Glass technique, that adorns the walls of Hollywood’s hottest A list celebrity homes. Her client list includes design firms and developers in Atlanta, Los Angeles, New York and Washington, DC, as well as entertainers and athletes across the nation. She has also been featured on HGTV’s Smart Home, Bravo’s “The Real Housewives of Atlanta” and Vh1’s K Michelle’s: My Life. Her faux finished rooms have been showcased in numerous publications such as, People Magazine, Black Enterprise and The Atlanta Journal Constitution.

More from this artist

Looking for more inspiration? Click here to view all of the decorative finishes from our Limited Edition Collections.

Decorative Finish: Woodward

"Woodward" decorative finish
DECORATIVE FINISH HOW-TO

Woodward

Artist: Robin Belisle

Share this article

PROJECT SUPPLIES:

INSTRUCTIONS:

NOTE: All mixed colors below will reference a Benjamin Moore paint color where needed to guide you while you are mixing your colors. They are for reference only.

1 | Start with a clean dry surface that is at least
primed any color.

2 | Mix the Weathered Granite to a color close to Benjamin Moore 1599 Marina Gray using Slow Dry Fluid Acrylics in Van dyke Brown Hue, Phthalo Blue (Green Shade), and a small amount of Carbon Black. You’re just looking for a basic mid-tone cement color.

3 | Trowel all areas with a combo of the above mixture and a small amount of untinted Weathered Granite. Apply them both to your trowel and cover the surface. This provides more interesting areas to work around in the next steps.
(Photo 1)

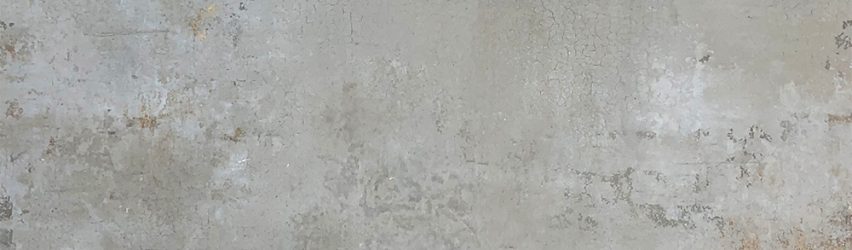
4 | Mix a custom color glaze with the Glazing Medium and Raw Sienna, Van Dyke Brown Hue, and small amount of Purple Dioxazine. (The Purple Dioxazine is very strong, use sparingly). It produces a warm faded color tint. Keep a bit aside for use later. Using your chip brush, lightly brush in vertically in some areas just to add some color. This is random spacing but shoot for approximately 10% coverage over your surface. Some areas should have larger areas tinted than others. Let dry.
(Photo 2)

5 | Dip your sea sponge into the Pre-Mixed Metallic Paint in Roman Gold and dot it into some of the tinted surface areas from previous layer. If necessary, flatten and smash into crevices with trowel. Let dry.
(Photo 3)

6 | Mix 3 separate 1/3 cup batches using the Venetian Plaster in the following colors:

  • Benjamin Moore1530 Senora Gray using the Slow Dry Fluid Acrylics in Raw Sienna, Raw Umber, Titanium White, and very small amount of Carbon Black
  • Benjamin Moore1550 Cumulus Cloud using Slow Dry Fluid Acrylics in Van Dyke Brown Hue, Titanium White, Phthalo Blue (Green Shade), and a small amount of Carbon Black
  • Benjamin Moore 1592 Blue Springs using Slow Dry Fluid Acrylics in Phthalo Blue (Green Shade), and a small amount of Dioxazine Purple, Van Dyke Brown Hue, Titanium White, and Carbon Black.

7 | Using 2 of the mixed colors from Step 6 — not mixed together but separately on your trowel at the same time — begin troweling around the texture and color pockets you created previously with the color glaze and Roman Gold Metallic Paint. Start by dotting onto your surface to offload your trowel and as you near being empty on them, use the remaining plaster to dot into your previously created pockets. (You shouldn’t avoid the pockets, but you don’t want to start dotting in a pocket with a fully loaded trowel as this will fill in too much).
(Photo 4)

Once your trowel is offloaded, smooth down or flatten the plaster by pulling with the trowel horizontally and vertically. Continue in this manner until all areas are covered, changing between the 3 plasters randomly, any two in a combination on your trowel. Fill in areas of your pockets until they are pleasing in composition. Let dry.

8 | Reapply mixed color glaze and/or the Roman Gold Metallic Paint to taste, as well as another pass on the plasters, applying in the same manner as above until you are satisfied with the look. Let dry. Note that some of these areas will crackle on their own.

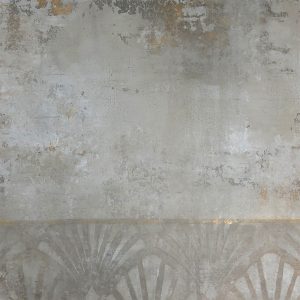
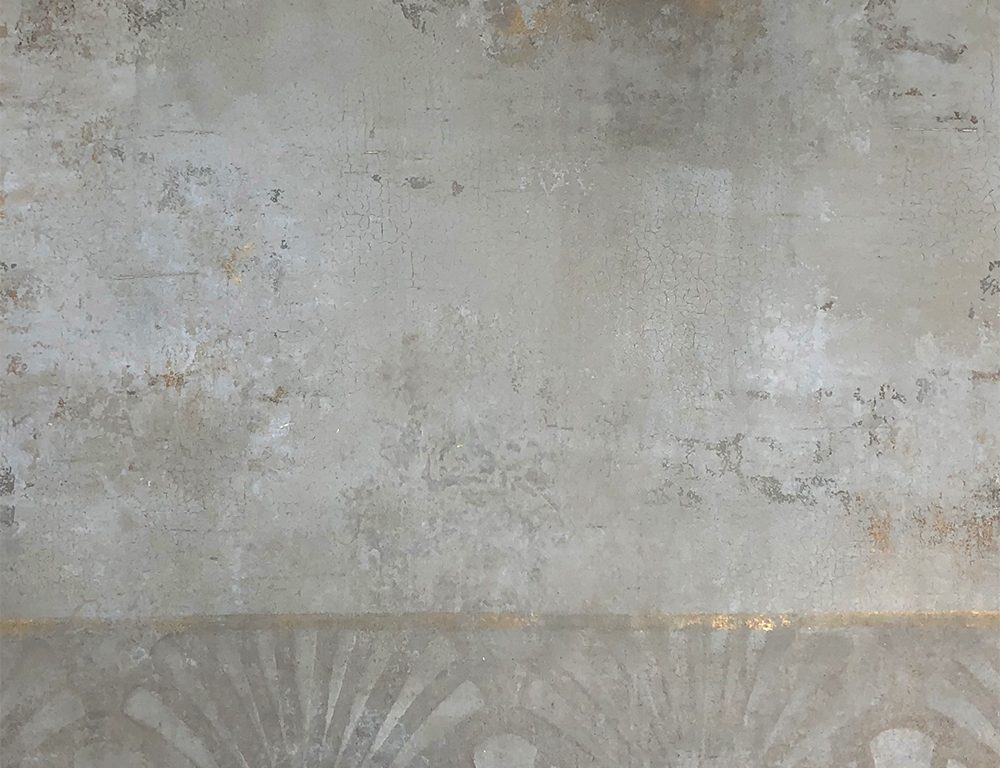
9 | Fresco: I wanted a fresco type look so I taped off an area along the bottom and used the tinted glaze from Step 4 to fully fill in the area below the tape line.
(Photo 5)

Terry towel to soften, lightly mist with Windex, count to twenty and blot with terry towel and immediately start to lightly pull in all directions with the sponge applicator. It will pull off where the Windex has bitten in but keep in mind you are not going for complete removal.
(Photo 6)

You are trying to have a very weathered effect. Let dry and then stencil with the Art Deco pattern with the color glaze, using a small amount more of Raw Umber and Van Dyke Brown Hue. Lightly blot and fade with terry towel and pull stencil carefully. Clean up any edges and let dry.

Here’s the final texture.
(Photo 7)

Featured Products

About the Artist
Robin Belisle, owner and Decorative Artist at Faux Couture, is a self taught artist who began her decorative painting career in 1998 after an extraordinary encounter with a faux finishing class. From there, she made a pointed decision to become the best decorative painter she could be and searched out award winning designers and builders to work with. She has traveled to Italy, Paris, many times to Morocco and all over the world leaving her mark on homes and hotels in need of artistic interpretation. This in turn has helped her hone her craft and create many signature finishes based on her travels. She has been featured in magazine articles, trade shows and the local news as trends to watch. She began teaching in her own studio and then taught many classes across the US. She joined the Board of Directors for the International Decorative Artisans league (IDAL) as education chair. As that chapter drew to a close, she knew she would eventually be teaching more. She has since joined other instructors on THE PAINT HIVE teaching online decorative painting classes.

More from this artist

Looking for more inspiration? Click here to view all of the decorative finishes from our Limited Edition Collections.

Decorative Finish: Wisteria

"Wisteria" decorative finish
DECORATIVE FINISH HOW-TO

Wisteria

Artist: Robin Belisle

Share this article

PROJECT SUPPLIES:

INSTRUCTIONS:

NOTE: All mixed colors below will reference a Benjamin Moore paint color where needed to guide you while you are mixing your colors. They are for reference only unless it is a base coat.

1 | Basecoat in Benjamin Moore 1436 Whirlpool and let dry.

2 | Mix a batch of Metallic Texture Pearl Base and Soapstone in a 1:1 ratio, approximately ½ cup each. Separate into two containers and set aside for the two separate color mixes below.

3 | Mix two color batches with the custom Metallic Texture Pearl Base and Soapstone mix:

  • One batch to match Benjamin Moore 1614 Delray Gray by using the custom Metallic Texture and Soapstone mix with Slow Dry Fluid Acrylics in Phthalo Blue (Green Shade), Van Dyke Brown Hue, Raw Sienna, a very small amount of Carbon Black, and Pre-Mixed Metallic Paint in Silver
  • Second batch to match Benjamin Moore 1453 Pebble Creek using the custom Metallic Texture and Soapstone mix with Dioxazine Purple, Raw Umber, and a small amount of Carbon Black, Titanium White, and Phthalo Blue (Green Shade)

4 | Use a whizz roller to roll on the Delray Gray mix in an even coat and prepare to use the Burlap Tool. When the product is on evenly and consistent, use the burlap tool to drag evenly vertically. If needed, repeat again. Let dry.
(Photos 1-3)

5 | Repeat the above process with the Pebble Creek mix and this time drag it horizontally. Let dry.
(Photo 4)

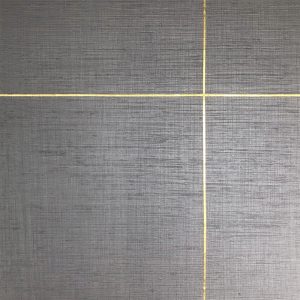
6 | Prepare the double sided tape and gold leaf. Mark off the area to be gold leafed and run the double sided sticky tape between markings. (Do not cross over lines before you add the gold leaf. Add the gold leaf on the first line, then run the opposite line.
(Photos 5-6)

Here’s the final texture.
(Photo 7)

Featured Products

About the Artist
Robin Belisle, owner and Decorative Artist at Faux Couture, is a self taught artist who began her decorative painting career in 1998 after an extraordinary encounter with a faux finishing class. From there, she made a pointed decision to become the best decorative painter she could be and searched out award winning designers and builders to work with. She has traveled to Italy, Paris, many times to Morocco and all over the world leaving her mark on homes and hotels in need of artistic interpretation. This in turn has helped her hone her craft and create many signature finishes based on her travels. She has been featured in magazine articles, trade shows and the local news as trends to watch. She began teaching in her own studio and then taught many classes across the US. She joined the Board of Directors for the International Decorative Artisans league (IDAL) as education chair. As that chapter drew to a close, she knew she would eventually be teaching more. She has since joined other instructors on THE PAINT HIVE teaching online decorative painting classes.

More from this artist

Looking for more inspiration? Click here to view all of the decorative finishes from our Limited Edition Collections.

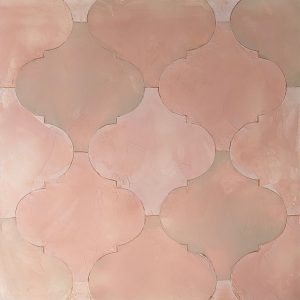
Decorative Finish: Alhambra

"Alhambra" decorative finish
DECORATIVE FINISH HOW-TO

Alhambra

Artist: Robin Belisle

Share this article

PROJECT SUPPLIES:

INSTRUCTIONS:

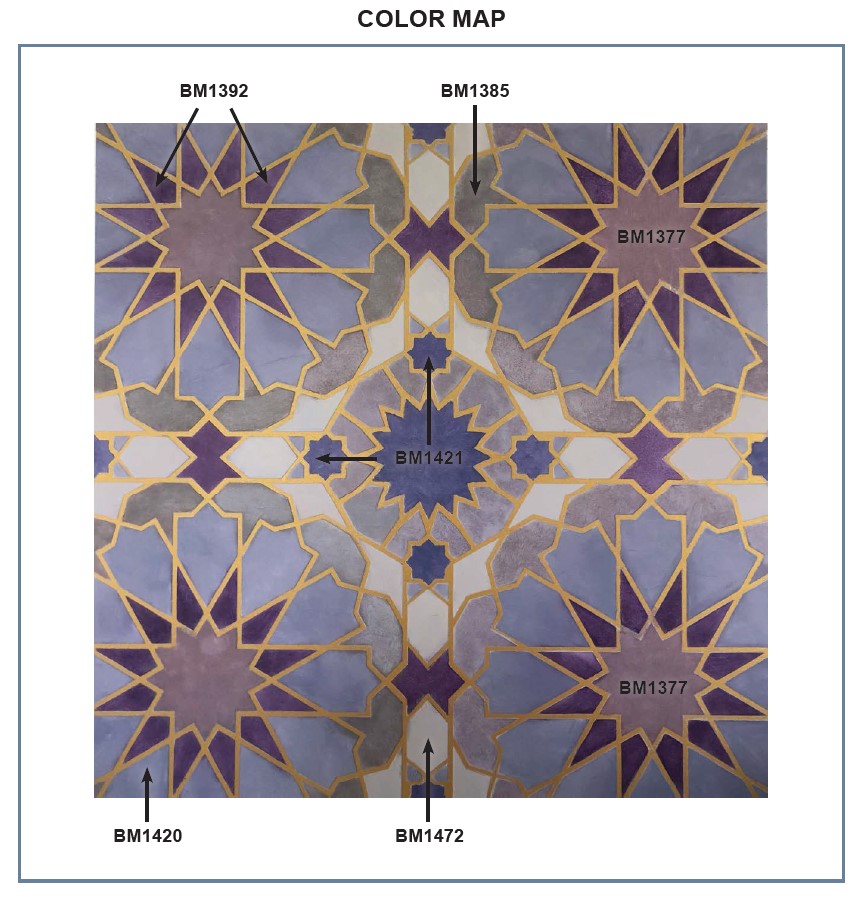
NOTE: All mixed colors will reference a Benjamin Moore paint color where needed to guide you while you are mixing your colors. They are for reference only unless it is actually a basecoat.

1 | Basecoat in Benjamin Moore HC-40 Greenfield Pumpkin and let dry. Once dry, roll the Golden Paintworks Roman Gold in a smooth even layer and let dry.
(Photo 1)

2 | Spray the back side of the Wallovers Medina Stencil with a stencil adhesive and let it tack up. While it is tacking up, mix Golden Paintworks Soapstone with Dioxazine Purple, Raw Umber, Raw Sienna, and Titanitum White Slow Dry Fluid Acrylics. You are using Benjamin Moore 1418 Oriental Iris as your color guide.
(Photo 2)

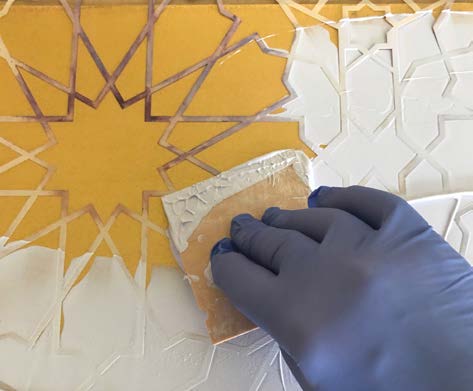
3 | Attach the stencil to your surface and using the bondo scraper, trowel over the entire surface with the custom Soapstone mix, making sure not to bleed through the lines. Try to create a consistent, even layer.
(Photo 3)

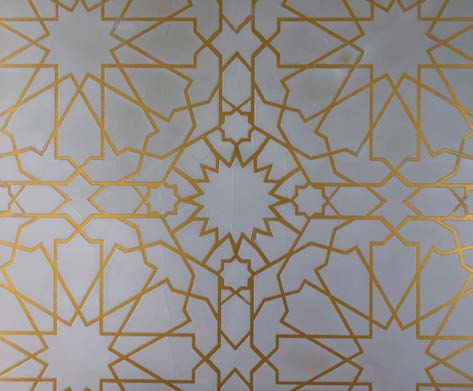
4 | Pull the stencil off carefully and soak in hot water. Let the surface dry completely and clean the stencil. You will use it again.
(Photo 4)

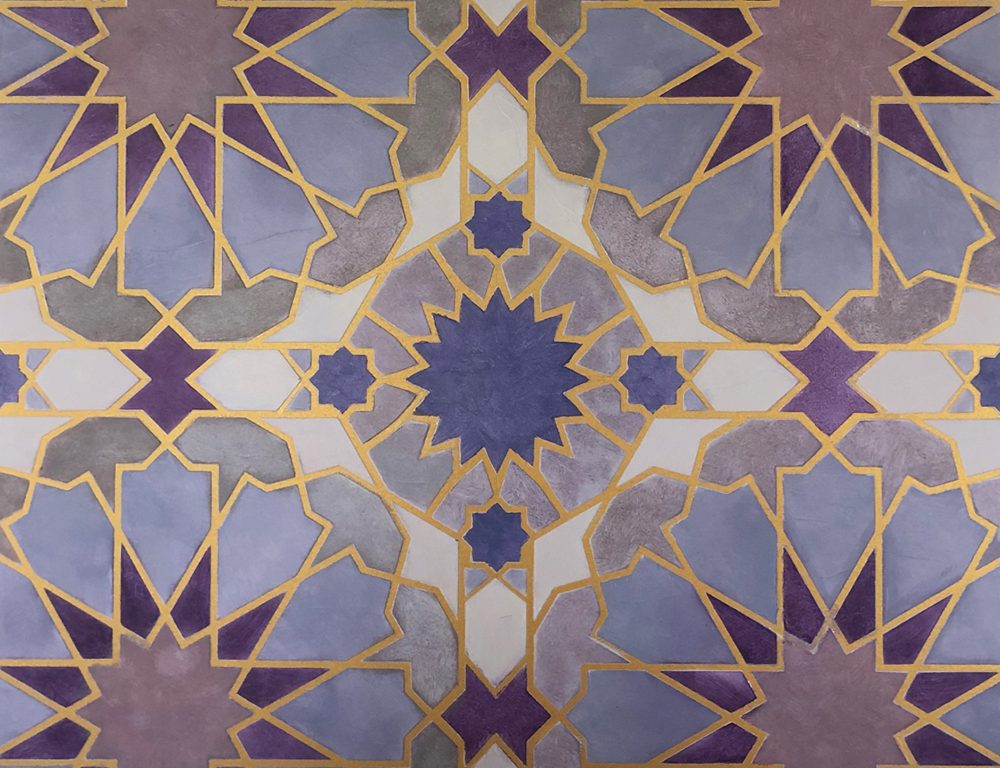
At this point, I really, really loved the sample as is. It has a beautiful, clean and very modern tiled look. It can always be left at this point, but I wanted a lot of color. So if you are in for the higher road, continue on.

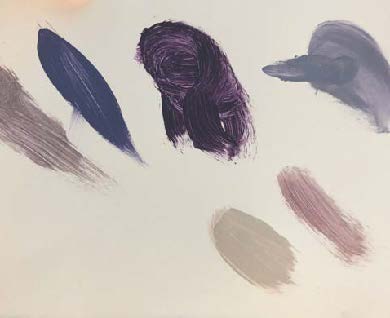
5 | Mix the following colors with Golden Paintworks Glazing Medium and Slow Dry Fluid Acrylics using your Benjamin Moore paint deck for reference:
▪ BM1420 Softened Violet: Dioxazine Purple, Titanium White, and Raw Umber
▪ BM1392 Fire and Ice: Dioxazine Purple, Van Dyke Brown Hue, Raw Sienna, and a small amount of Carbon Black
▪ BM1421 Bistro Blue: Dioxazine Purple, Phthalo Blue (Green Shade), and Titanium White
▪ BM1385 Cupid’s Dart: Titanium White, Raw Sienna, and a small amount Dioxazine Purple
▪ BM1377 Caribbean Sunset: Titanium White, Raw Umber, Raw Sienna, and a small amount Dioxazine Purple
▪ BM1472 Silver Chain: Titanium White and a small amount of Carbon Black and custom Bistro Blue mix.
(Photo 5)

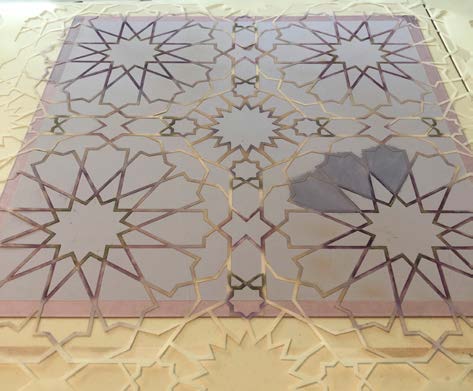
6 | Spray the back side of the Wallovers Medina Stencil with a stencil adhesive and let it tack up. After tacking up, carefully lay back over the raised design exactly as it was before.
(Photo 6)

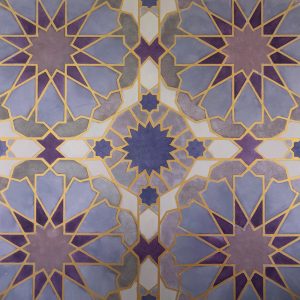
7 | Stencil your tinted Glazing Medium colors, making sure your colors are somewhat transparent, as it will give a more glazed tile look. Color in the entire pattern and let dry. Use the attached color map for reference to color placement.
(Photo 7)

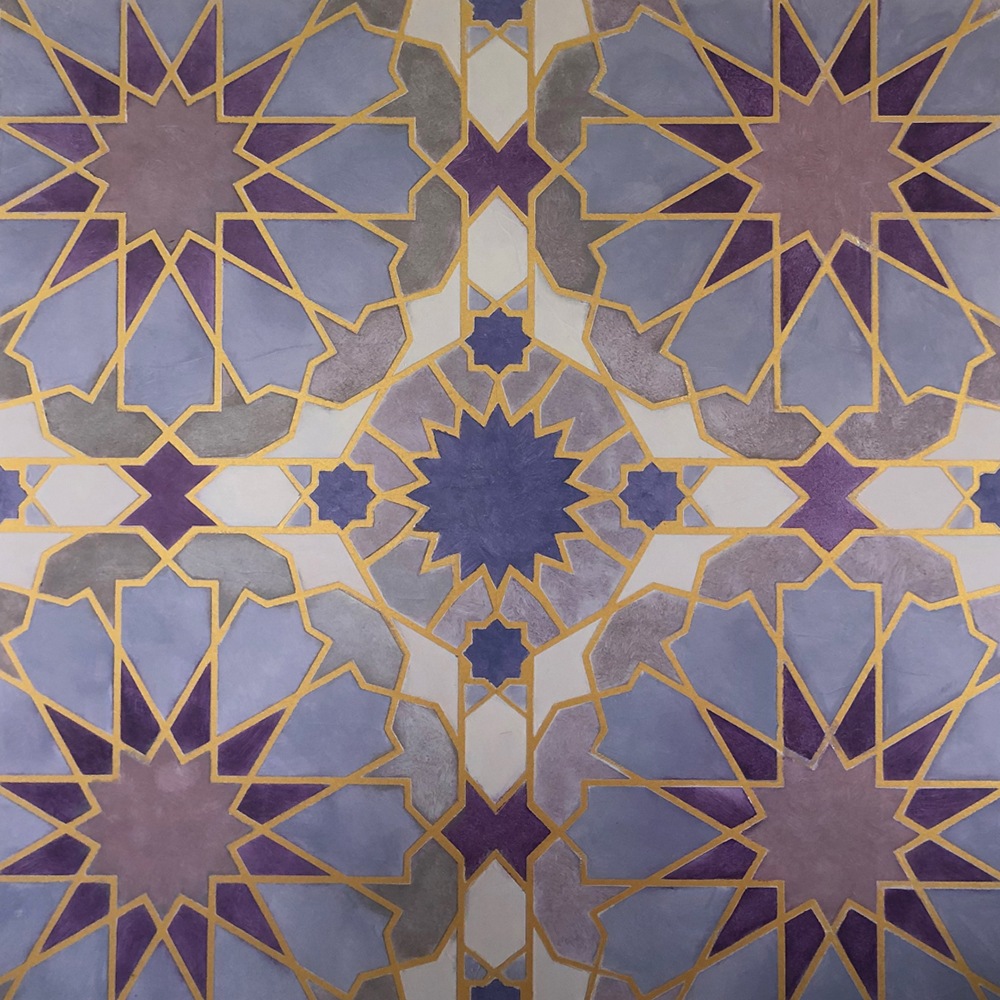
Here’s the final texture.
(Photo 8)

Featured Products

About the Artist
Robin Belisle, owner and Decorative Artist at Faux Couture, is a self taught artist who began her decorative painting career in 1998 after an extraordinary encounter with a faux finishing class. From there, she made a pointed decision to become the best decorative painter she could be and searched out award winning designers and builders to work with. She has traveled to Italy, Paris, many times to Morocco and all over the world leaving her mark on homes and hotels in need of artistic interpretation. This in turn has helped her hone her craft and create many signature finishes based on her travels. She has been featured in magazine articles, trade shows and the local news as trends to watch. She began teaching in her own studio and then taught many classes across the US. She joined the Board of Directors for the International Decorative Artisans league (IDAL) as education chair. As that chapter drew to a close, she knew she would eventually be teaching more. She has since joined other instructors on THE PAINT HIVE teaching online decorative painting classes.

More from this artist

Looking for more inspiration? Click here to view all of the decorative finishes from our Limited Edition Collections.

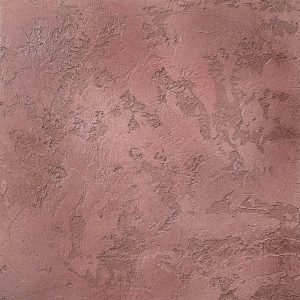
Decorative Finish: Rose Stone

"Rose Stone" decorative finish
DECORATIVE FINISH HOW-TO

Rose Stone

Artist: Jess Kollar

Share this article

PROJECT SUPPLIES:

INSTRUCTIONS:

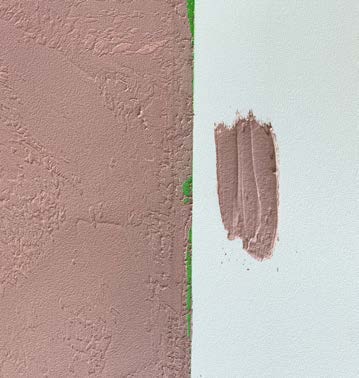
1 | Mix Red Oxide and Raw Sienna Slow Dry Fluid Acrylics into the Sandstone until desired color is achieved. The tinted Sandstone will dry just a tad darker, which makes it easy to tint yourself.
(Photo 1)

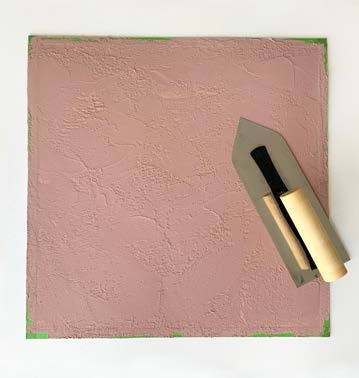
2 | Trowel a thin, rough layer. Let dry.
(Photo 2)

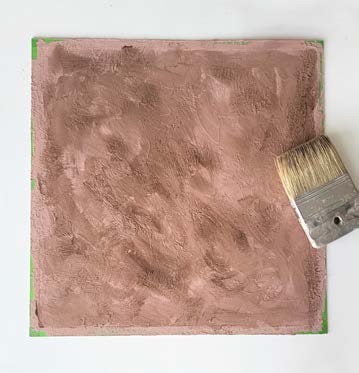
3 | Mix together 5 parts Glazing Medium to 1 part Burnt Umber Slow Dry Fluid Acrylics. Brush on.
(Photo 3)

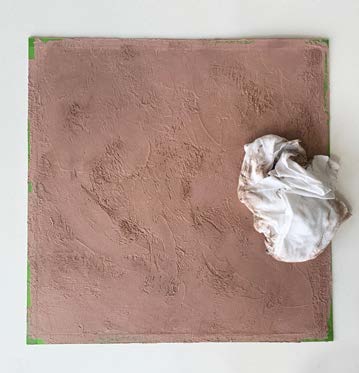
4 | Wipe off excess with a rag to leave most of the glaze in the crevices. Let dry.
(Photo 4)

5 | Skip trowel more of the tinted Sandstone across the area, building up peaks of plaster as you go. Let dry a few minutes.
(Photo 5)

6 | Using a clean trowel, knock down the peaks. Let dry.
(Photo 6)

7 | Dry brush the Vintage Copper Metallic Paint with a natural bristle brush. After the Vintage Copper dries, dry brush a little White Veil Metallic Paint.
(Photo 7)

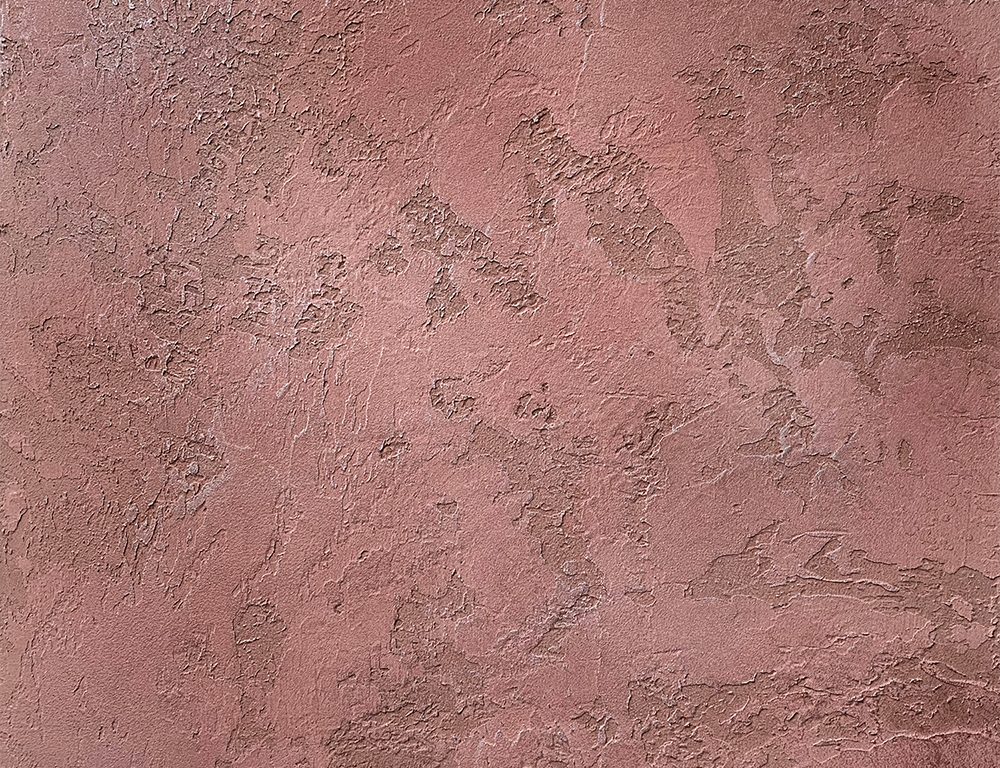
Here’s the final texture.
(Photo 8)

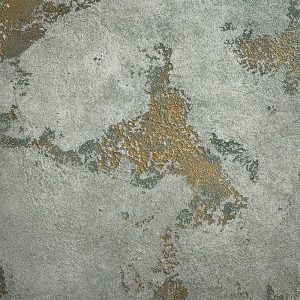
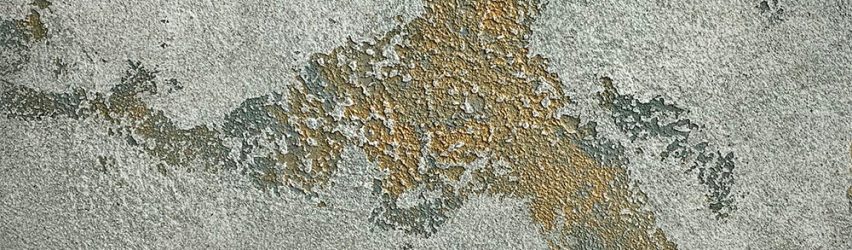
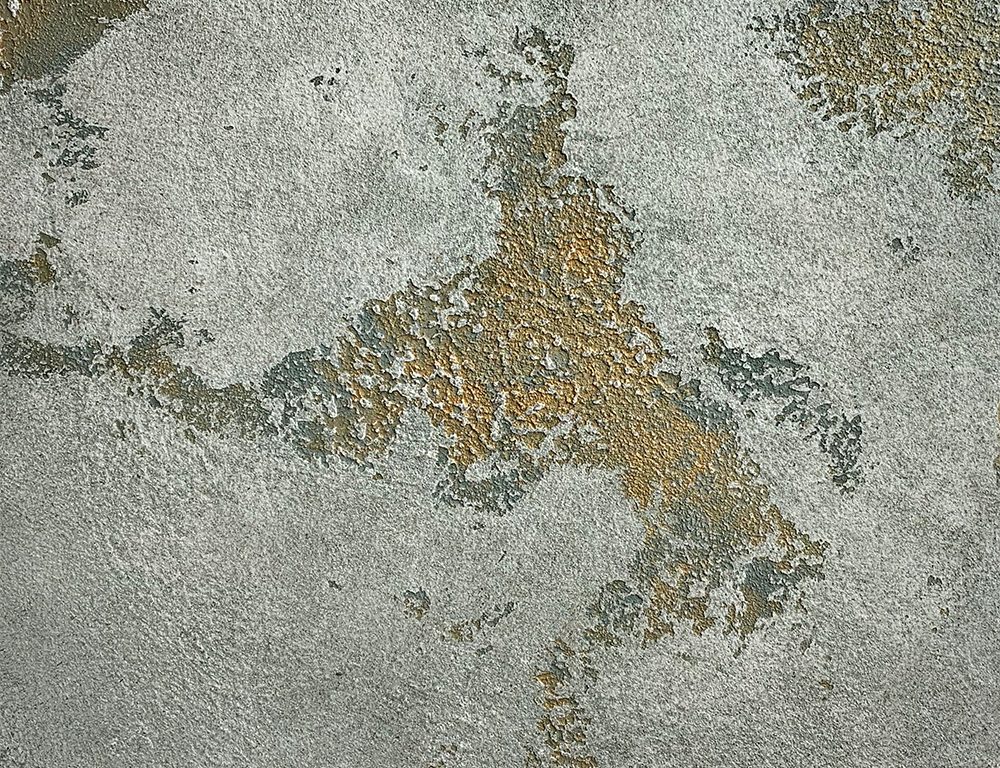
Decorative Finish: Emerald & Gold Granite

"Emerald & Gold Granite" decorative finish
DECORATIVE FINISH HOW-TO

Emerald and Gold Granite

Artist: Jess Kollar

Share this article

PROJECT SUPPLIES:

INSTRUCTIONS:

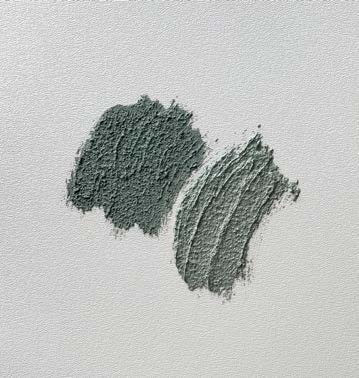
1 | Mix Phthalo Blue (Green Shade), Raw Sienna, Burnt Umber and Carbon Black Slow Dry Fluid Acrylics into the Weathered Granite until desired color is achieved. The tinted granite will dry 2 shades darker.
(Photo 1)

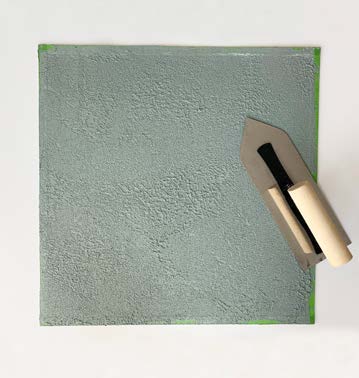
2 | Trowel a thin, rough layer. Let dry.
(Photo 2)

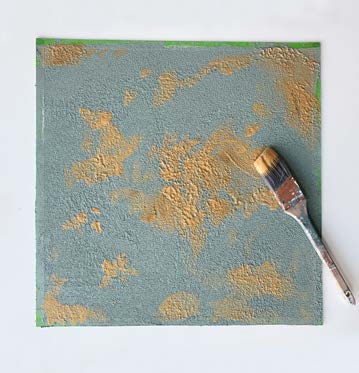
3 | Mix one part Glazing Medium to one part Gold Metallic Paint and dab it into the rougher areas of the plaster.
(Photo 3)

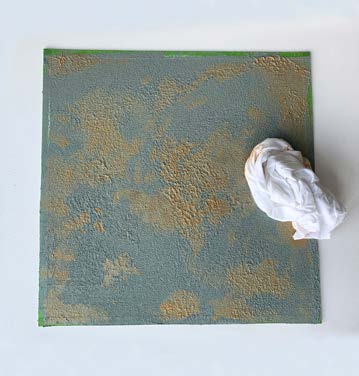
4 | Using a dabbing motion, wipe excess Gold Metallic Paint away with a cloth. Let dry.
(Photo 4)

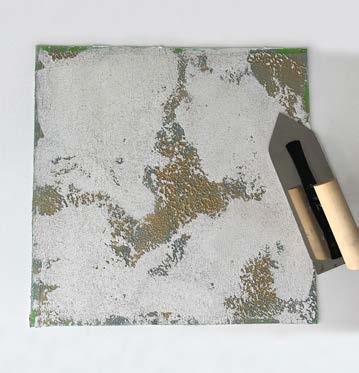
5 | Skip trowel untinted Weathered Granite across the surface. Let dry.
(Photo 5)

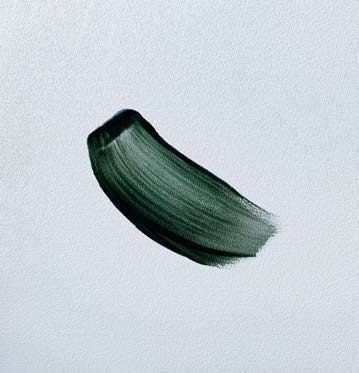
6 | Mix your same Slow Dry Fluid Acrylics in Phthalo Blue (Green Shade), Raw Sienna, Burnt Umber and Carbon Black into Glazing Medium.
(Photo 6)

7 | Brush colored Glazing Medium across entire surface with a natural bristle brush. Let dry.
(Photo 7)

Here’s the final texture.
(Photo 8)