


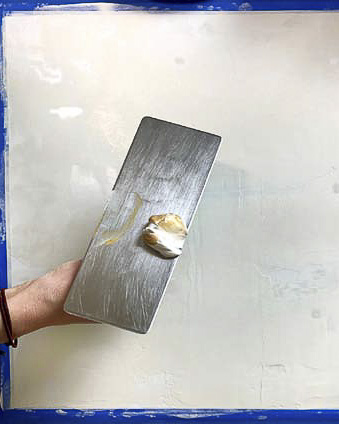
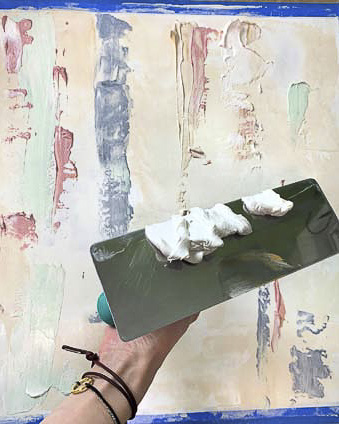
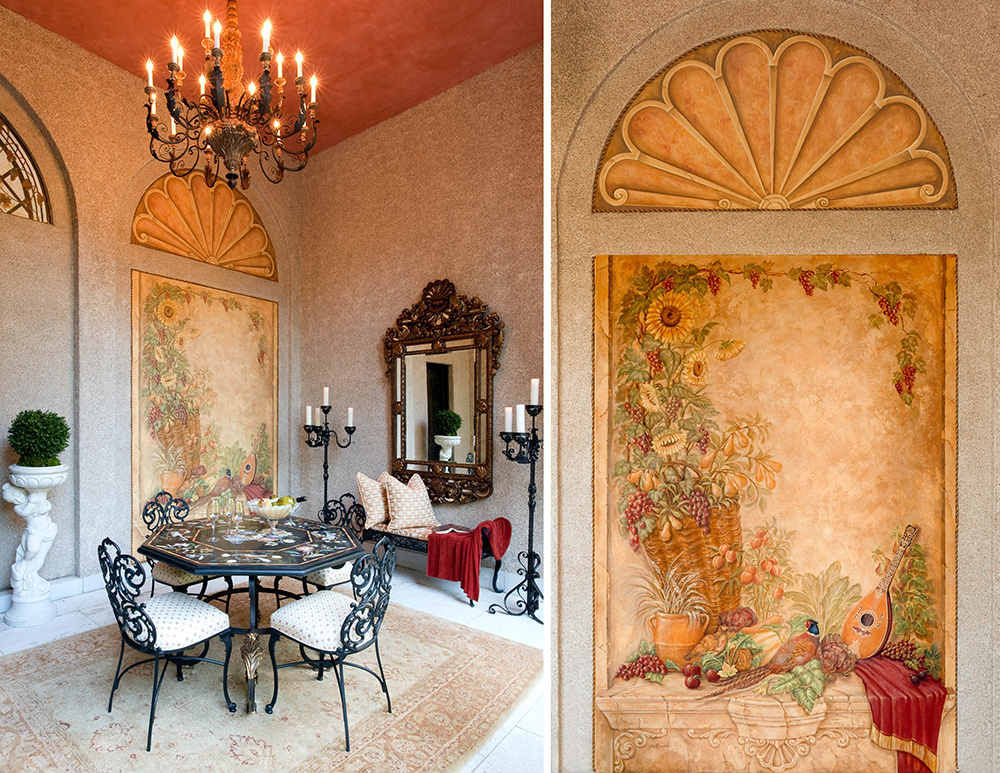
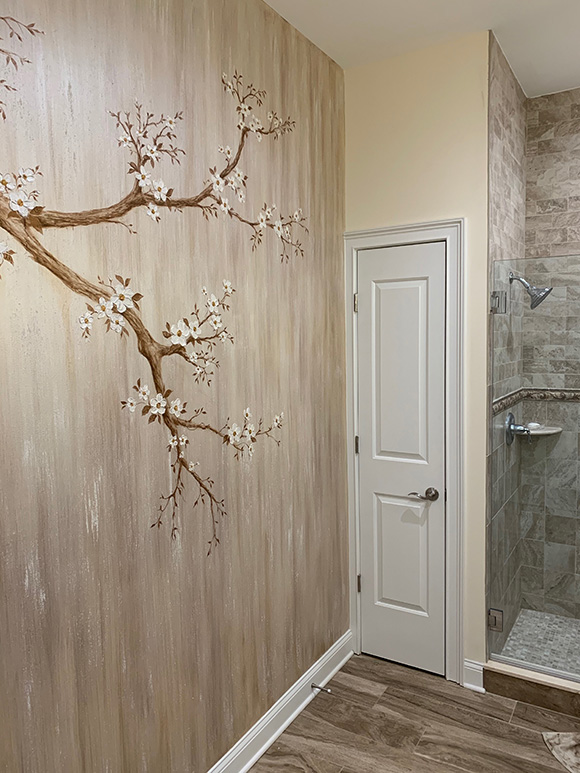
About the Artist
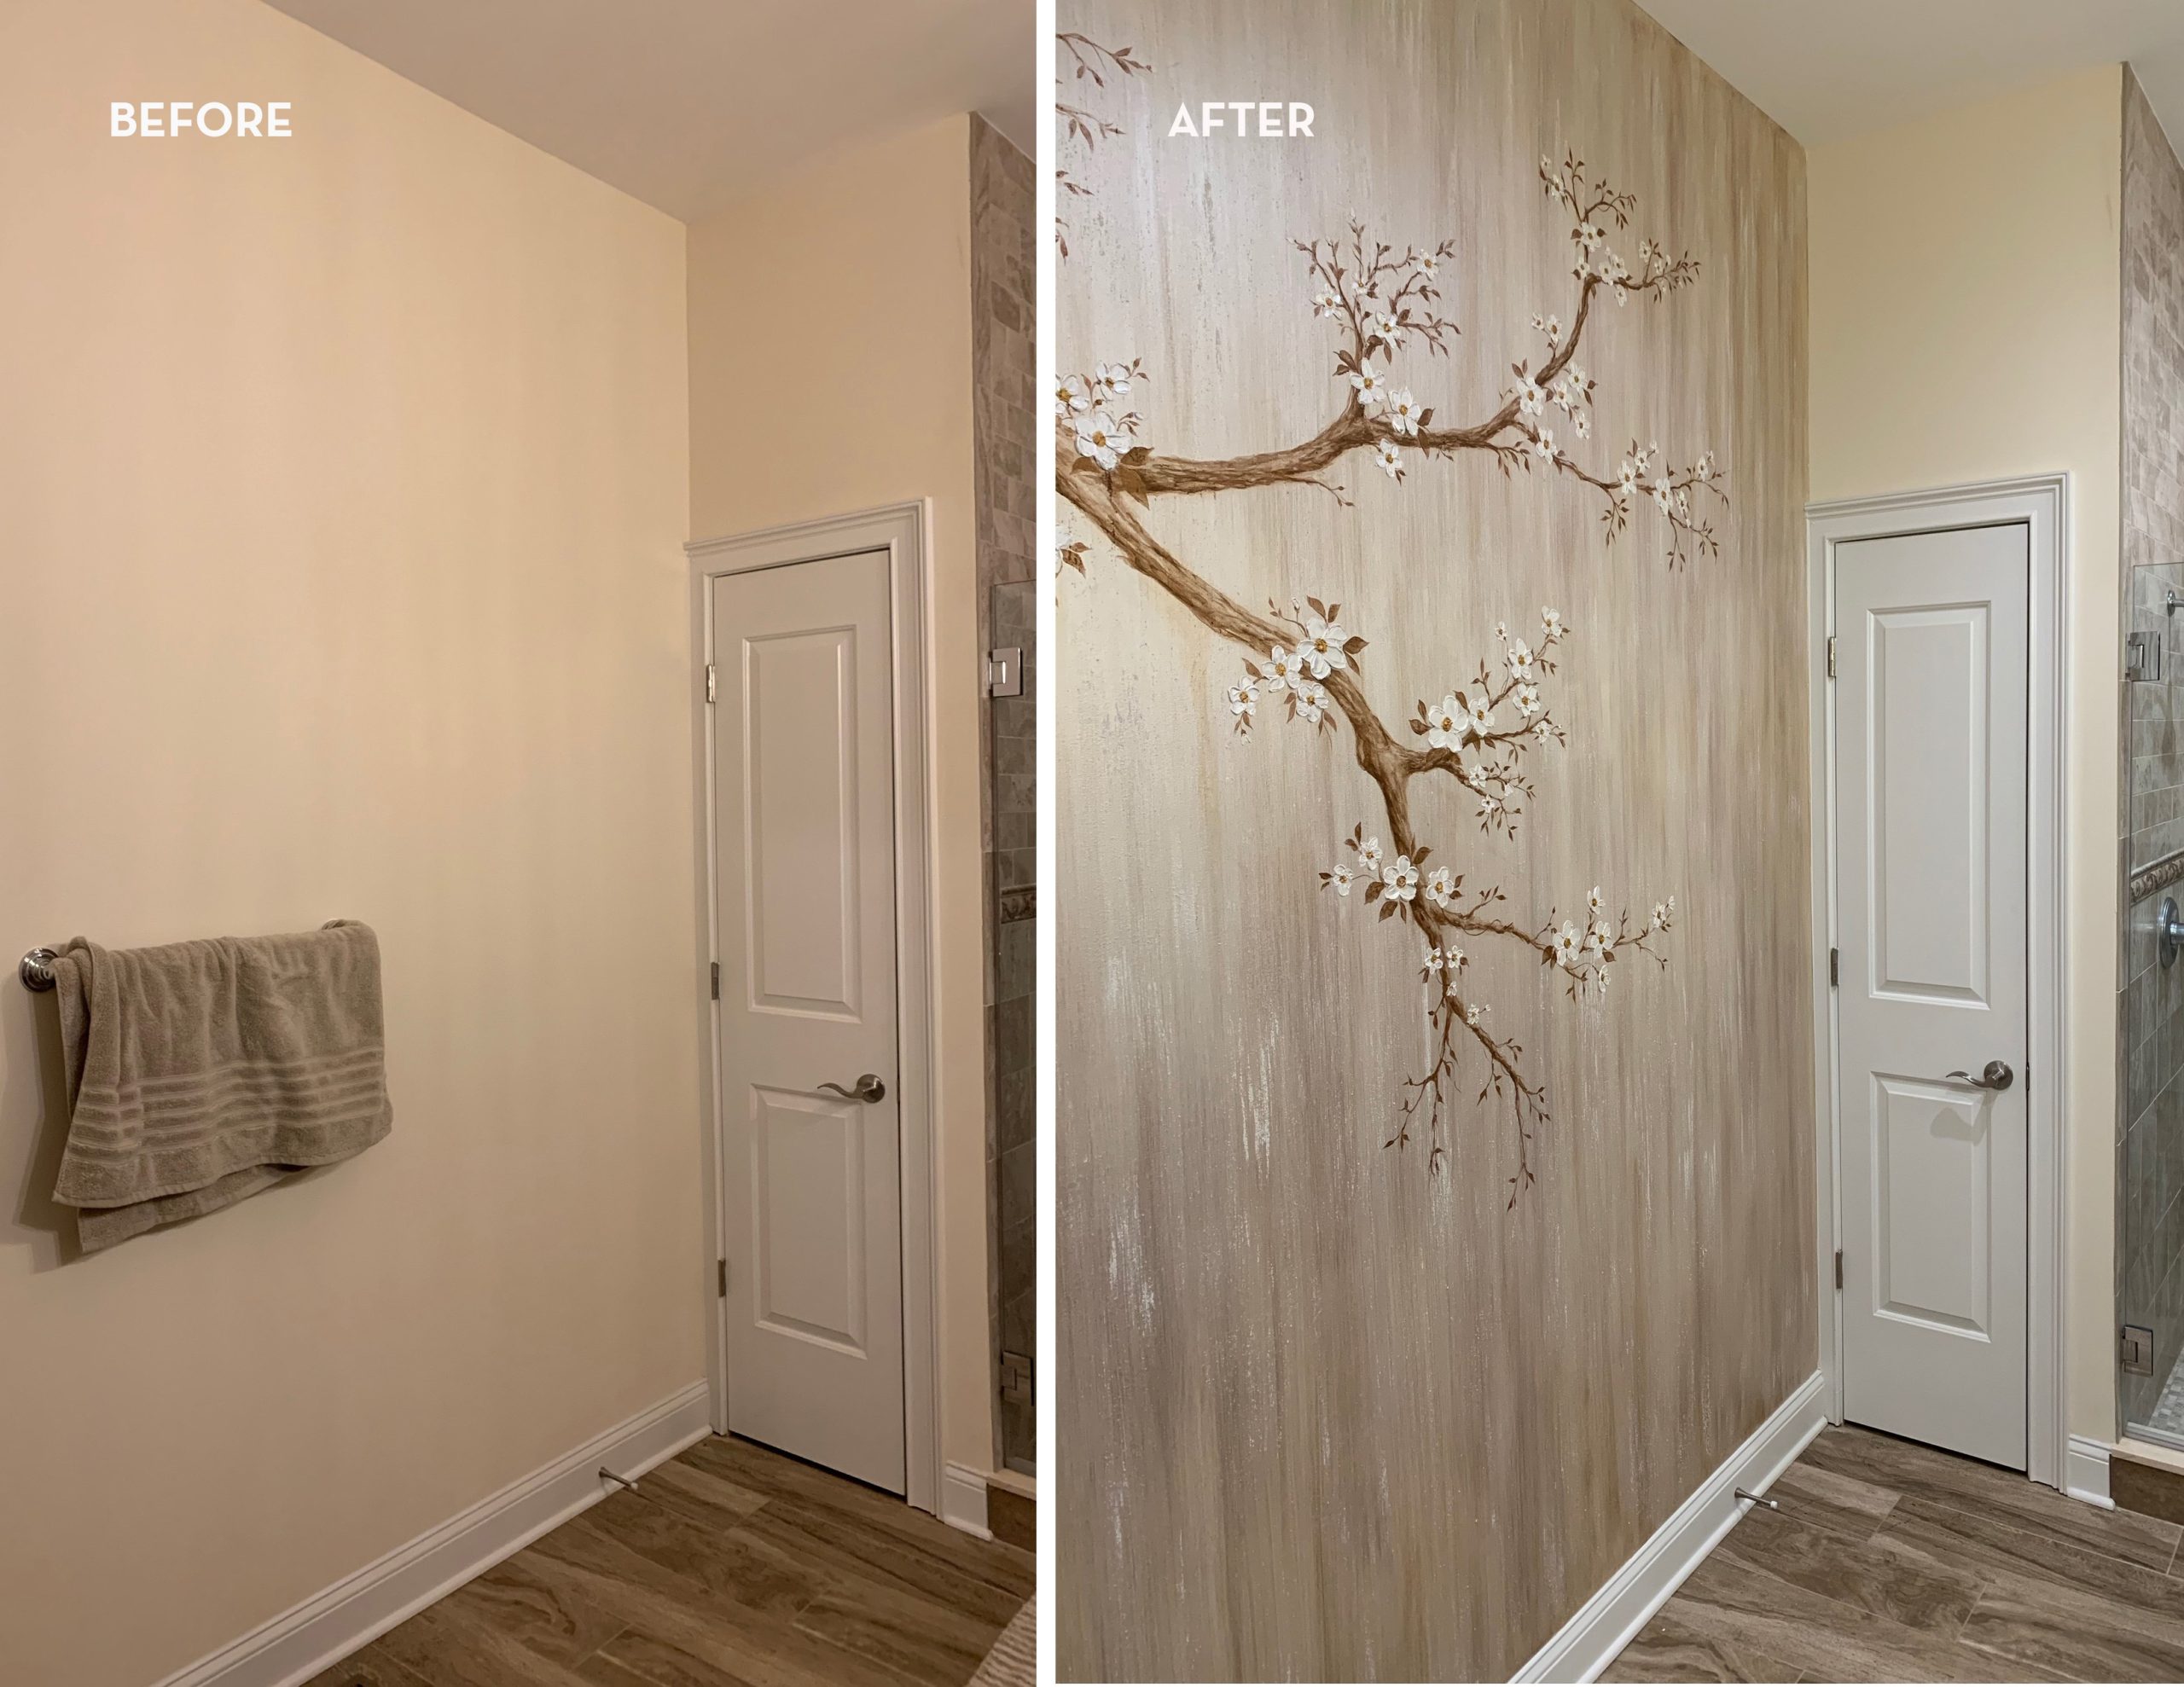
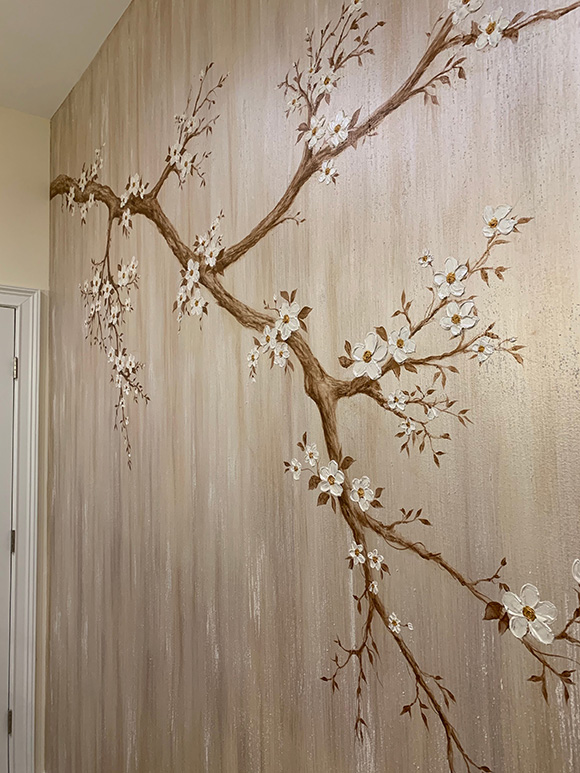
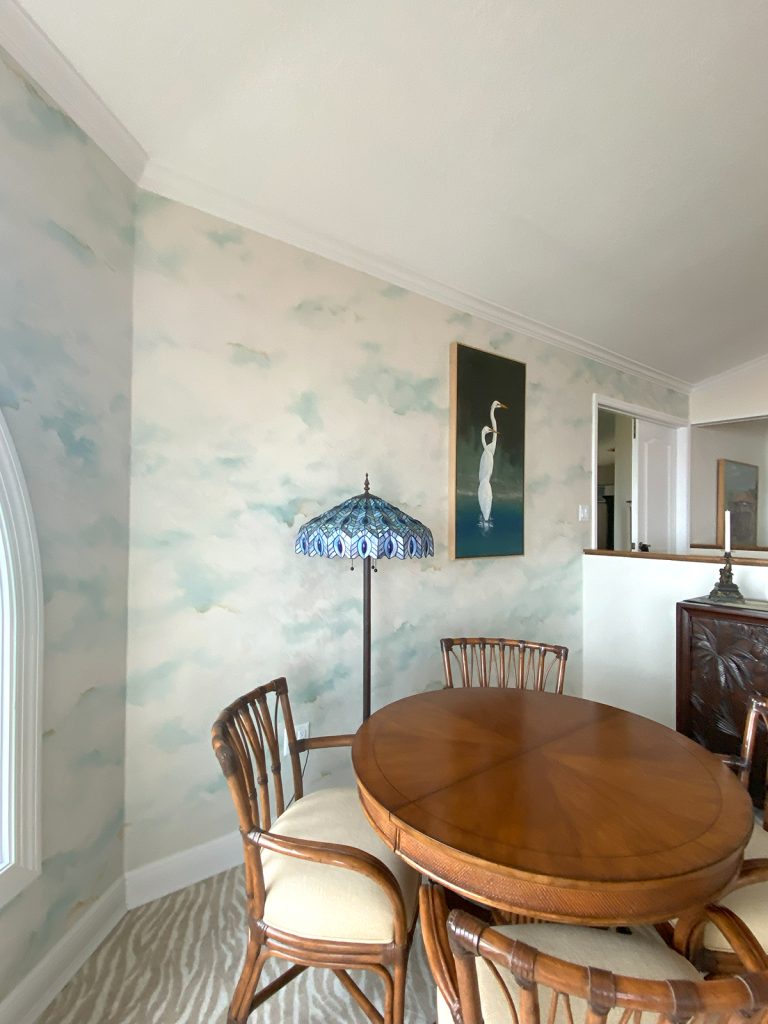
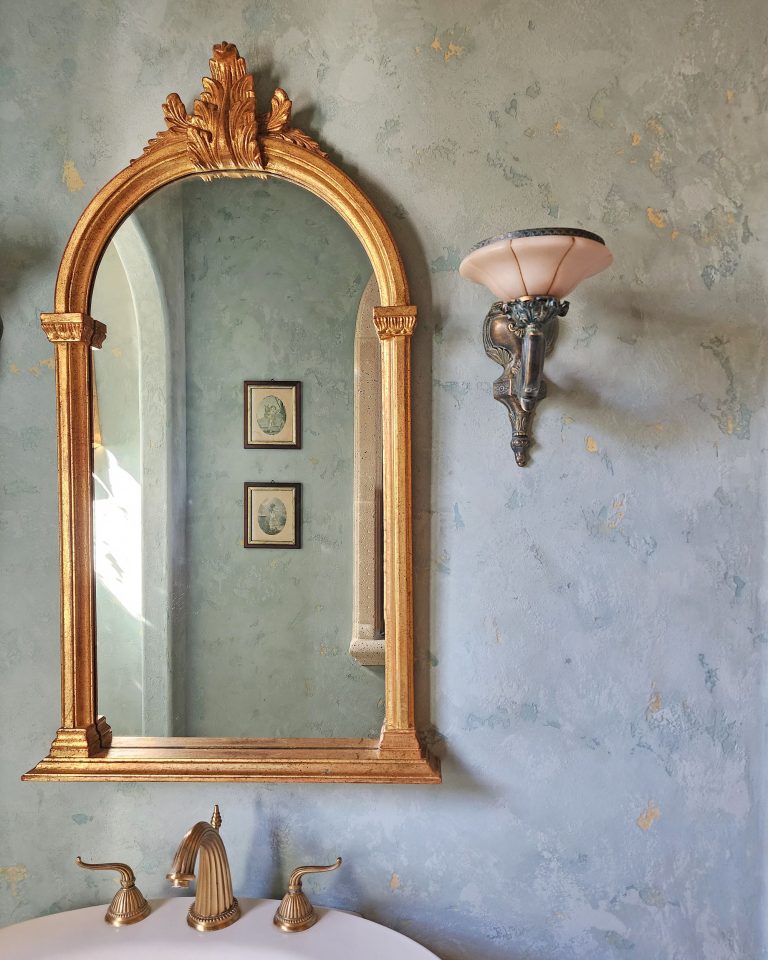
Artisan Factor is a professional cabinet refinishing & decorative finishing company servicing the Central Florida area in the residential, commercial and hospitality fields. With over 15 years of faux and decorative finishing experience. Jason Rosales provides a wide range of looks on cabinetry, millwork, interior/exterior walls, and ceilings using glazes, paints, plaster, texture, wood graining, marbling, gilding, stenciling and embossing. He has a commitment to quality that shows in every step of a project, from his product selection and surface preparation to the final finish results. As a problem solver and a hands-on type, he has helped many find the best solution for their space while staying within budget. Creating a beautiful and stylish environment for his client is a passion and doing so with a commitment to care and an eye for detail only comes naturally.


