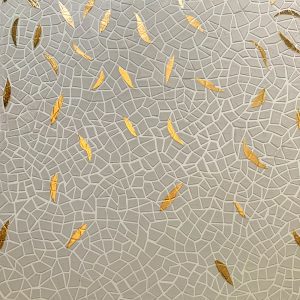
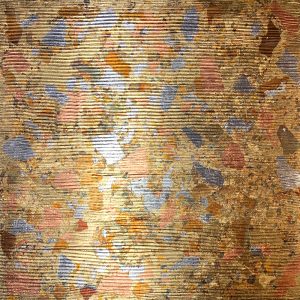
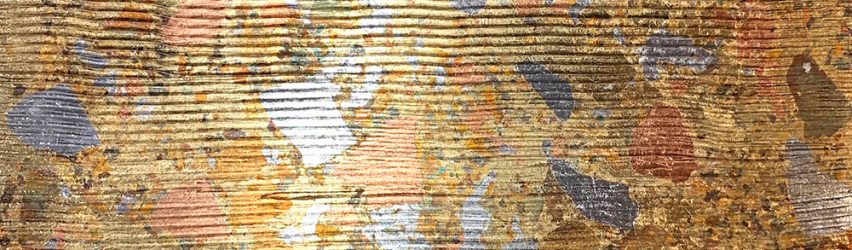
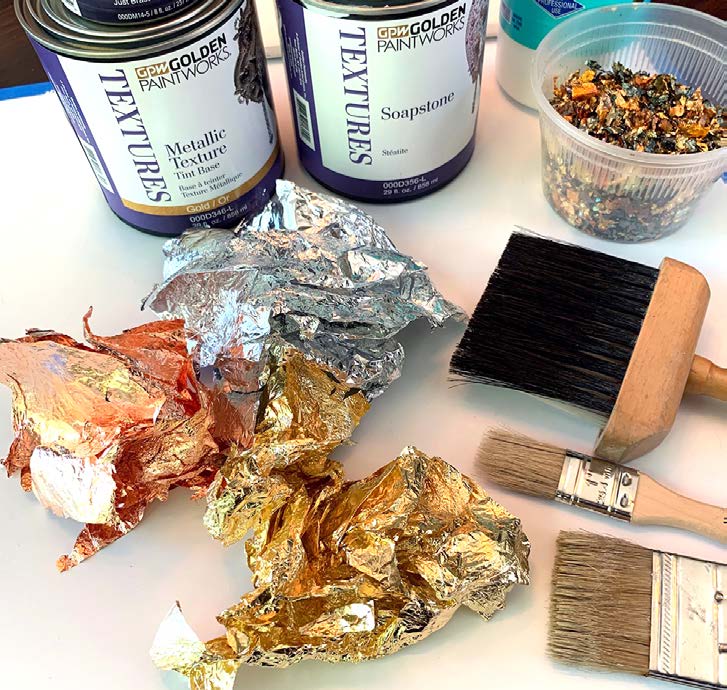
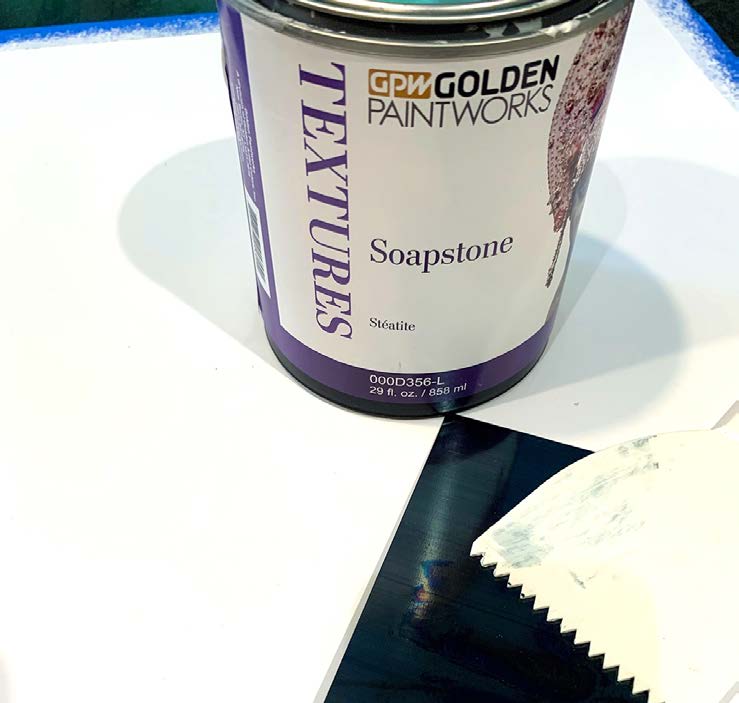
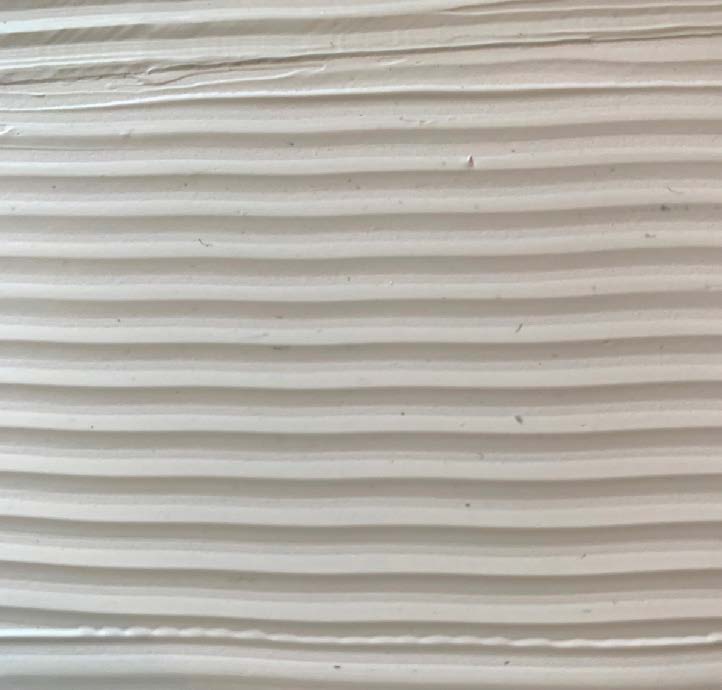
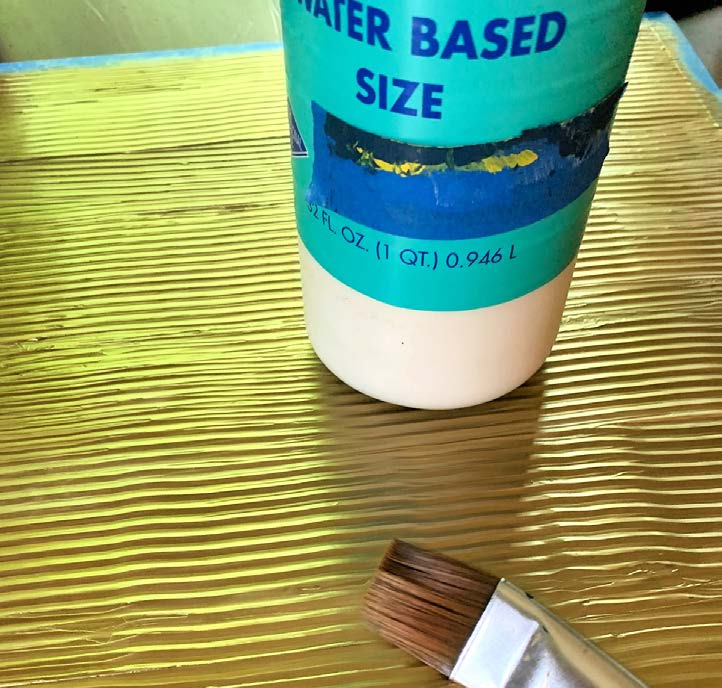
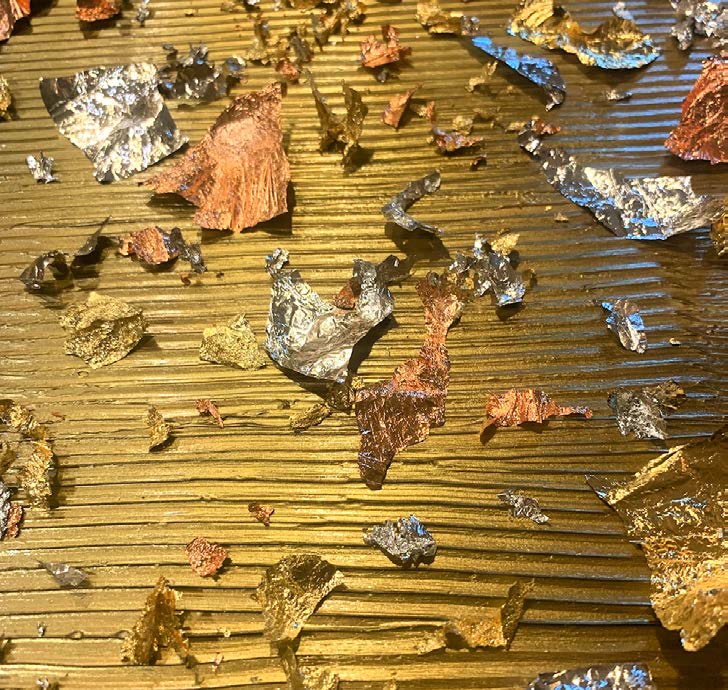
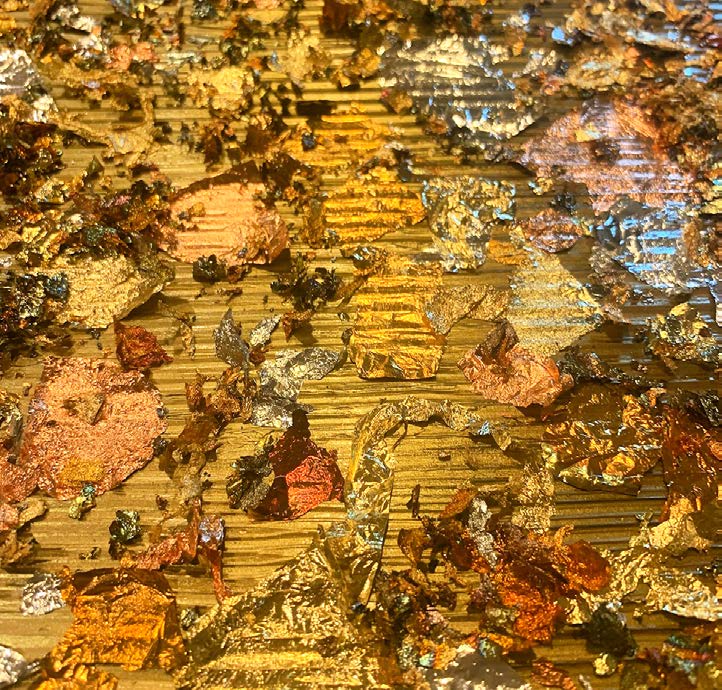
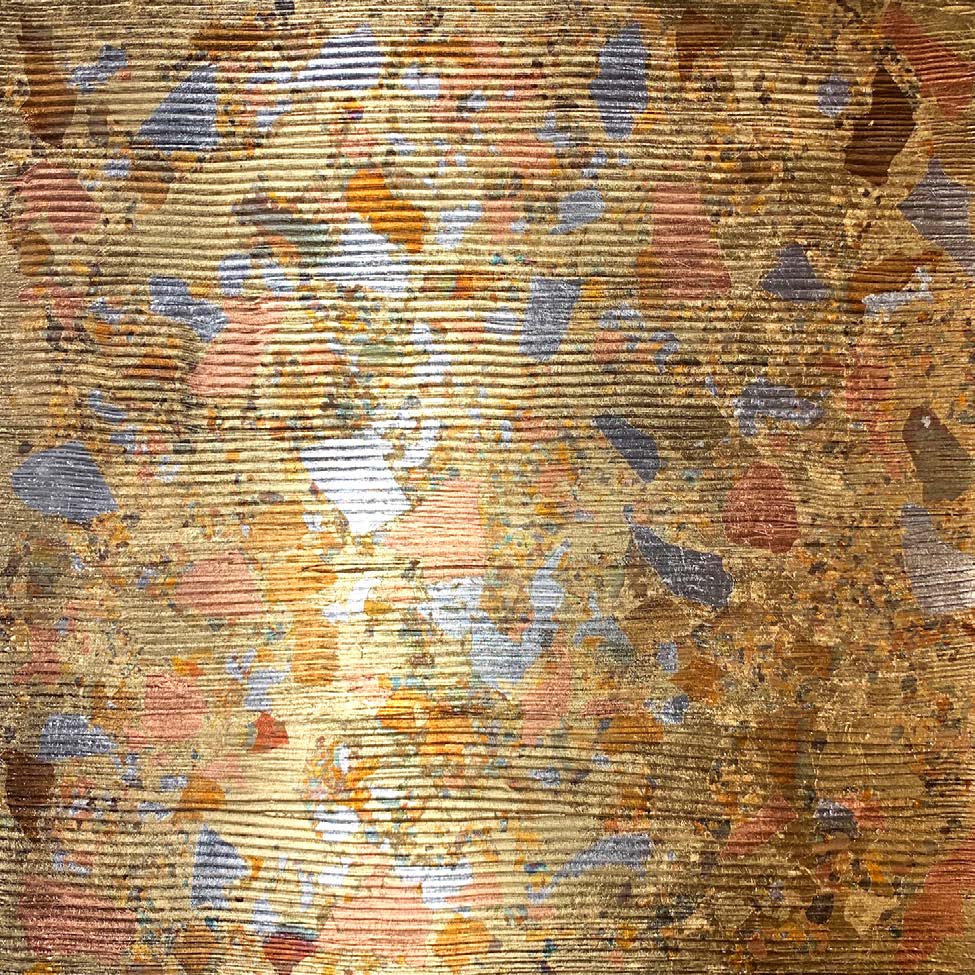
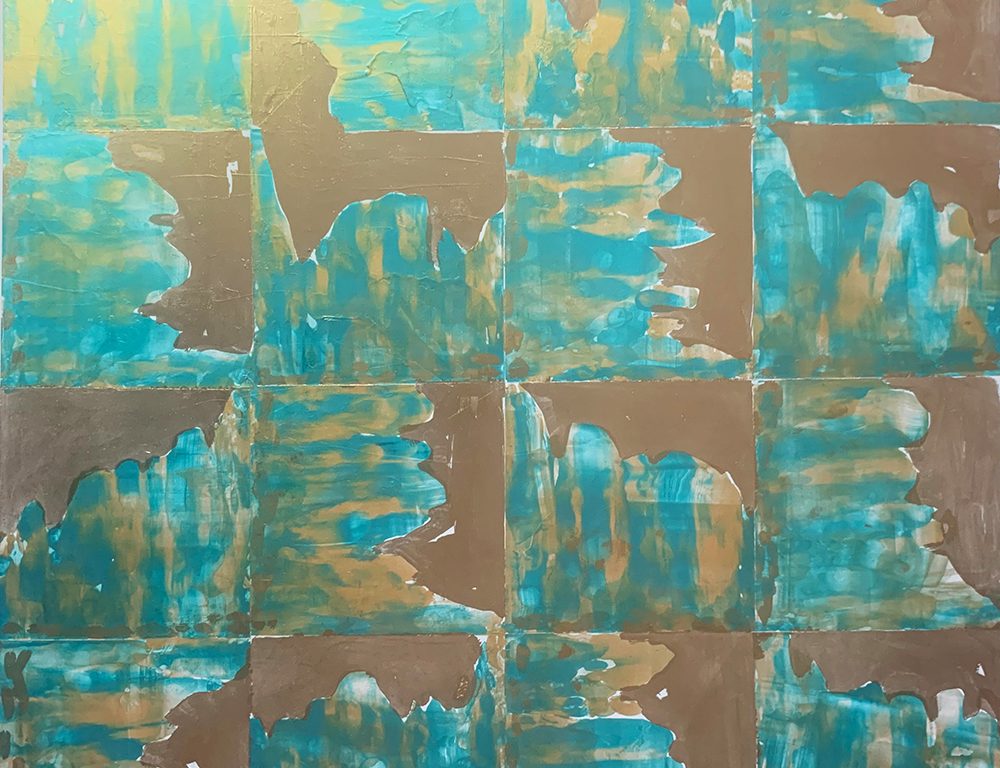
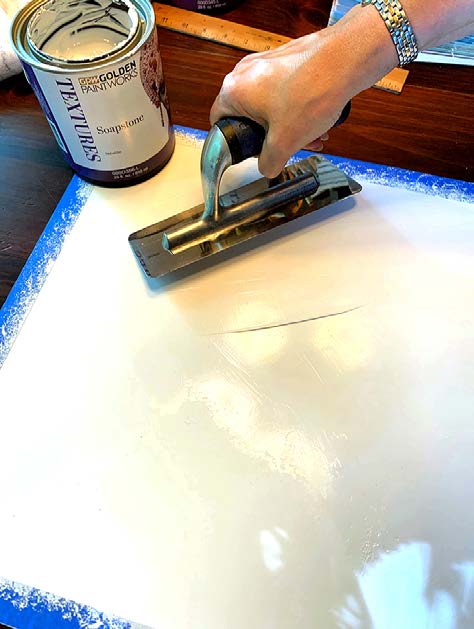
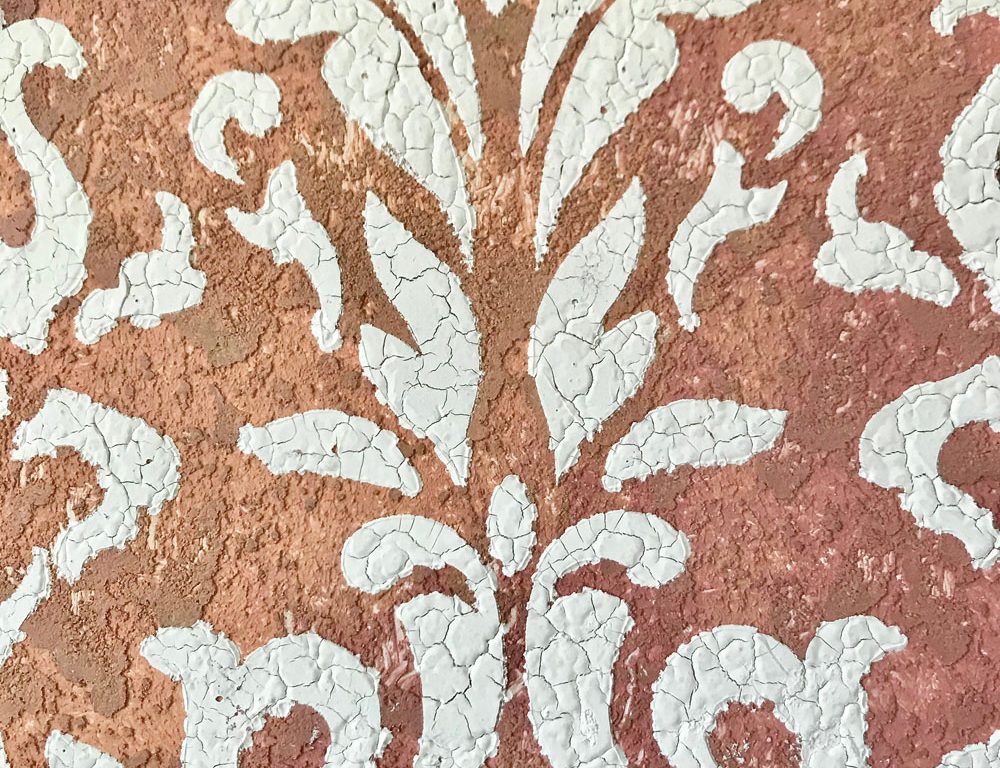
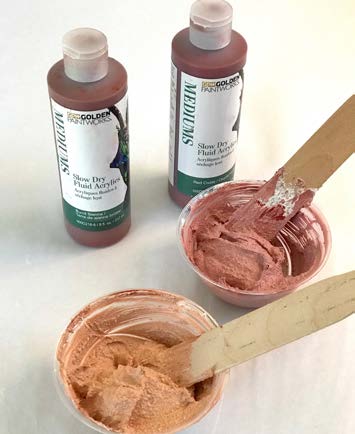
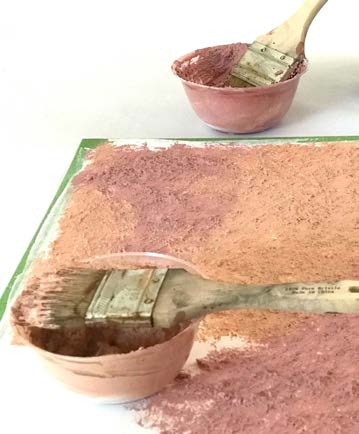
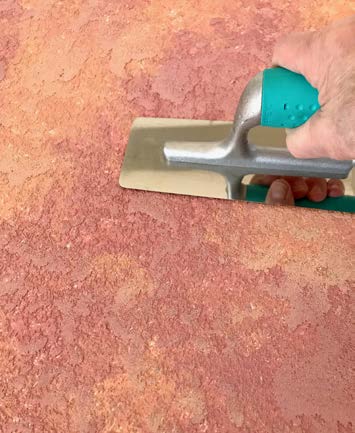
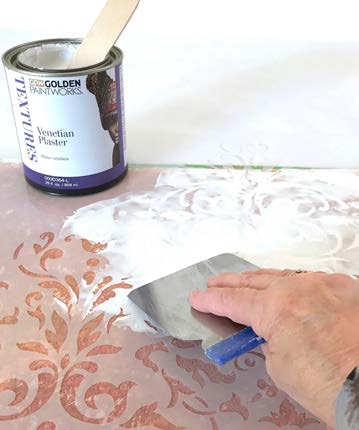
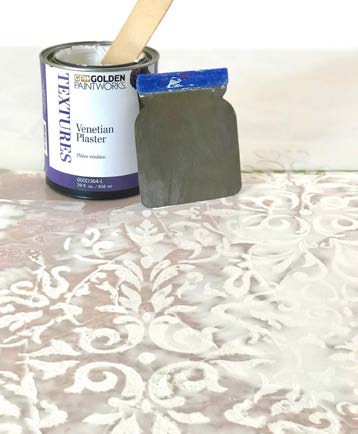
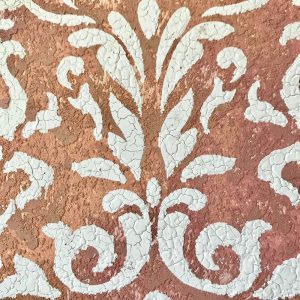
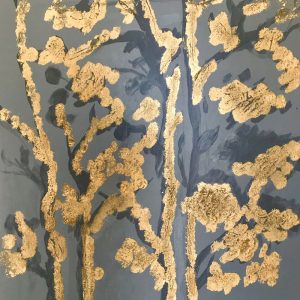
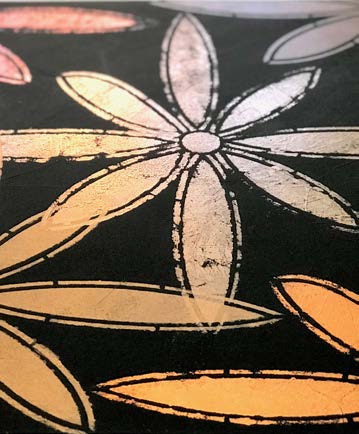
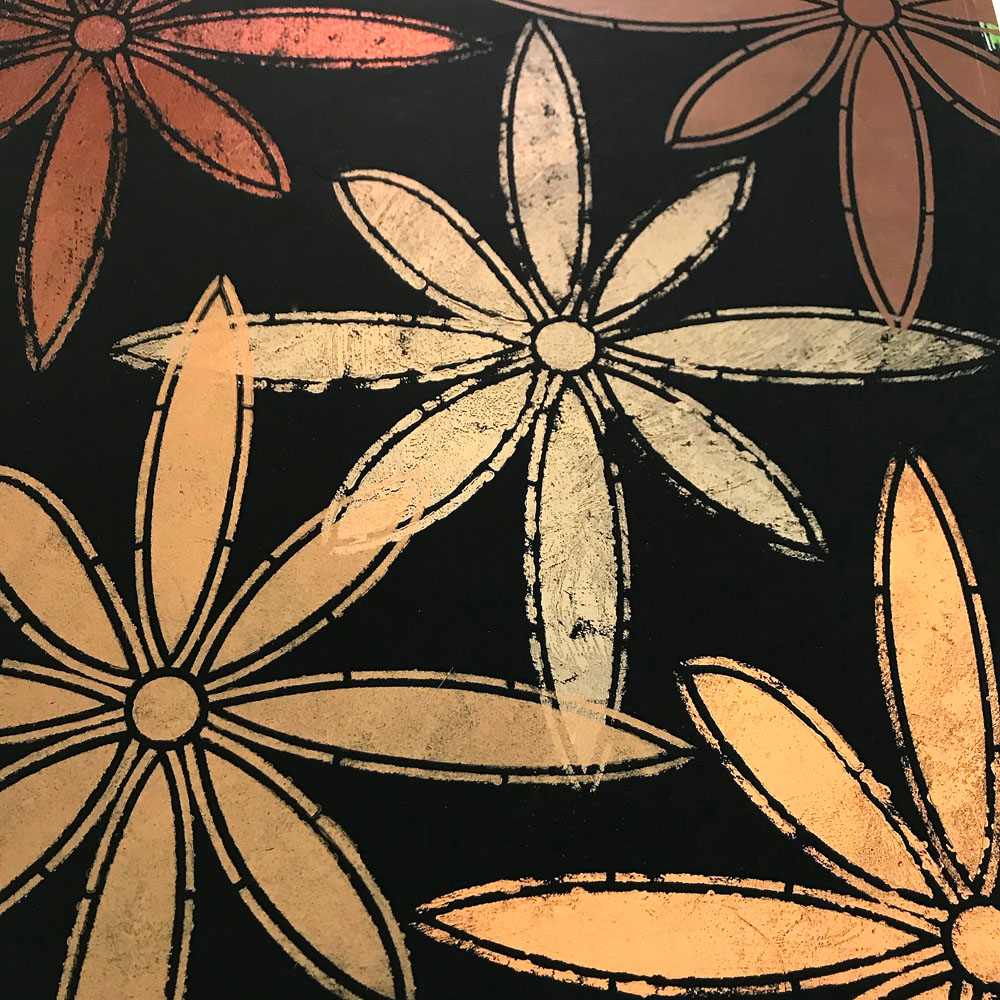
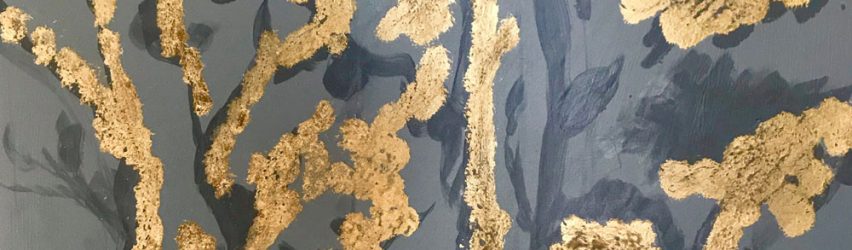
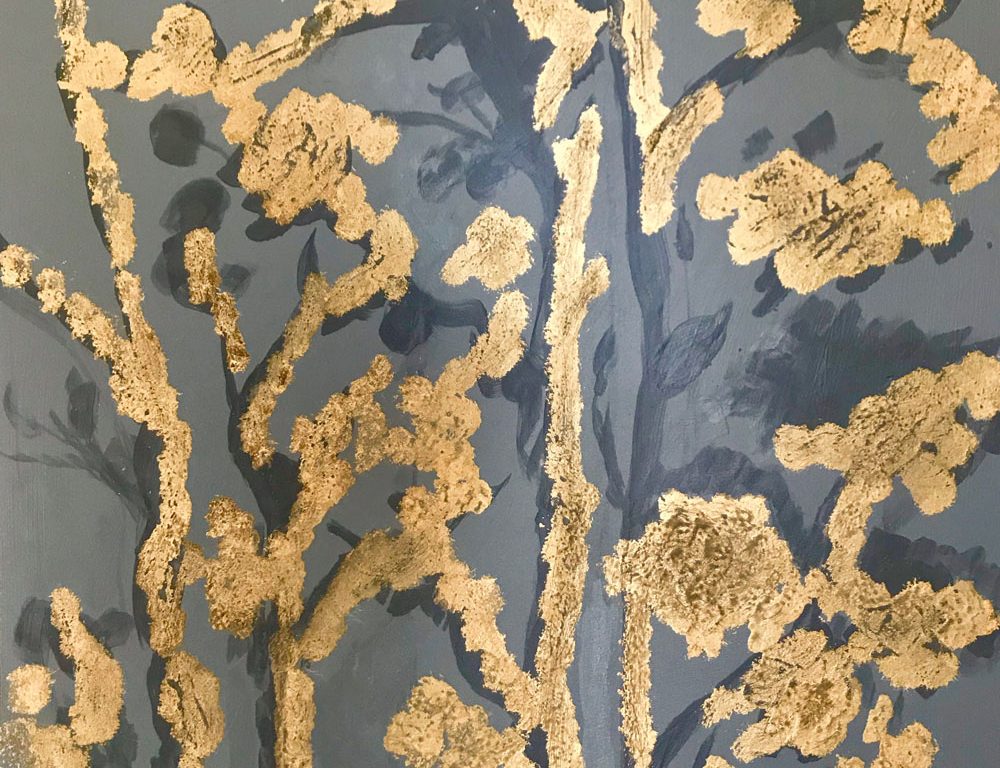
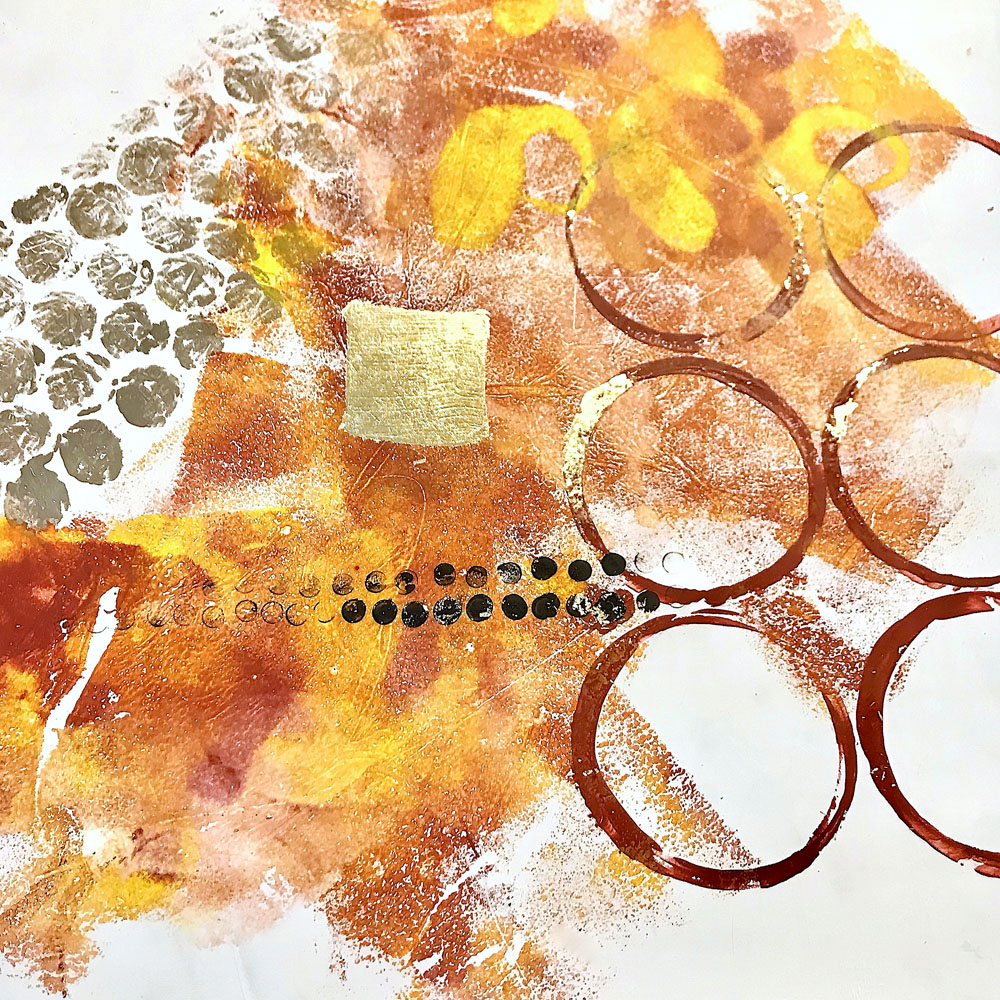
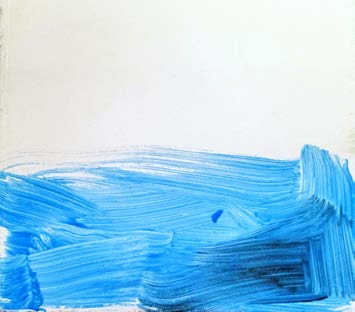
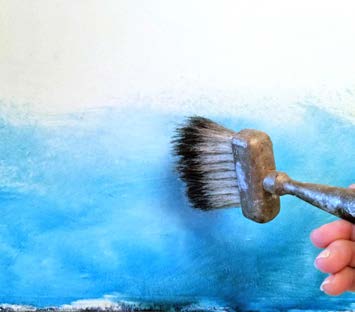
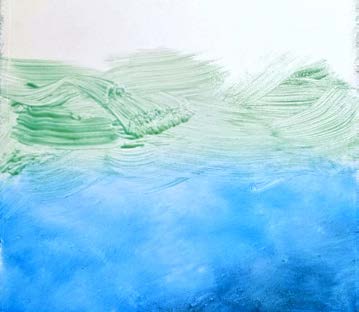
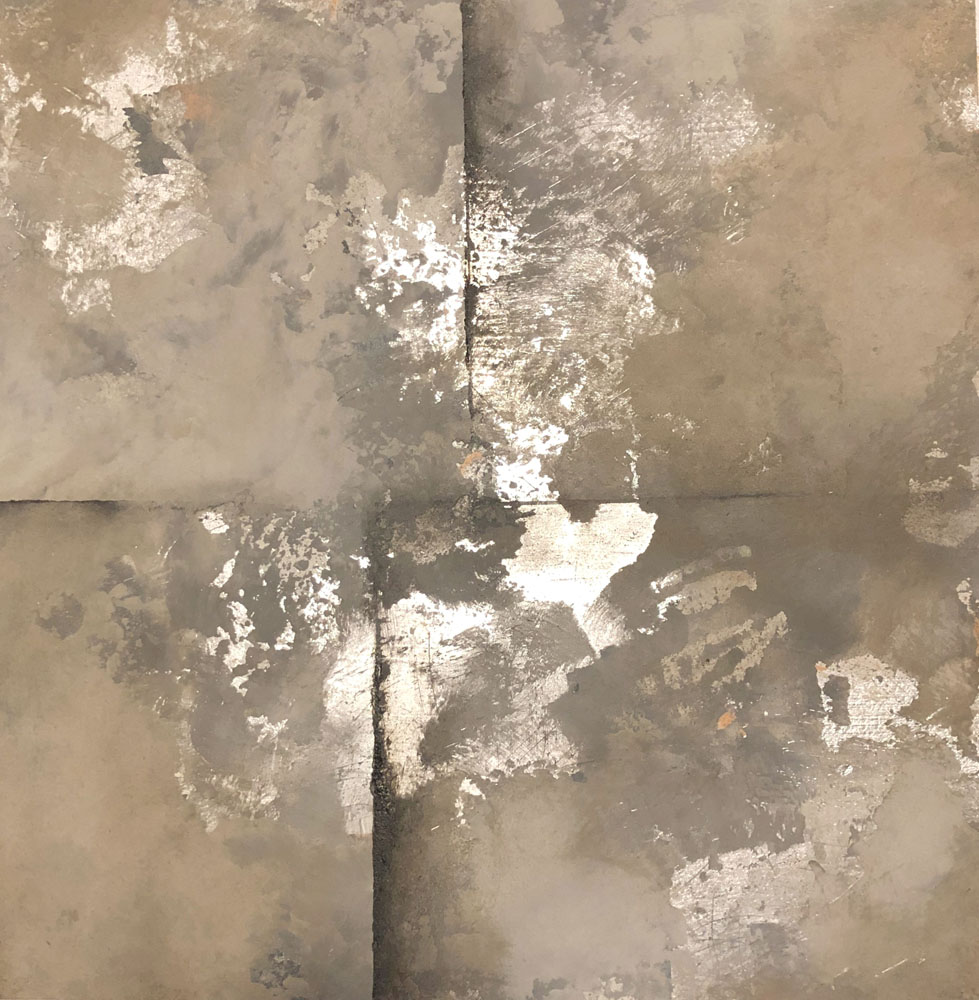
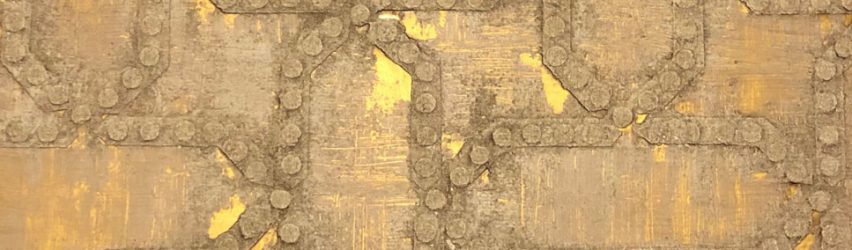
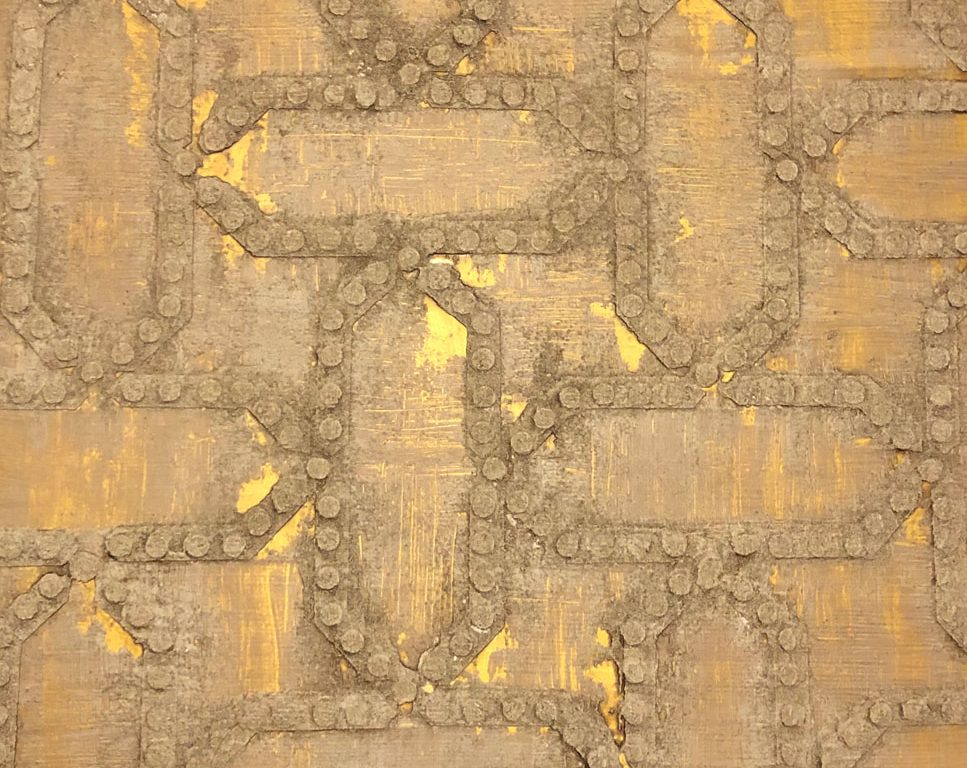
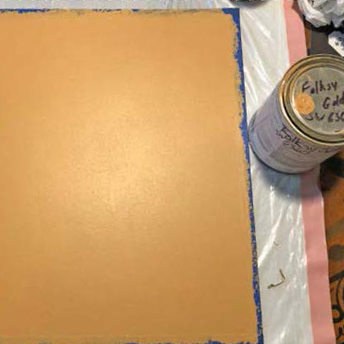
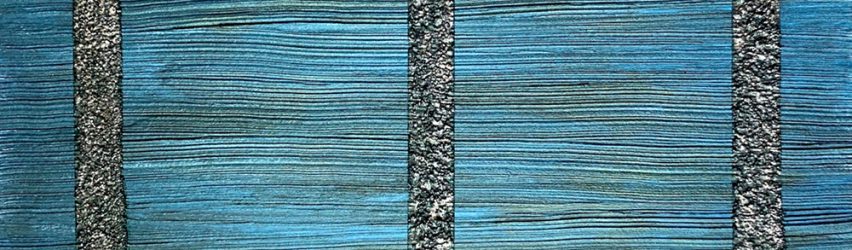
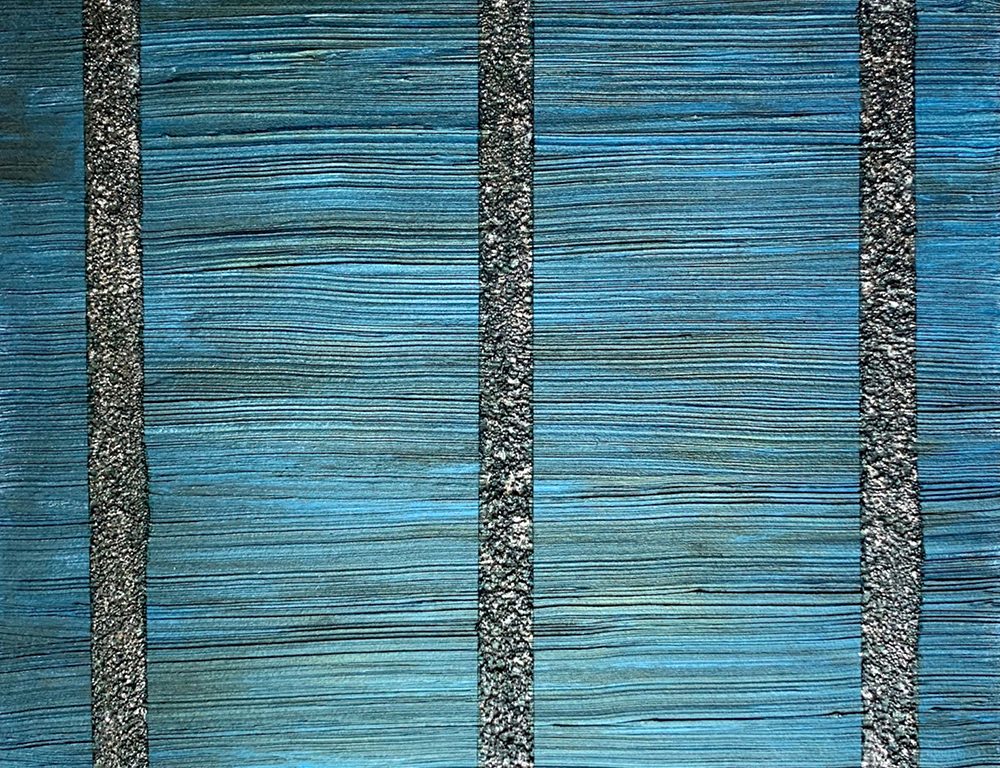
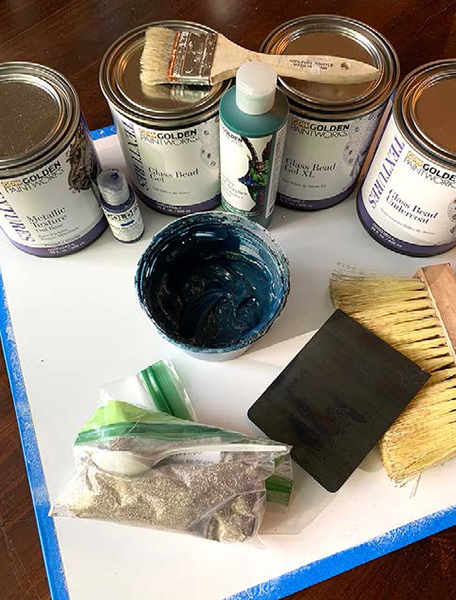
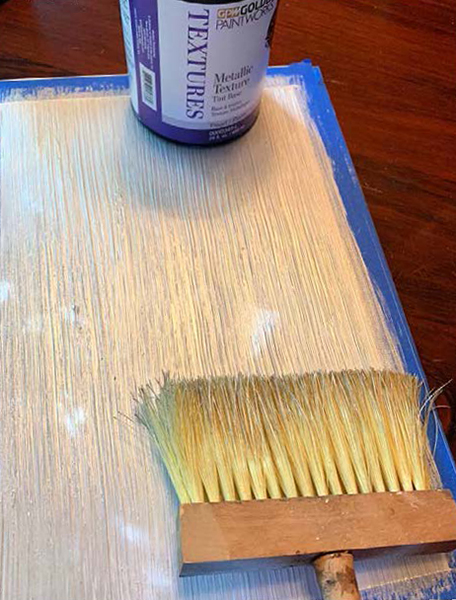
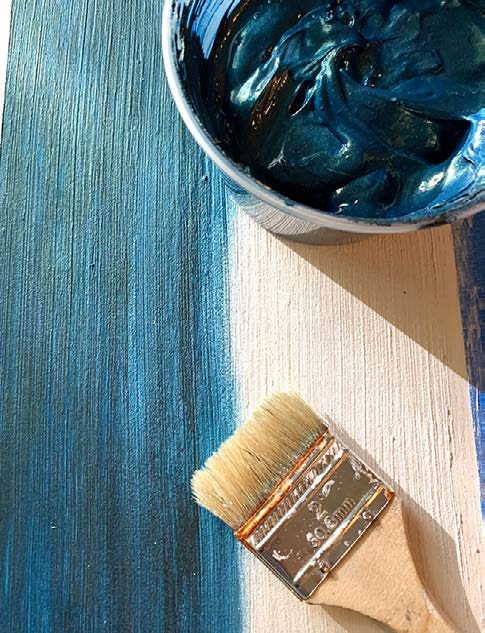
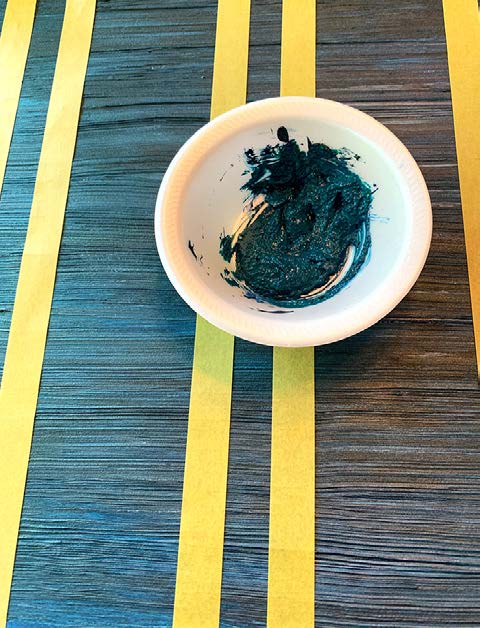
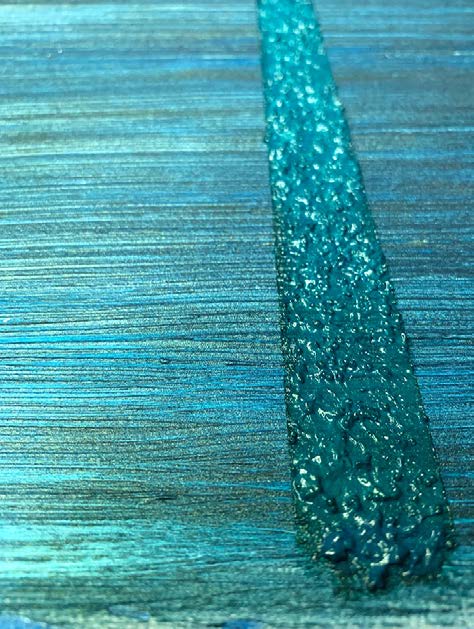
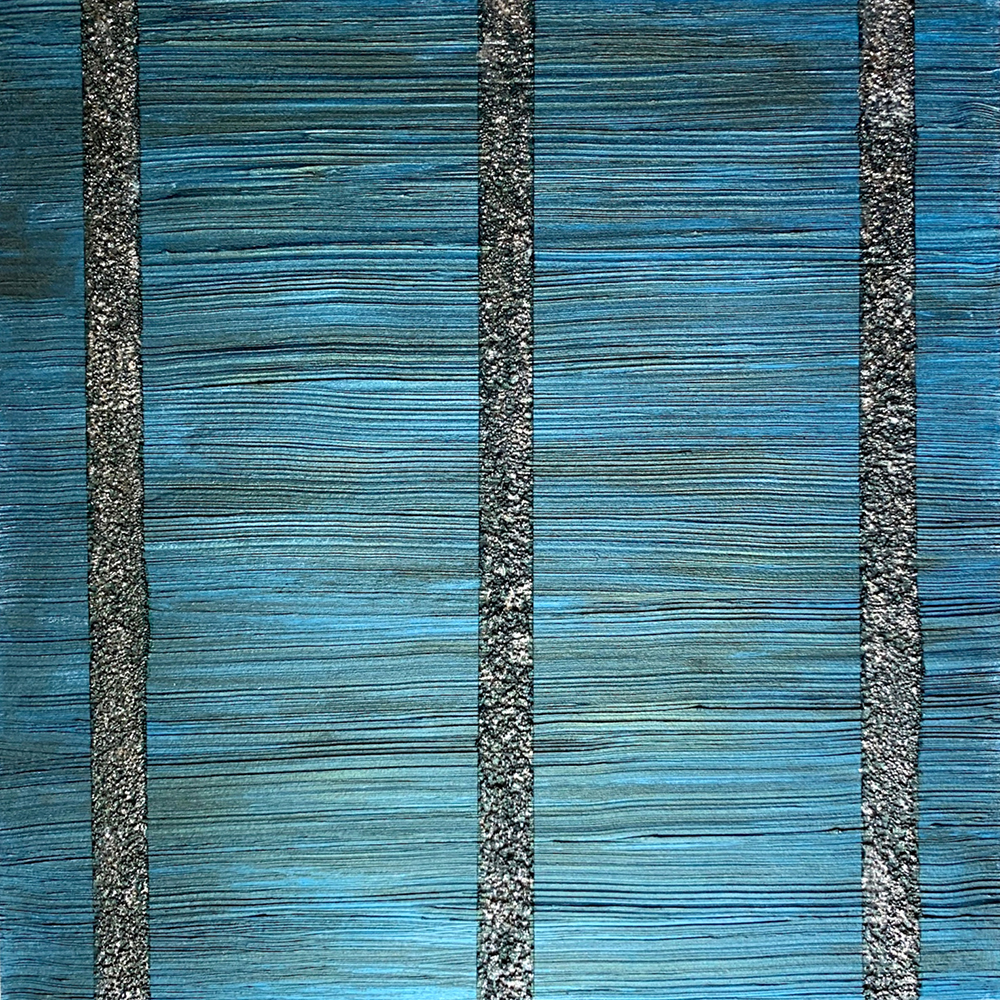
Decorative Finish: Karla’s Stripe

Karlas Stripe by Aliya Riaz
DECORATIVE FINISH HOW-TO

Karla's Stripe

Artist: Aliya Riaz

Share this article

PROJECT SUPPLIES:

INSTRUCTIONS:

1 | Base a coat of primer and let dry. Apply a layer of Metallic Texture Tint Base Pearl with a spatula or blade. Run a stiff brush through the texture to mimic the look of grass cloth. Allow to dry.
(Photos 1-2)

2 | Mix equal parts of the Slow Dry Fluid Acrylic Phthalo Green and the Phthalo Blue and cover the ribbed texture using a chip brush. Make enough paint mixture to use in the next step. Let dry.
(Photo 3)

3 | Using the grasscloth pattern as a guide, measure out the stripes as you’d like, in the opposite direction of the grasscloth pattern. Tape them off. Then, mix together equal amounts of the Glass Bead Gels, glitter and enough of the leftover Slow Dry Fluid Acrylic mixture from Step 1 to a workable consistency.
(Photo 4)

4 | Using a small blade, pick up the Glass Bead Gel mix with a blade and apply it evenly within the taped stripes. This figure shows the just applied wet glass bead gel mixture. Remove tape as soon as possible. Allow to dry for at least 8 hours.
(Photo 5)

Here is the final finish.
(Photo 6)

Featured Products

About the Artist
Aliya Riaz is the creative force behind Portfauxlio Inc. She started the company in New Jersey in 2000 with the firm conviction that a great service backed by trust, accountability and putting clients first would gain a foothold in an often haphazard industry. Portfauxlio Inc. has built a reputation for excellence, integrity and unsurpassed designs. Aliya creates signature custom finishes for surfaces to meet the color and design preferences of her clients. These hand painted or applied finishes include authentic plasters and textures, faux marbles, exotic wood grains, gilding, decorative patterns, gorgeous glazes and custom hand painted wallpapers. 

More from this artist

Looking for more inspiration? Click here to view all of the decorative finishes from our Limited Edition Collections.

Decorative Finish: Gilded Breccia

Gilded Breccia by Aliya Riaz
DECORATIVE FINISH HOW-TO

Gilded Breccia

Artist: Aliya Riaz

Share this article

PROJECT SUPPLIES:

INSTRUCTIONS:

1 | Base a coat of primer and let dry. Apply a heavy coat of untinted Soapstone using a trowel or a flat blade spatula. Immediately make grooves into the Soapstone with a V-notched scoring tool. Allow drying time of at least 8 hours.
(Photos 1-3)

2 | Roll or brush on a coat of Pre-Mixed Metallic Paint Just Brass. Upon drying, apply the size with a brush ensuring you get the product into the grooves. You’re looking for 100% coverage. Follow the manufacturer’s directions for the proper tack time to setup.
(Photo 4)

3 | Start cutting up the Shaibin leaves in organic shapes and apply on to the size that has had a chance to set up. Distribute the tamisé flakes in between the three different kinds of Schaibin.
(Photo 5)

4 | After you are happy with the placement of the Schaibin, rub off the excess leaf with a soft cloth. The resulting skewings will cover any skips or “holidays” that you may have missed while laying down the leaf.
(Photo 6)

OPTIONAL: The resulting finish can be sealed immediately using a premium brand oil-based polyurethane sealer in a clear gloss finish. If you choose not to use the sealer, this finish acquires a lovely natural patina but should not be exposed to water.

Here is the final finish.
(Photo 7)

Featured Products

About the Artist
Aliya Riaz is the creative force behind Portfauxlio Inc. She started the company in New Jersey in 2000 with the firm conviction that a great service backed by trust, accountability and putting clients first would gain a foothold in an often haphazard industry. Portfauxlio Inc. has built a reputation for excellence, integrity and unsurpassed designs. Aliya creates signature custom finishes for surfaces to meet the color and design preferences of her clients. These hand painted or applied finishes include authentic plasters and textures, faux marbles, exotic wood grains, gilding, decorative patterns, gorgeous glazes and custom hand painted wallpapers. 

More from this artist

Looking for more inspiration? Click here to view all of the decorative finishes from our Limited Edition Collections.

Decorative Finish: Be Square

Be Square by Aliya Riaz
DECORATIVE FINISH HOW-TO

Be Square

Artist: Aliya Riaz

Share this article

PROJECT SUPPLIES:

INSTRUCTIONS:

1 | Base a coat of primer. After the coat of primer has dried, use a trowel or blade spatula to apply an even layer of untinted Soapstone for some underlying texture. Let dry.
(Photos 1-2)

2 | Using good quality tape, tape off 4″ squares. Mark each square with arrows pointing north and west using a watercolor pencil.
(Photo 3)

3 | Mix the Slow Dry Fluid Acrylic Phthalo Blue (Green Shade) and Phthalo Green (Yellow Shade) into Metallic Paint Tint Base Pearl to match it to the metallic blue color being used in this technique. Take this color and Metallic Paint Tint Base Gold and apply dots of both colors in roughly equal proportions in each square.
(Photo 4)

4 | Using the 5″ blue blade spatula, gently run it over the surface to disperse the two colors in a linear direction.
(Photo 5)

5 | Alternating squares should follow two different linear directions — one going up and one sideways.
(Photo 6)

6 | Tape off the individual squares you are working on. Brush on a thin layer of the water based size in all the remaining white areas. Following the manufacturer’s directions, wait for the required time for size to tack up. It’s usually around 20 minutes.
(Photo 7)

7 | Sprinkle the metallic powder over the size. Using a mop brush, distribute the powder. The size will adhere to it quickly.
(Photo 8)

8 | Remove the excess, which can be reused. Clean the surface repeatedly with a soft cloth until no powder remains on the surface. 

TIP: This finish should be used in small areas or on furniture.

Here is the final finish.
(Photo 9)

Featured Products

About the Artist
Aliya Riaz is the creative force behind Portfauxlio Inc. She started the company in New Jersey in 2000 with the firm conviction that a great service backed by trust, accountability and putting clients first would gain a foothold in an often haphazard industry. Portfauxlio Inc. has built a reputation for excellence, integrity and unsurpassed designs. Aliya creates signature custom finishes for surfaces to meet the color and design preferences of her clients. These hand painted or applied finishes include authentic plasters and textures, faux marbles, exotic wood grains, gilding, decorative patterns, gorgeous glazes and custom hand painted wallpapers. 

More from this artist

Looking for more inspiration? Click here to view all of the decorative finishes from our Limited Edition Collections.

Decorative Finish: Natural Beauty

Natural Beauty decorative finish
DECORATIVE FINISH HOW-TO

Natural Beauty

Artist: Debbie Hayes

Share this article

PROJECT SUPPLIES:

INSTRUCTIONS:

ARTIST NOTE: Scale is everything with this finish. For example, on a focus wall, the scale should be quite large, versus on an art canvas. So adjust the size of the stencil scale accordingly.

1 | Roll on 2 coats of primer. Let dry between coats.

2 | Mix 2 basecoat texture colors in 2 containers. Use approximately 1 part Burnt Sienna to 10 parts Weathered Granite, then 1 part Red Oxide for the other. Adjust color as needed.
(Photo 1)

3 | Use a chip brush for each color. Tap on a heavy coat of Red Oxide in artful drifts. Then use the Burnt Sienna mixture to fill in.
(Photo 2)

4 | Let dry for a few minutes. With the stainless steel trowel, knock down the peaks. Some of the white basecoat will show. Let dry.
(Photo 3)

5 | Apply and secure the stencil. Use a Japan trowel to apply the Venetian Plaster, being careful not to let it seep through the design.
(Photos 4-5)

6| Let dry to crackle naturally. Here is the final finish.
(Photo 6)

Featured Products

About the Artist
Debbie Hayes earned a BA in Fine Arts, concentrating on painting, and has spent 95% of her career as a full-time artist. She is a book illustrator, graphic artist, art director, photographer, stylist, website designer, writer, faux finisher for 20 years, and DIY tutorial blogger. Many decorative painters know her from events like the annual ArtFusion Event and IDAL Decorative Artisans League where she has been an instructor, teaching various faux finishing techniques using the products and stencils she loves most.

More from this artist

Looking for more inspiration? Click here to view all of the decorative finishes from our Limited Edition Collections.

Decorative Finish: Fireworks

Fireworks decorative finish
DECORATIVE FINISH HOW-TO

Fireworks

Artist: Debbie Hayes

Share this article

PROJECT SUPPLIES:

INSTRUCTIONS:

ARTIST NOTE: Scale is everything with this finish. For example, on a focus wall, the scale should be quite large, versus on an art canvas. So adjust the size of the stencil scale accordingly.

1 | Roll on 2 coats of primer. Let dry between coats.

2 | Tint the Soapstone quart with 2 ounces of universal black tint and mix. (I took my quart to a local paint store.) Trowel on 2 coats of the mix. Let dry between coats.
(Photo 1)

3 | Position the stencil, then tape down. Use a stencil brush to tap on a thin coat of WundaSize. Let come to tack. Remove the stencil.
(Photo 2)

4 | Place one color of foil on top of the WundaSize. Use the Robert rubber metal brush tool to burnish the stenciled area. Remove the foil. Repeat 2 more times, using the other 2 colors of foil. I’ve used one foil color per stencil here.
(Photos 3-4)

5 | Move the stencil around, overlapping the foil patterns, and tap on the Penny and Vintage Copper Metallic Paints with the stencil brush.
(Photos 5 and 6)

Here is the final finish.
(Photo 7)

Featured Products

About the Artist
Debbie Hayes earned a BA in Fine Arts, concentrating on painting, and has spent 95% of her career as a full-time artist. She is a book illustrator, graphic artist, art director, photographer, stylist, website designer, writer, faux finisher for 20 years, and DIY tutorial blogger. Many decorative painters know her from events like the annual ArtFusion Event and IDAL Decorative Artisans League where she has been an instructor, teaching various faux finishing techniques using the products and stencils she loves most.

More from this artist

Looking for more inspiration? Click here to view all of the decorative finishes from our Limited Edition Collections.

Decorative Finish: Back to Nature

Back To Nature decorative finish
DECORATIVE FINISH HOW-TO

Back to Nature

Artist: Debbie Hayes

Share this article

PROJECT SUPPLIES:

INSTRUCTIONS:

ARTIST NOTE: Scale is everything with this finish. For example, on a focus wall, the scale should be quite large, versus on an art canvas. So adjust the size of the brushes and the pattern accordingly.

1 | Roll on 2 coats of primer. Let dry between coats.

2 | Mix basecoat paint: 3 parts Moody, 6 parts Bright Silver
and 1 part Reflection. Roll on 2 coats. Let dry between coats.
(Photo 1)

3 | Handpaint tree “shadows” with the color Moody, using a flat artist brush. Let dry.
(Photo 2)

Tip: You can run an image search for your subject matter along with the word ‘shadow’ for visual inspiration and reference.

4 | Use an old stencil brush to artfully tap on WundaSize along most of your painted shadows, but not quite over them. You want the shadows to show, enhancing the dimension of your artistry. Let come to tack.
(Photo 3)

5 | Lay gold leaf on top of the WundaSize. Use a soft brush to brush away the excess. Ball up a piece of wax paper, then rub it in circles over the leaf to burnish.
(Photos 4-5)

6 | (OPTIONAL) – Roll on a coat of Clear Topcoat Satin with a foam roller. This will add an extra layer of protection against tarnishing and oxidation of the leaf. Here is the final finish.
(Photo 6)

Featured Products

About the Artist
Debbie Hayes earned a BA in Fine Arts, concentrating on painting, and has spent 95% of her career as a full-time artist. She is a book illustrator, graphic artist, art director, photographer, stylist, website designer, writer, faux finisher for 20 years, and DIY tutorial blogger. Many decorative painters know her from events like the annual ArtFusion Event and IDAL Decorative Artisans League where she has been an instructor, teaching various faux finishing techniques using the products and stencils she loves most.

More from this artist

Looking for more inspiration? Click here to view all of the decorative finishes from our Limited Edition Collections.

Decorative Finish: Abstract Circles

Abstract Circles decorative finish
DECORATIVE FINISH HOW-TO

Abstract Circles

Artist: Debbie Hayes

Share this article

PROJECT SUPPLIES:

INSTRUCTIONS:

ARTIST NOTE: Scale is everything with this finish. For example, on a focus wall, the scale should be quite large, versus on an art canvas. So adjust the size of the scale accordingly.

1 | Roll on 2 coats of primer. Let dry between coats.

2 | Trowel on 2 coats of Venetian Plaster. Let dry between coats.
(Photo 1)

3 | Pour a bit of Red Oxide and Burnt Sienna onto a paper plate. Press a styrofoam cup into the paint. Apply the cup to the surface to make a pattern. Let dry.
(Photos 2-3)

4 | Brush a mix of Titanium White and Raw Umber paint onto large bubble wrap. Press it onto the surface and remove. Let dry.
(Photos 4-5)

5 | Pour some Red Oxide and Hansa Yellow Opaque paint onto a piece of wax paper. Use a roller to mix the paint slightly, leaving colors blended and unblended. Flip the wax paper onto the surface and burnish with your hand.
(Photos 6-7)

6 | Remove the paper. Let dry. Repeat as you like.
(Photo 8)

7 | Dip a pencil eraser into Carbon Black and make a series of dots on the surface. Let dry.
(Photo 9)

8 | Use a foam brush to create 1 freeform square using WundaSize. Let come to tack. 
(Photo 10)

9 | Lay a piece of gold foil onto the WundaSize. Burnish with a soft brush.
(Photo 11)

Here is the final finish.
(Photo 12)

Featured Products

About the Artist
Debbie Hayes earned a BA in Fine Arts, concentrating on painting, and has spent 95% of her career as a full-time artist. She is a book illustrator, graphic artist, art director, photographer, stylist, website designer, writer, faux finisher for 20 years, and DIY tutorial blogger. Many decorative painters know her from events like the annual ArtFusion Event and IDAL Decorative Artisans League where she has been an instructor, teaching various faux finishing techniques using the products and stencils she loves most.

More from this artist

Looking for more inspiration? Click here to view all of the decorative finishes from our Limited Edition Collections.

Decorative Finish: Watercolor Ombre

Watercolor Ombre decorative finish
DECORATIVE FINISH HOW-TO

Watercolor Ombre

Artist: Decorative & Faux Finishes

Share this article

PROJECT SUPPLIES:

INSTRUCTIONS:

1 | Basecoat in Benjamin Moore White Dove eggshell finish with a low nap roller and let dry. Using a low nap roller, apply White Veil Metallic Paint to coat as desired and let dry.

Tip: The velvet texture of the Golden Paintworks Pre-Mixed Metallic Paint holds the glazes beautifully without absorbing like a flat paint, and without sliding like it would on a paint with a sheen.

2 | Mix one cup Glazing Medium and one teaspoon Slow Dry Fluid Acrylics Phthalo Blue (Green Shade). Brush unevenly onto the bottom third of your area. Pour a small amount of the mixture into another container and add 2 drops of Slow Dry Fluid Acrylics Carbon Black. Apply a small amount by the base board or corner with a chip.
(Photo 1)

3 | Soften the strokes with a badger brush.
(Photo 2)

Tip: For best results, offload excess glaze from your badger brush onto a cotton rag after each softening step throughout the finish.

4 | Mix one cup Glazing Medium with ½ teaspoon Slow Dry Fluid Acrylics Phthalo Blue (Green Shade) and ½ teaspoon Slow Dry Fluid Acrylics Hansa Yellow Opaque to create your green glaze. Apply roughly with chip brush into the middle third of the area you are finishing. Make sure you blend down into the blue that is already applied. Soften with badger brush.
(Photo 3)

5 | Add a thicker area of product combining all your colored glazes to create a drippy accent. Dip your messy brush into denatured alcohol and dab the accent area to release the drips. Repeating the use of the badger brush again, very gently brush higher to lower, leaving excess glaze at lower edge.
(Photo 4)

6 | Use a stain rag pad dipped in clean Glazing Medium to tap edge of the pad into the blue. Swirl the pad on the remainder of your surface, blending into the green area. Soften with a badger brush.
(Photo 5)

7 | Add some of your blue glaze and blue/black glaze into the upper corner and towards your green glaze area, using your designated blue glaze chip brush. Soften with your badger brush for the final finish.
(Photo 6)

8 | Let dry. If desired, roll on Golden Paintworks Clear Topcoat Satin. Here is the final finish.
(Photo 7)

Featured Products

About the Artists
Decorative & Faux Finishes, a decorative arts team, has been in business since 1998 creating custom faux finishes and murals for homeowners, designers, businesses, and contractors in the greater Houston area and beyond. The team has studied under master artisans from all over the world. With dedication to this art, Decorative and Faux Finishes provides experience, talent, and attention to detail. While sensitive to every client’s desired style and budget, they receive the benefit of a certified professional finisher eager to create something special… just for you.

Learn more about Decorative & Faux Finishes in our Behind the Texture artist feature series.

More from this artist

Looking for more inspiration? Click here to view all of the decorative finishes from our Limited Edition Collections.

Decorative Finish: Urban Luxe

Urban Luxe decorative finish
DECORATIVE FINISH HOW-TO

Urban Luxe

Artist: Decorative & Faux Finishes

Share this article

PROJECT SUPPLIES:

INSTRUCTIONS:

1 | Basecoat in Sherwin Williams Folksy Gold satin or color of choice. Let dry.
(Photo 1)

2 | Mix Slow Dry Fluid Acrylics in Carbon Black into the Metallic Texture Tint Base Pearl to a dark charcoal or desired color. Trowel randomly over 70% of surface. Let dry.
(Photo 2)

3 | Roll Foil/Leaf Size adhesive randomly on surface and let set up.
(Photo 3)

4 | Lay down Foil/Leaf squares on sized areas. This sample has groupings of 2 – 4 squares. Let dry.
(Photo 4)

Tip: You could also substitute Golden Paintworks Pre-Mixed Metallic Paint in Silver or Bright Silver randomly on surface.

5 | Mix Weathered Granite with a little Slow Dry Fluid Acrylics in Raw Umber to desired color. Trowel randomly, leaving some of previous steps still showing. Let dry.
(Photo 5)

6 | Mix 2 Sandstone mixtures:

a) Sandstone with a little Slow Dry Fluid Acrylics in Raw Umber, and

b) Sandstone with a little Slow Dry Fluid Acrylics in Carbon Black.

7 | Pop on both colors with a trowel wet on wet over 25 – 30% with previous layers still showing in areas. Do not apply heavily.
(Photo 6)

8 | Lightly blend with a trowel and then a barely damp stain pad or flat sponge. If a lighter look is needed, you can skip trowel a bit of un-tinted Sandstone.
(Photo 7)

9 | Mix Glazing Gel with Slow Dry Fluid Acrylics in Raw Umber and Black to desired color. Tape off random lines across the surface and run product along tape line with a brush. You can use some of your leaf lines as guides. Remove the random tape lines and let dry.
(Photo 8)

10 | Mix Glazing Medium with Slow Dry Fluid Acrylics in Raw Umber to desired color. Add just a little to surface randomly and blend with a barely damp stain pad or flat sponge. Let dry. If desired, roll on Golden Paintworks Clear Topcoat Satin. Here is the final finish.
(Photo 9)

Featured Products

About the Artists
Decorative & Faux Finishes, a decorative arts team, has been in business since 1998 creating custom faux finishes and murals for homeowners, designers, businesses, and contractors in the greater Houston area and beyond. The team has studied under master artisans from all over the world. With dedication to this art, Decorative and Faux Finishes provides experience, talent, and attention to detail. While sensitive to every client’s desired style and budget, they receive the benefit of a certified professional finisher eager to create something special… just for you.

Learn more about Decorative & Faux Finishes in our Behind the Texture artist feature series.

More from this artist

Looking for more inspiration? Click here to view all of the decorative finishes from our Limited Edition Collections.

Decorative Finish: Golden Links

Golden Links decorative finish
DECORATIVE FINISH HOW-TO

Golden Links

Artist: Decorative & Faux Finishes

Share this article

PROJECT SUPPLIES:

INSTRUCTIONS:

1 | Basecoat in Sherwin Williams Folksy Gold satin or color of choice, and let dry.
(Photo 1)

2 | Roll on the 24K Gold Metallic Paint or color of choice. Repeat if necessary, and let dry.
(Photo 2)

3 | Spray the back side of the Antiquity Stencil 2 part pattern or stencil of choice with stencil adhesive. Using a bondo scraper, pull over Weathered Granite through Part 1 of the Wallover stencil. Slight bleed under is okay. Let dry.
(Photo 3)

4 | Line up and tape Part 2 of stencil (dots) over Part 1 and lightly trowel Weathered Granite through dots. They do not have to be perfect. Let dry.
(Photo 4)

5 | Mix 1 part Glazing Medium with 3 parts Weathered Granite to allow it to move a little easier. Chip brush randomly in vertical pattern over 85% of stencil sections, and while wet, pull over stenciled patterns with a bondo scraper, applying pressure in a vertical and horizontal direction. A linen affect will naturally happen on the flat gold areas. Let dry.
(Photo 5)

6 | Mix the Glazing Medium with Slow Dry Fluid Acrylics in Raw Umber to desired color. Apply liberally to the surface and while wet, pull off desired amount of glaze using a damp stain pad or sponge, pulling off in a vertical movement and then across with a horizontal movement to create a linen look. Let dry.
(Photo 6)

7 | If desired, roll on Golden Paintworks Clear Topcoat Satin. Here is the final finish.
(Photo 7)

Featured Products

About the Artists
Decorative & Faux Finishes, a decorative arts team, has been in business since 1998 creating custom faux finishes and murals for homeowners, designers, businesses, and contractors in the greater Houston area and beyond. The team has studied under master artisans from all over the world. With dedication to this art, Decorative and Faux Finishes provides experience, talent, and attention to detail. While sensitive to every client’s desired style and budget, they receive the benefit of a certified professional finisher eager to create something special… just for you.

Learn more about Decorative & Faux Finishes in our Behind the Texture artist feature series.

More from this artist

Looking for more inspiration? Click here to view all of the decorative finishes from our Limited Edition Collections.