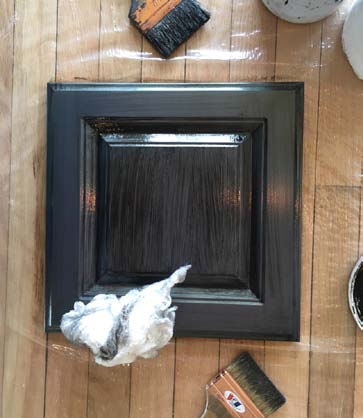
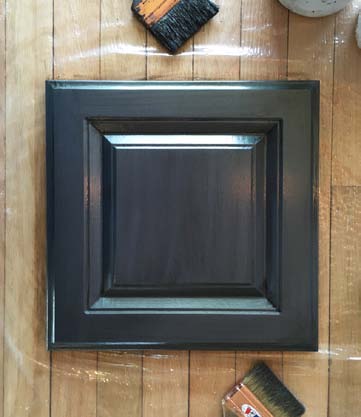
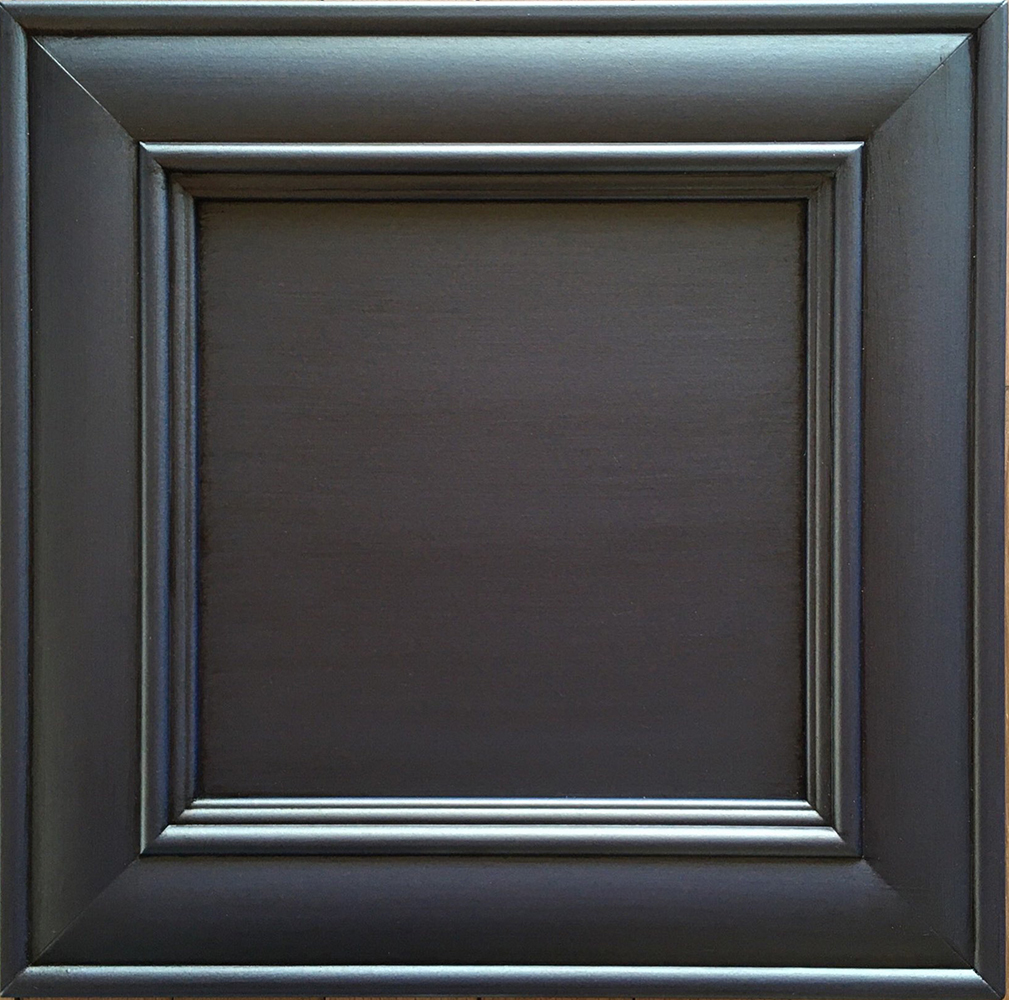
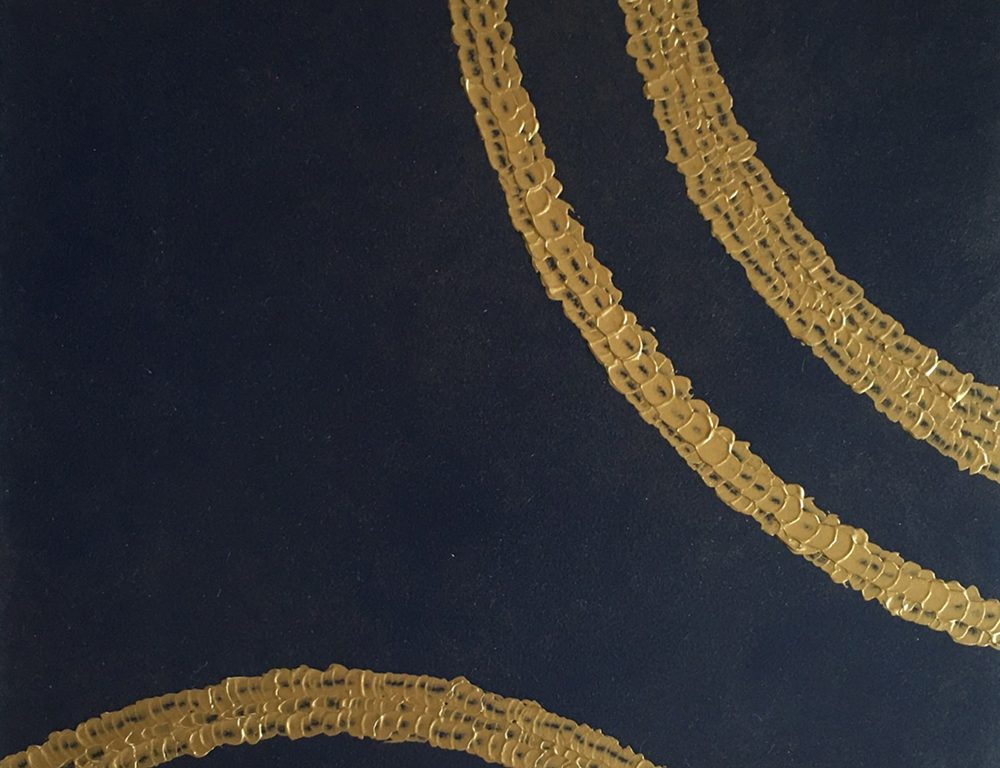
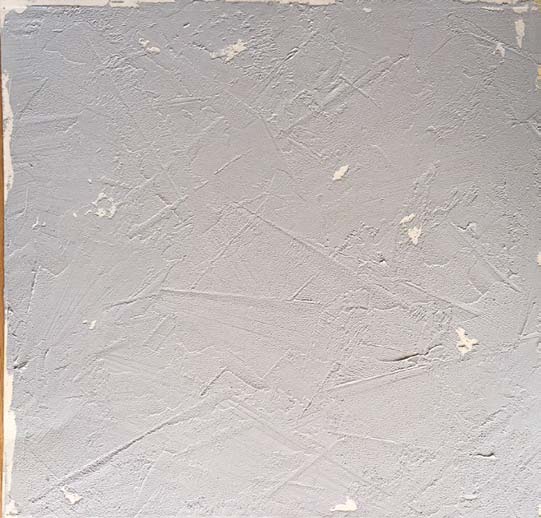
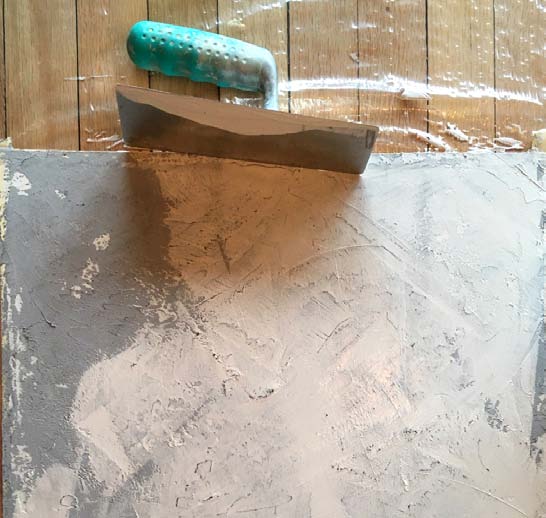
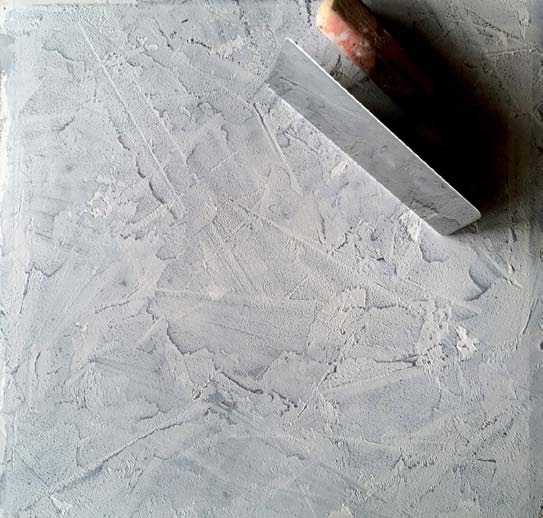
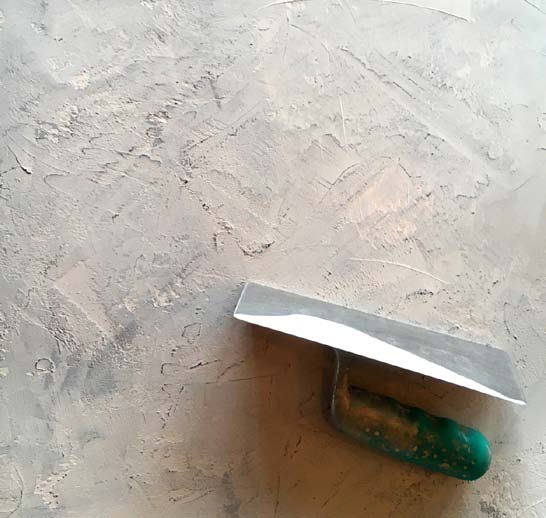
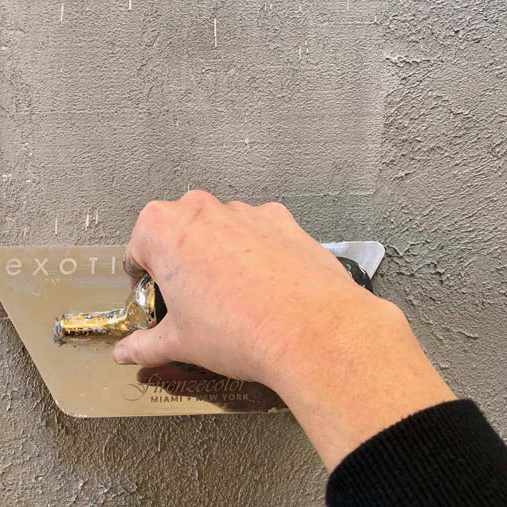
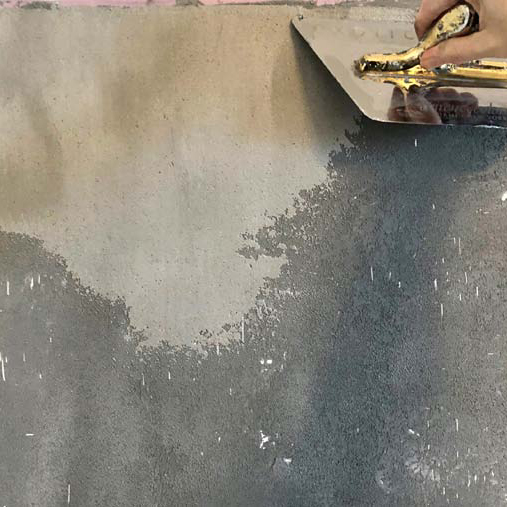
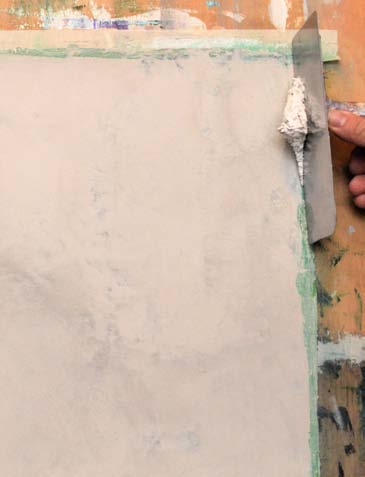
Decorative Finish: Woven Metal

DECORATIVE FINISH HOW-TO

Woven Metal

Artist: Tim Glastetter

Share this article

PROJECT SUPPLIES:

INSTRUCTIONS:

1 | Tint the Metallic Paint Tint Base Gold with a small amount of Slow Dry Fluid Acrylics Raw Umber and Carbon Black. Apply this custom mix to the surface with a brush or roller.
(Photo 1)

2 | Create a main color: Mix 50% Metallic Texture Tint Base Gold with 50% Metallic Texture Tint Base Pearl.

3 | Using a trowel, apply a very thin layer of this main color to the surface. The surface area does not need to be 100% covered, and keeping the product thin is important. Keep the product wet.
(Photo 2)

4 | Construct Roller: While you are creating the main color and before you start troweling, place multiple size and width rubber bands around a small short nap 6″ mini roller. This will be used to achieve texture.
(Photo 3)

5 | Using the mini roller with rubber bands attached, roll through the wet, thin texture repeatedly to form texture and level out the thickness. Roll consistently in one direction if you want to achieve the same look/finish as shown.
(Photos 4-5)

6 | (Optional Step) Create an accent color: Mix Metallic Texture Tint Base Gold with an intense shot of Slow Dry Fluid Acrylic Ultramarine Blue.

Note: Mix a very small amount – ¼ cup is enough for an entire room. This color is intended to be very subtle.

7 | Once you have achieved the texture you desire, use the chip brush to apply very sparse and random thread-like amounts of the accent color and gently roll back through these areas until color fades into main color, creating a very subtle color shift.
(Photos 6-7)

8 | Let the texture set up (dry to touch but not dried hard) and pull a trowel over it. With a firm grip and applying pressure, pull in the same direction as the texture. This quick step will allow all the spiked points to lay down into the finish. This step is more of a compression than a burnish.
(Photo 8)

Here’s the final texture.
(Photo 9)

Featured Products

Tim Glastetter

About the Artist
Tim Glastetter is a native of the St. Louis area. His lifelong passion and innovative use of painting techniques began in childhood. Tim transforms a client’s perspective of paint from a simple medium into a critical design component. This passion and vision forged the pathway for his professional career as a decorative painter. He pursued arts throughout his college education and continues to hone and innovate his craft through class and trade show participation. He is an active member of the International Decorative Artists League (IDAL) and Metro Artisans Guild (MAG). Functionality, adaptive reuse, and nature are central to Tim’s contemporary vision. Designers, contractors, architects, and homeowners seek his counsel on innovative design. Tim’s studio, RiverHouse, was originally a condemned property along the scenic bluffs of the Bourbeouse River, located nearly 45 mins west of St Louis. His resourceful and inventive use of paint during the remodeling process of the RiverHouse has been featured in multiple magazines and newspapers. More information about Tim and his Riverhouse Project can be found on his website, Tim Glastetter.

More from this artist

Looking for more inspiration? Click here to view all of the decorative finishes from our Limited Edition Collections.

Decorative Finish: Metallic Wood

DECORATIVE FINISH HOW-TO

Metallic Wood

Artist: Tim Glastetter

Share this article

PROJECT SUPPLIES:

INSTRUCTIONS:

1 | Base coat in a similar color as the metallic you are using. I used SW 6244 Naval, in satin. Tint the Metallic Paint Tint Base Gold with Slow Dry Fluid Acrylic Ultramarine Blue to taste. Using a spray gun, apply 2 -3 light coats. Let dry overnight.
(Photo 1)

2 | Mix 1 ¼ cup Glazing Medium with 2 tsp. Slow Dry Fluid Acrylic Van Dyke Brown Hue and 1/2 tsp. Slow Dry Fluid Acrylic Carbon Black.
(Photo 2)

3 | Using a spalter brush, apply glaze 100%, making sure to get glazing in all corners and crannies. Remove excess with dry cheese cloth.
(Photos 3-5)

4 | Next use a second (clean and dry) water spalter to drag and soften. Use clean cheese cloth to finish. Let dry completely.
(Photo 6)

5 | Using the Clear Topcoat Satin thinned with water, spray clear coat using HVLP or brush and roller. Let dry. Here is the final finish.
(Photo 7)

Featured Products

Tim Glastetter

About the Artist
Tim Glastetter is a native of the St. Louis area. His lifelong passion and innovative use of painting techniques began in childhood. Tim transforms a client’s perspective of paint from a simple medium into a critical design component. This passion and vision forged the pathway for his professional career as a decorative painter. He pursued arts throughout his college education and continues to hone and innovate his craft through class and trade show participation. He is an active member of the International Decorative Artists League (IDAL) and Metro Artisans Guild (MAG). Functionality, adaptive reuse, and nature are central to Tim’s contemporary vision. Designers, contractors, architects, and homeowners seek his counsel on innovative design. Tim’s studio, RiverHouse, was originally a condemned property along the scenic bluffs of the Bourbeouse River, located nearly 45 mins west of St Louis. His resourceful and inventive use of paint during the remodeling process of the RiverHouse has been featured in multiple magazines and newspapers. More information about Tim and his Riverhouse Project can be found on his website, Tim Glastetter.

More from this artist

Looking for more inspiration? Click here to view all of the decorative finishes from our Limited Edition Collections.

Decorative Finish: Golden Circles

DECORATIVE FINISH HOW-TO

Golden Circles

Artist: Tim Glastetter

Share this article

PROJECT SUPPLIES:

INSTRUCTIONS:

1 | Base coat using SW 6244 Navel in satin and let dry. Mix ½ cup Glazing Medium with ½ tsp. GOLDEN Fluid Acrylics Iridescent Bronze Fine and 1 tsp. GOLDEN Fluid Acrylics Iridescent Gold Fine. Apply to area with large pouncer glazing brush, 100% coverage.
(Photo 1)

Remove and manipulate with a damp terry cloth.
(Photos 2-3)

2 | Use a pencil to mark off the circles. (Note: I normally sketch these circles large.)

3 | Mix:

a. ½ tsp. Iridescent Bronze Fine and 2 ½ tsp. Iridescent Gold Fine and
b. ½ cup Glazing Gel with 1 tsp. Iridescent Bronze Fine and 2 tsp. Iridescent Gold Fine.

4 | Using the tip of the palette knife, apply one of the mixed colors.
(Photo 4)

5 | Follow the pencil line and continue all the way around the circle, then using the same color mix, repeat a second row around the same circle. Continue adding rows until you reach your desired width.
(Photo 5)

6 | Starting with another circle, repeat the process, alternating colors from circle to circle and varying widths and circle sizes.
(Photo 6)

Here’s the final texture.
(Photo 7)

Featured Products

Tim Glastetter

About the Artist
Tim Glastetter is a native of the St. Louis area. His lifelong passion and innovative use of painting techniques began in childhood. Tim transforms a client’s perspective of paint from a simple medium into a critical design component. This passion and vision forged the pathway for his professional career as a decorative painter. He pursued arts throughout his college education and continues to hone and innovate his craft through class and trade show participation. He is an active member of the International Decorative Artists League (IDAL) and Metro Artisans Guild (MAG). Functionality, adaptive reuse, and nature are central to Tim’s contemporary vision. Designers, contractors, architects, and homeowners seek his counsel on innovative design. Tim’s studio, RiverHouse, was originally a condemned property along the scenic bluffs of the Bourbeouse River, located nearly 45 mins west of St Louis. His resourceful and inventive use of paint during the remodeling process of the RiverHouse has been featured in multiple magazines and newspapers. More information about Tim and his Riverhouse Project can be found on his website, Tim Glastetter.

More from this artist

Looking for more inspiration? Click here to view all of the decorative finishes from our Limited Edition Collections.

Decorative Finish: Arctic Ice

DECORATIVE FINISH HOW-TO

Arctic Ice

Artist: Tim Glastetter

Share this article

PROJECT SUPPLIES:

INSTRUCTIONS:

1 | Roll surface with Benjamin Moore Light Pewter and let dry. Mix 1 part Weathered Granite with 3 parts Sandstone. Tint with Slow Dry Fluid Acrylic Ultramarine Blue and a drop of Slow Dry Fluid Acrylic Carbon Black (just enough to dirty it up). Apply to area using using a skip trowel technique. This base texture technique will transfer through to the finish layers.
(Photos 1 – 3)

2 | Burnish with same 7″ trowel. Not much time is required for this step – it’s super quick and just a light skip over this texture will produce a heavy burnish. A lighter burnish can be produced, if preferred.
(Photo 4)

3 | Tint Soapstone with Slow Dry Fluid Acrylic Titanium White and just a drop of Slow Dry Fluid Acrylic Raw Umber. Apply over Weathered Granite/Sandstone texture, covering 90 – 100%. Do not pull tight, some texture is okay.
(Photo 5)

4 | Apply second layer of Soapstone (same mix as in previous step). This time cover 100% and pull material tight.
(Photo 6)

5 | Apply a clear wax of choice – I used Briwax (clear), buffed to a desired sheen.
(Photo 7)

Here’s the final texture.
(Photo 8)

Featured Products

Tim Glastetter

About the Artist
Tim Glastetter is a native of the St. Louis area. His lifelong passion and innovative use of painting techniques began in childhood. Tim transforms a client’s perspective of paint from a simple medium into a critical design component. This passion and vision forged the pathway for his professional career as a decorative painter. He pursued arts throughout his college education and continues to hone and innovate his craft through class and trade show participation. He is an active member of the International Decorative Artists League (IDAL) and Metro Artisans Guild (MAG). Functionality, adaptive reuse, and nature are central to Tim’s contemporary vision. Designers, contractors, architects, and homeowners seek his counsel on innovative design. Tim’s studio, RiverHouse, was originally a condemned property along the scenic bluffs of the Bourbeouse River, located nearly 45 mins west of St Louis. His resourceful and inventive use of paint during the remodeling process of the RiverHouse has been featured in multiple magazines and newspapers. More information about Tim and his Riverhouse Project can be found on his website, Tim Glastetter.

More from this artist

Looking for more inspiration? Click here to view all of the decorative finishes from our Limited Edition Collections.

Decorative Finish: Strata

DECORATIVE FINISH HOW-TO

Strata

Artist: Michelle Kole Decorative Services

Share this article

PROJECT SUPPLIES:

INSTRUCTIONS:

1 | Mix Sandstone, Farrow & Ball Dead Salmon paint and Slow Dry Fluid Acrylic Titanium White until you have a light, muted pink that will be the main color of your wall. Sandstone has a gray tint to it. You may want to add some white paint or primer to lighten it more. Apply Sandstone mixture to the top edge of your trowel and spread a thin layer over the wall in mainly horizontal strokes.
(Photos 1-2)

2 | Allow the layer in Step 1 to dry and apply a second coat in the same manner.
(Photo 3)

3 | Mix up three color glazes by adding the Farrow & Ball paint or a variation of the Slow Dry Fluid Acrylic colors to tint the Sheer Glazing Medium. You will want a white glaze, a muted burnt sienna glaze, and a rosy mauve glaze, as pictured.
(Photo 4)

4 | Brush the glazes horizontally in bands across the surface and soften with a terry cloth rag. Make different bands of texture by using different tools. Try a softer brush and blend gently up and down, or try using a brush then dragging with a spatula. Experiment with spritzing the wet glaze lightly with water. Let it begin to break up the glaze a bit and then blot with the rag. Watch for drips.
(Photos 5-6)

5 | Add a finishing touch by pouring a bit of the white glaze into the small spray bottle. Moving your arm quickly across in a horizontal movement, spray the white glaze onto the wall.
(Photo 7)

Soften with a blending brush and rag.
(Photos 8-9)

Here’s the final texture.
(Photo 10)

Featured Products

Michelle Kole

About the Artist
Michelle Kole is a multidisciplinary artist specializing in the creation and installation of decorative surfaces for the interior design and architectural industry. Her love of interiors, art, and beautiful things lead to the creation of Michelle Kole Decorative Surfaces. Michelle has over 20 years experience in the field of custom, hand-applied specialty finishes and site-specific art. Interior designers, architects, and homeowners alike come to her for a unique combination of aesthetic vision, technical knowledge, and craftsmanship. Michelle works in time-honored techniques and mediums and builds upon them in contemporary ways. Based in Brooklyn, NY, her walls, custom artwork and design embellishments can be seen in luxury homes and commercial spaces throughout the New York City tri-state area and beyond.

More from this artist

Looking for more inspiration? Click here to view all of the decorative finishes from our Limited Edition Collections.

Decorative Finish: Gradient Waves

DECORATIVE FINISH HOW-TO

Gradient Waves

Artist: Michelle Kole Decorative Services

Share this article

PROJECT SUPPLIES:

INSTRUCTIONS:

1 | Prime the wall with a 100% acrylic primer, such as Benjamin Moore Frest Start.

2 | Divide Soapstone into three containers. I started with Farrow & Ball Hague Blue as the inspiration for the darkest shade of my wall. Slowly mix Hague Blue paint into one of the buckets for your darkest color. Do the same for the next two containers, slowly adding some Hague Blue and then Slow Dry Fluid Acrylic Titanium White until you have two shades that will make a good gradient. I make more of the light and medium shades because I want most of the wall to be these lighter shades. Use a sample board or a small area on the bottom of the wall to test colors and work on getting the right level of translucency.
(Photo 1)

3 | Apply product to the top edge of your trowel and pull the lightest color horizontally across the wall. Hold the trowel at about a 45 degree angle as you alternate long strokes and short strokes.
(Photo 2)

Experiment with how much plaster you put on your trowel. See what works for you. The strokes can be loose and imperfect. Clean your trowel often with the spatula and wipe occasionally with a wet cloth to avoid scratches and drags. Soften any scratches or undesirable spots with a chip brush.
(Photo 3)

4 | Continuing with horizontal strokes, apply the medium shade to the middle section of the wall and the darkest shade across the bottom. Allow to dry.
(Photos 4-5)

5 | For your next coat, you do not have to cover the entire wall. Leave the top of the wall with one coat if you like, allowing the white to show through the first layer. Blend the sections by layering one color over another, building up translucent layers.
(Photo 6)

Vary your strokes. Step back often to check your work and continue to build up layers and blend the wall into a subtle gradient. Soften any scratches (or any area you find distracting) with a chip brush.
(Photo 7)

Here’s the finished texture.
(Photo 8)

Featured Products

Michelle Kole

About the Artist
Michelle Kole is a multidisciplinary artist specializing in the creation and installation of decorative surfaces for the interior design and architectural industry. Her love of interiors, art, and beautiful things lead to the creation of Michelle Kole Decorative Surfaces. Michelle has over 20 years experience in the field of custom, hand-applied specialty finishes and site-specific art. Interior designers, architects, and homeowners alike come to her for a unique combination of aesthetic vision, technical knowledge, and craftsmanship. Michelle works in time-honored techniques and mediums and builds upon them in contemporary ways. Based in Brooklyn, NY, her walls, custom artwork and design embellishments can be seen in luxury homes and commercial spaces throughout the New York City tri-state area and beyond.

More from this artist

Looking for more inspiration? Click here to view all of the decorative finishes from our Limited Edition Collections.

Decorative Finish: Golden Sky

DECORATIVE FINISH HOW-TO

Golden Sky

Artist: Michelle Kole Decorative Services

Share this article

INSTRUCTIONS:

1 | Mix the Pre-Mixed Metallic Paint Cashmere into the Metallic Texture Tint Base Pearl until you have a good consistency to trowel on with slight translucency. Take some of this mixture into a separate container and add water until you have a paint-like consistency. Roll this second mixture onto the wall in a crisscross motion.
(Photo 1)

2 | Using a trowel and a plaster spatula (to load and clean the trowel), apply the first tinted Metallic Texture to the wall in a thin, even coat. Use an overlapping “X” movement.
(Photo 2)

3 | Allow to dry and apply another coat with a trowel in the same manner as Step 2.
(Photo 3)

4 | Using the original Metallic Texture Tint Base Pearl and 2″ and 3″ chip brushes, loosely outline the shape and layout of your clouds. Try to balance your negative space in between the clouds for an overall balanced wall. Step back often to check your composition. Blend and soften the edges of the clouds. On a large wall, you should have larger gold areas left without clouds.
(Photo 4)

5 | Mix Slow Dry Fluid Acrylic Titanium White into Soapstone. Use this matte texture to fill and “fluff up” your clouds. Leave some of the Metallic Texture base showing. Apply with a brush and smooth with your spatula and palette knife. Aim for brush strokes and smooth areas on the clouds. Allow to dry. Continue to fluff clouds with a chip brush or artist brush with the Soapstone mixture until you are happy with the shapes and flow of the wall.
(Photo 5)

6 | Mix a small amount of Pre-Mixed Metallic Paint Just Brass with the Glazing Medium. With an artist brush, define the shape of your clouds by outlining and blending outward around them.
(Photo 6)

7 | Every cloud has a silver and gold lining. Here is the final finish.
(Photo 7)

Featured Products

Michelle Kole

About the Artist
Michelle Kole is a multidisciplinary artist specializing in the creation and installation of decorative surfaces for the interior design and architectural industry. Her love of interiors, art, and beautiful things lead to the creation of Michelle Kole Decorative Surfaces. Michelle has over 20 years experience in the field of custom, hand-applied specialty finishes and site-specific art. Interior designers, architects, and homeowners alike come to her for a unique combination of aesthetic vision, technical knowledge, and craftsmanship. Michelle works in time-honored techniques and mediums and builds upon them in contemporary ways. Based in Brooklyn, NY, her walls, custom artwork and design embellishments can be seen in luxury homes and commercial spaces throughout the New York City tri-state area and beyond.

More from this artist

Looking for more inspiration? Click here to view all of the decorative finishes from our Limited Edition Collections.

Decorative Finish: Concrete

DECORATIVE FINISH HOW-TO

Concrete

Artist: Michelle Kole Decorative Services

Share this article

PROJECT SUPPLIES:

INSTRUCTIONS:

1 | Mix two batches of concrete-like grays with the Weathered Granite and Slow Dry Fluid Acrylic colors – one light gray and one darker gray to taste. Keep in mind the final product will look predominately somewhere in between the two. Mix enough for two coats. You can add a bit of water to stretch your product further.
(Photo 1)

2 | Apply a small amount of each color to the edge of your trowel. Use your spatula/knife to pick up and mix them together once or twice onto the trowel.
(Photo 2)

3 | Spread this onto the wall in mainly vertical strokes.
(Photo 3)

While the product is wet, press your trowel flat onto the wet plaster, pulling up and creating texture like tiny mountain peaks. Continue adding both colors in the same manner across the wall.
(Photo 4)

4 | Allow the product to “set up”, meaning to start to stiffen but not harden completely. Clean your trowel and “knock down” or flatten the texture by gliding vertically across the surface. Clean your trowel often to avoid dragging marks. Small scratches here and there are fine, and will be blended in the next coat.
(Photo 5)

5 | Apply the next coat in the same manner, but this time consider where you want more light areas and darker areas. Alternate using more or less of each shade.
(Photo 6)

Hold your trowel at a flatter angle to the wall for a thicker, rougher concrete look. Pulling it tighter will crush and bring out more of the natural brown colored aggregate in the Weathered Granite.
(Photo 7)

Here’s the finished texture.
(Photo 8)

Featured Products

Michelle Kole

About the Artist
Michelle Kole is a multidisciplinary artist specializing in the creation and installation of decorative surfaces for the interior design and architectural industry. Her love of interiors, art, and beautiful things lead to the creation of Michelle Kole Decorative Surfaces. Michelle has over 20 years experience in the field of custom, hand-applied specialty finishes and site-specific art. Interior designers, architects, and homeowners alike come to her for a unique combination of aesthetic vision, technical knowledge, and craftsmanship. Michelle works in time-honored techniques and mediums and builds upon them in contemporary ways. Based in Brooklyn, NY, her walls, custom artwork and design embellishments can be seen in luxury homes and commercial spaces throughout the New York City tri-state area and beyond.

More from this artist

Looking for more inspiration? Click here to view all of the decorative finishes from our Limited Edition Collections.

Decorative Finish: Tint Stone

DECORATIVE FINISH HOW-TO

Tint Stone

Artist: Jason Rosales, Artisan Factor

Share this article

PROJECT SUPPLIES:

INSTRUCTIONS:

1 | Prime and plaster – I primed the sample board with a quality bonding primer and applied a trowel coat of Sandstone as a base layer. Once I applied the full coat, I wiped the trowel and went back and “popped” the texture by laying my trowel face down onto the finish and pulling it directly off. Wiping the trowel clean again, I then lightly smoothed out the finish by knocking it down and troweling in random directions – keeping a relatively low, smooth texture.
(Photo 1)

2 | Sand the surface lightly and apply about 90% coverage of random sections in Weathered Granite over the Sandstone and pull tight. You can trowel in random directions in order to smooth out the look of the crushable, colored aggregate in the Weathered Granite. Let dry.
(Photo 2)

3 | Mix Glazing Medium and Slow Dry Fluid Acrylic Phthalo Green for a gem green glaze. Add a little bit of Carbon Black to deepen the color. Apply this glaze all over with a brush of your choice – either synthetic or natural bristle.
(Photo 3)

Use a tile sponge or separate brush to then soften out your brush strokes. Natural bristle brushes work well for this.
(Photo 4)

Here is the final finish.
(Photo 5)

Featured Products

Jason Rosales

About the Artist
Artisan Factor is a professional cabinet refinishing & decorative finishing company servicing the Central Florida area in the residential, commercial and hospitality fields. With over 15 years of faux and decorative finishing experience. Jason Rosales provides a wide range of looks on cabinetry, millwork, interior/exterior walls, and ceilings using glazes, paints, plaster, texture, wood graining, marbling, gilding, stenciling and embossing. He has a commitment to quality that shows in every step of a project, from his product selection and surface preparation to the final finish results. As a problem solver and a hands-on type, he has helped many find the best solution for their space while staying within budget. Creating a beautiful and stylish environment for his client is a passion and doing so with a commitment to care and an eye for detail only comes naturally.

More from this artist

Looking for more inspiration? Click here to view all of the decorative finishes from our Limited Edition Collections.

Decorative Finish: Ombre Stencil Fade

DECORATIVE FINISH HOW-TO

Ombre Stencil Fade

Artist: Jason Rosales, Artisan Factor

Share this article

PROJECT SUPPLIES:

INSTRUCTIONS:

1 | Prime and plaster – prime the surface and let dry. Apply Sandstone in a smooth, random texture with a trowel. Let dry.
(Photo 1)

Lightly sand the Sandstone after fully dry.
(Photo 2)

2 | Apply Soapstone in a random manner, covering over 50% of the sandstone texture. Let dry.
(Photos 3-4)

3 | Apply Sandstone over the Soapstone areas in large, knockdown patches and pull smooth with your trowel, leaving a good amount of Soapstone to show through. Let dry. Here’s a close-up of the texture.
(Photos 5-6)

4 | Mix Sheer Glazing Medium with Slow Dry Fluid Acrylics Phthalo Blue, Ultramarine Blue, Carbon Black and a dash of Phthalo Green. Begin by applying the glaze along the bottom third of the surface with a brush, scrubbing and blending upwards, keeping the glaze heavier towards the bottom and feathering it towards the top.
(Photos 7-8)

Use a rag or cloth to clean your brush in order to remove more glaze from the surface as you work your way upward. A dry brush will help feather out the very top. Let dry.
(Photos 9-10)

5 | After the glaze is dry, lay a stencil of your choice (I used the Design Ornament Stencil by Wallovers), over the entire area and secure with tape. Check the level on the stencil to ensure a consistently straight pattern. On a paper plate, I used the tiniest amount of Slow Dry Fluid Acrylic Carbon Black into Slow Dry Fluid Acrylic Titanium White for an almost white gray color. I added Titanium White as needed to get the desired color.
(Photo 11)

Using a stencil brush, I dipped it into the white mix and off-loaded the excess onto a separate paper plate by swirling the brush in circles. More than one swirl circles will be needed to dry the brush out. You’ll want the brush more dry than wet for the perfect stencil.
(Photo 12)

Take your time and build up the opacity. If the brush is too wet, it can leak under your design. Remove the stencil and let dry. Here’s the final finish.
(Photo 13)

Featured Products

Jason Rosales

About the Artist
Artisan Factor is a professional cabinet refinishing & decorative finishing company servicing the Central Florida area in the residential, commercial and hospitality fields. With over 15 years of faux and decorative finishing experience. Jason Rosales provides a wide range of looks on cabinetry, millwork, interior/exterior walls, and ceilings using glazes, paints, plaster, texture, wood graining, marbling, gilding, stenciling and embossing. He has a commitment to quality that shows in every step of a project, from his product selection and surface preparation to the final finish results. As a problem solver and a hands-on type, he has helped many find the best solution for their space while staying within budget. Creating a beautiful and stylish environment for his client is a passion and doing so with a commitment to care and an eye for detail only comes naturally.

More from this artist

Looking for more inspiration? Click here to view all of the decorative finishes from our Limited Edition Collections.