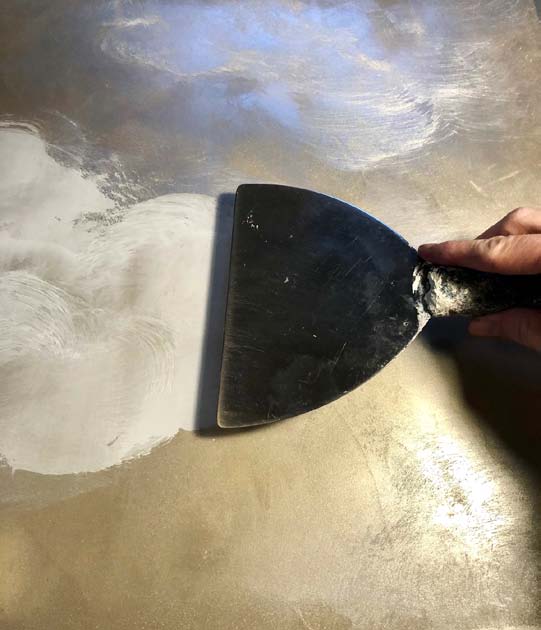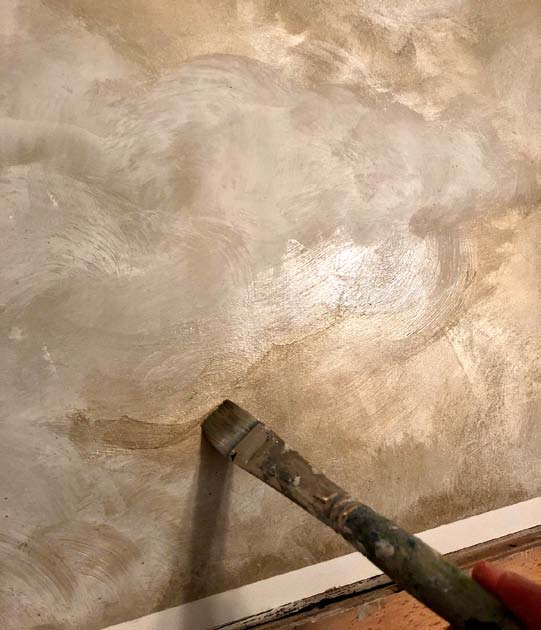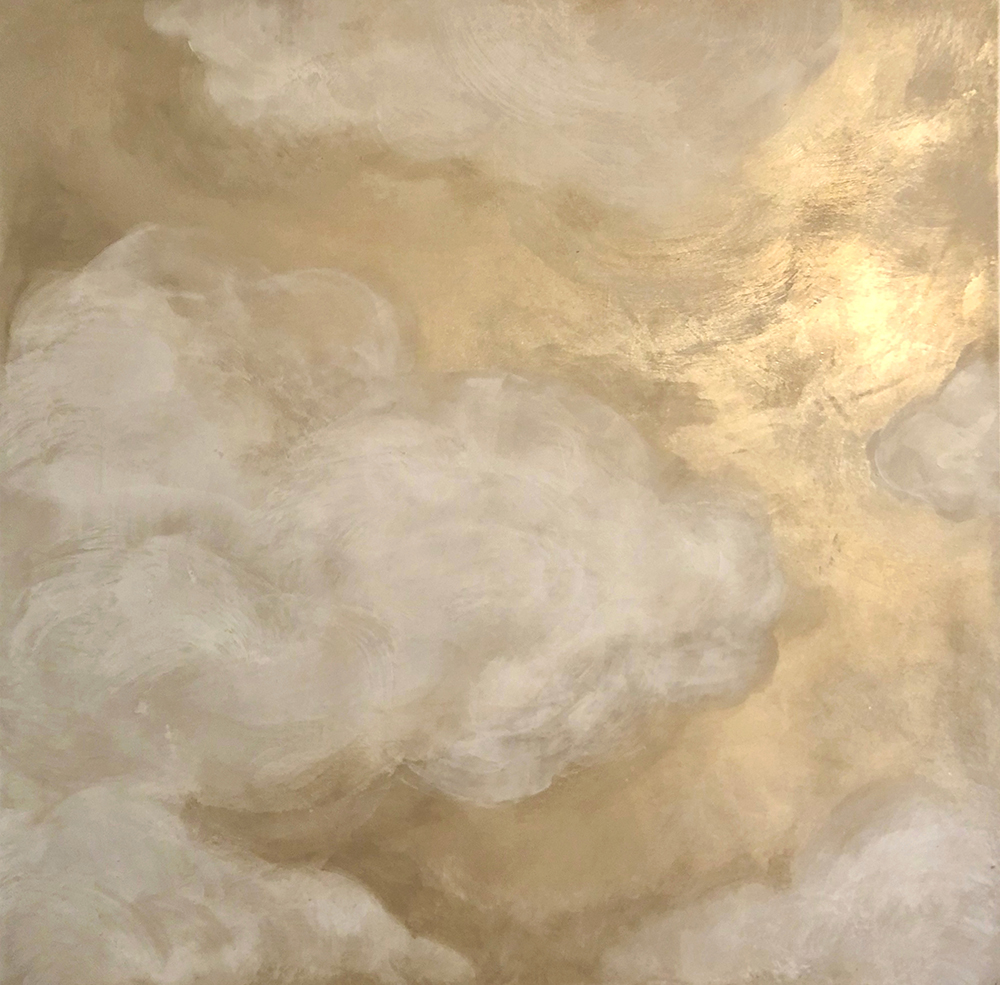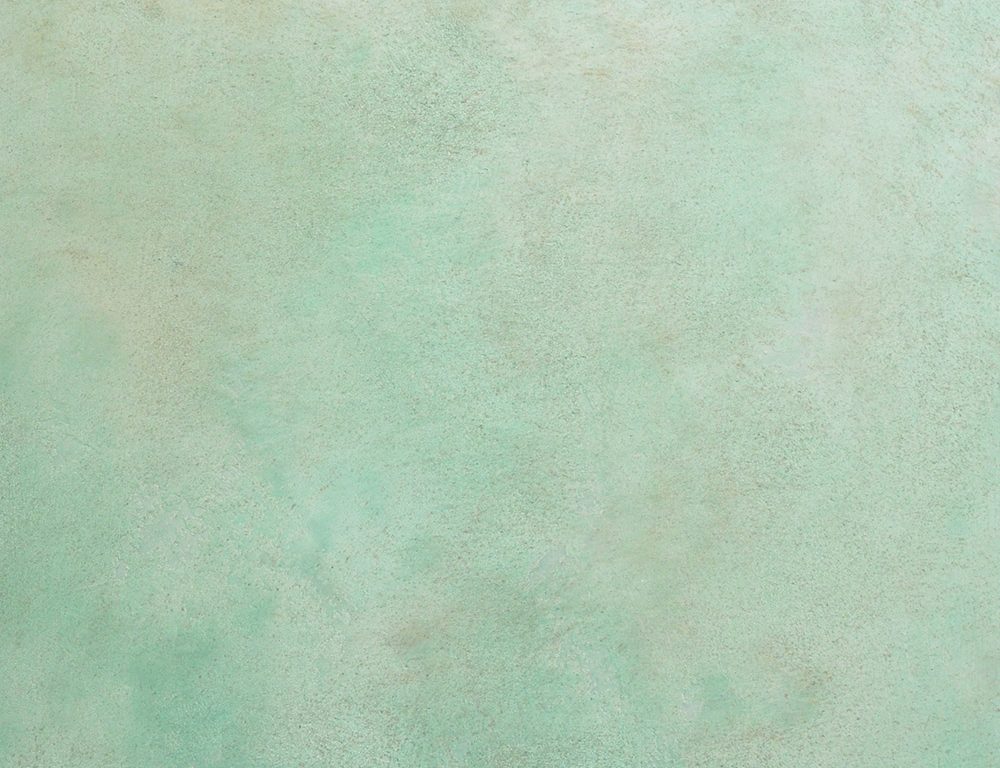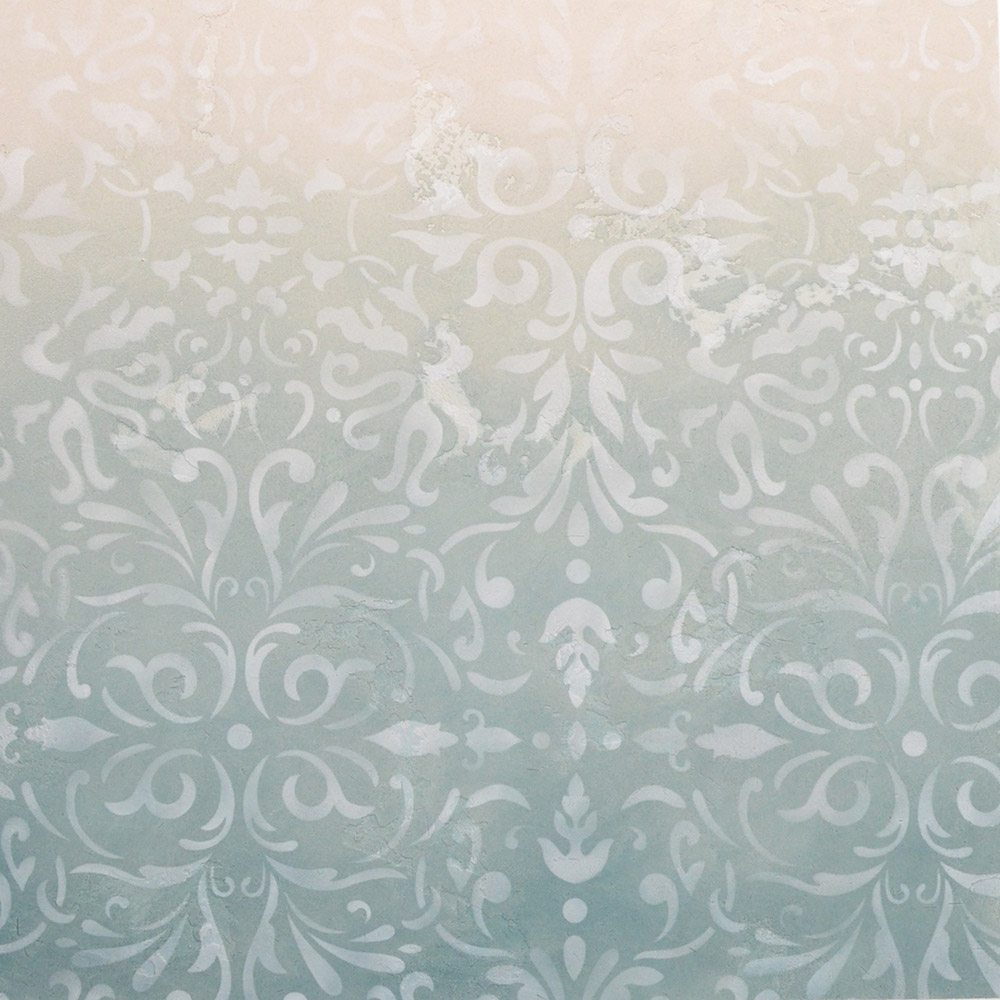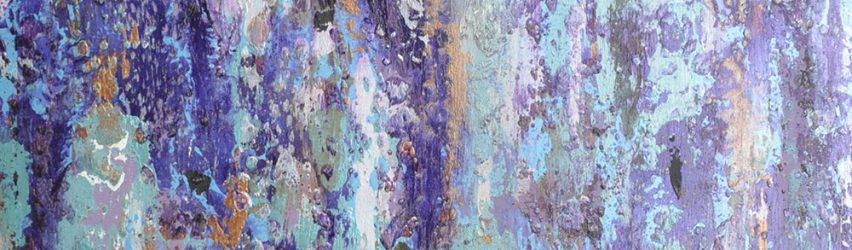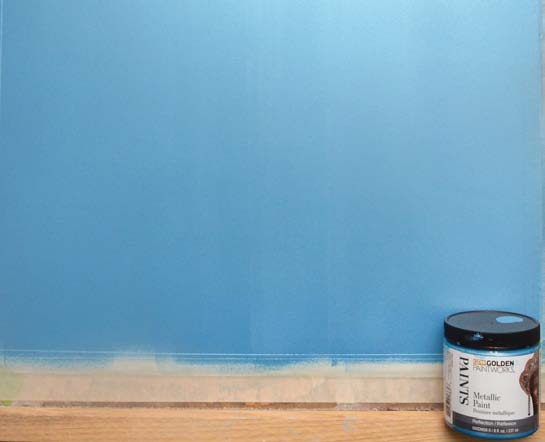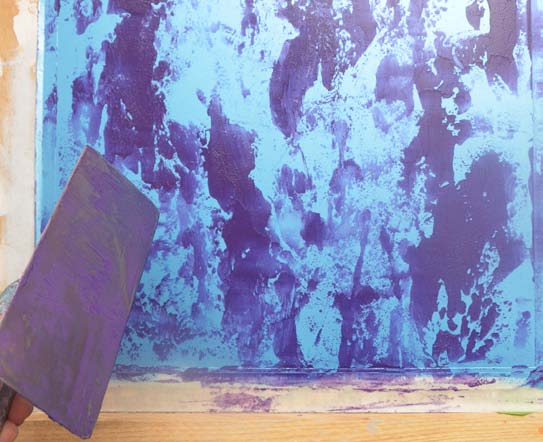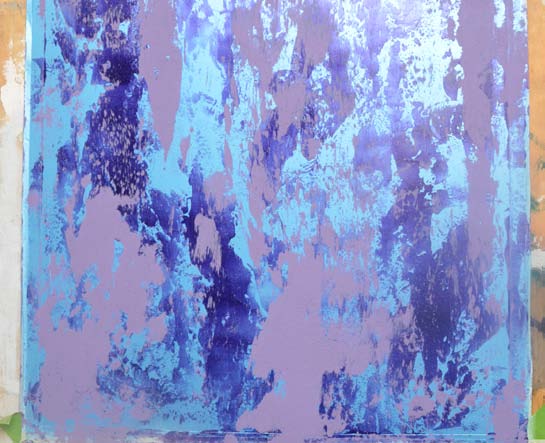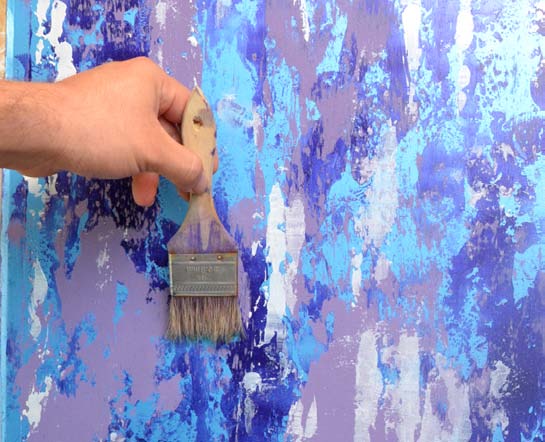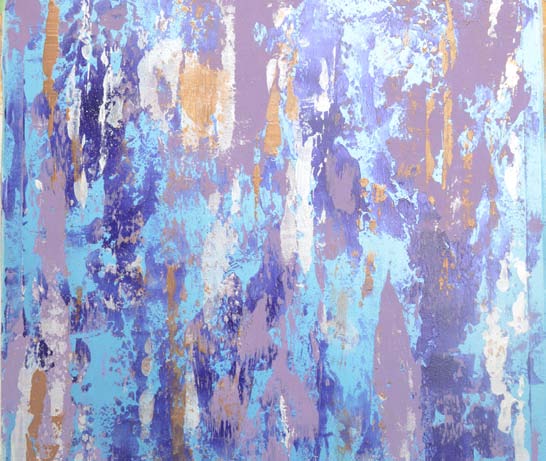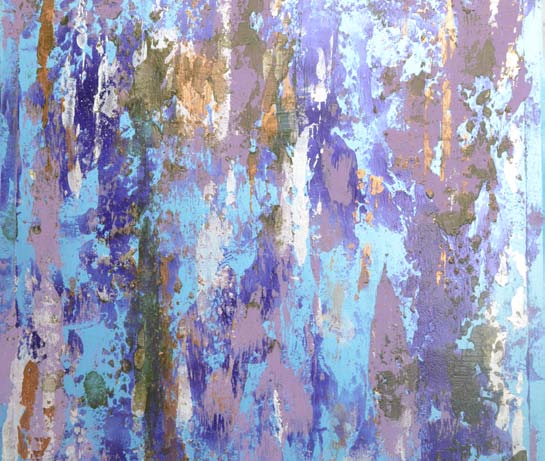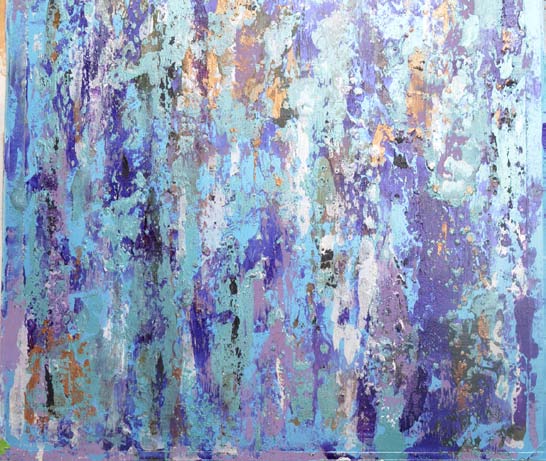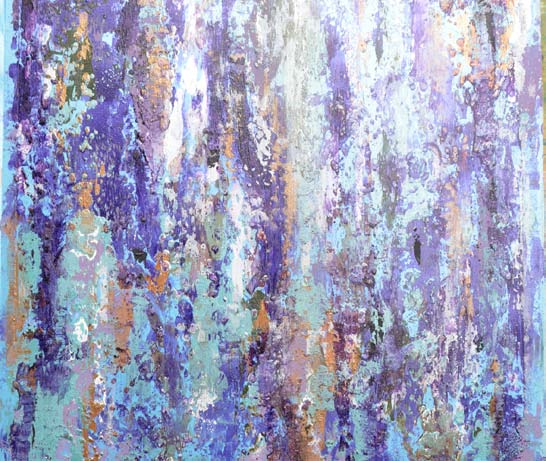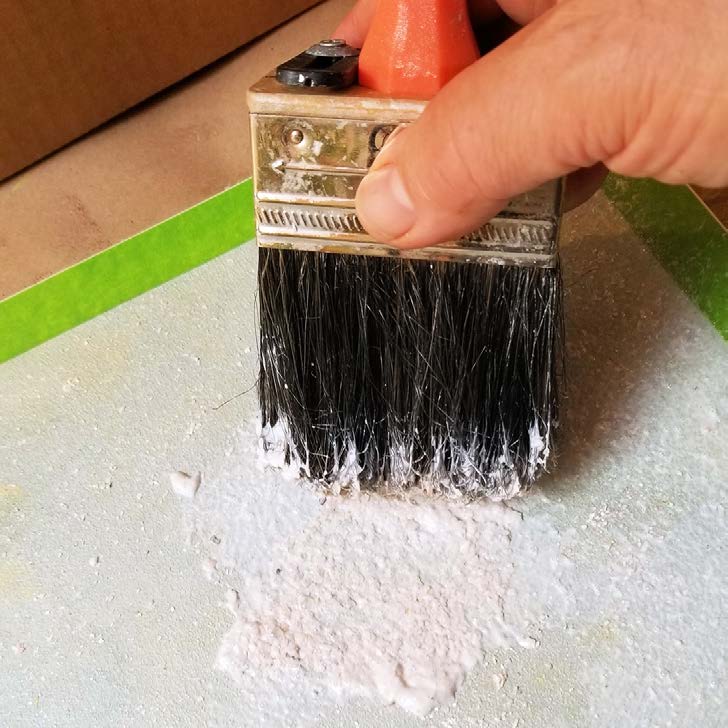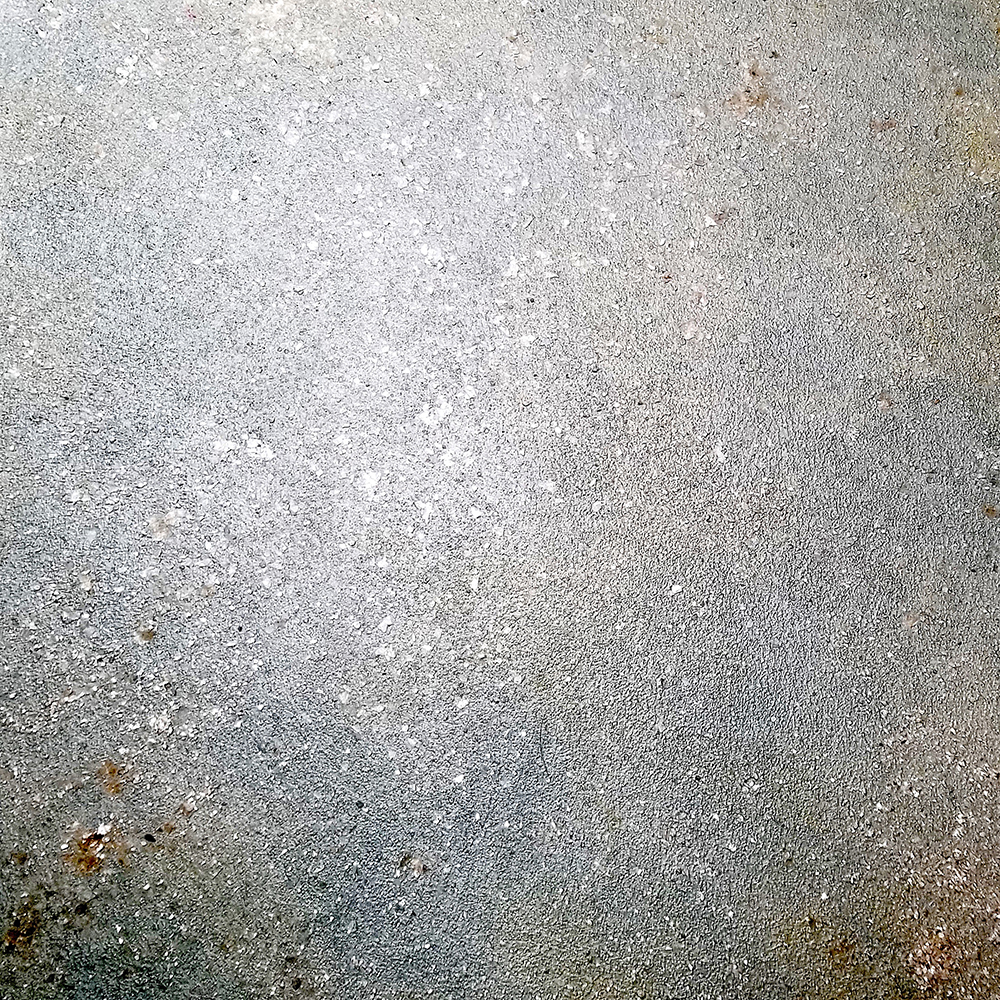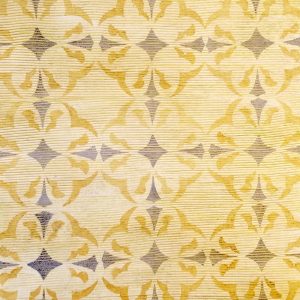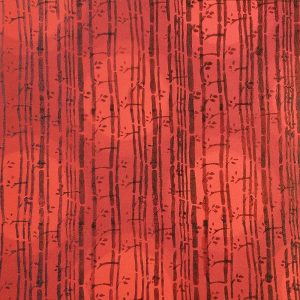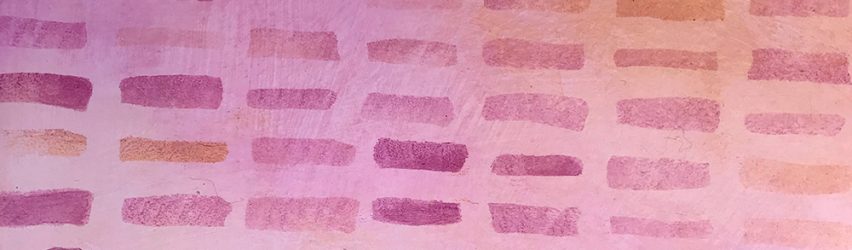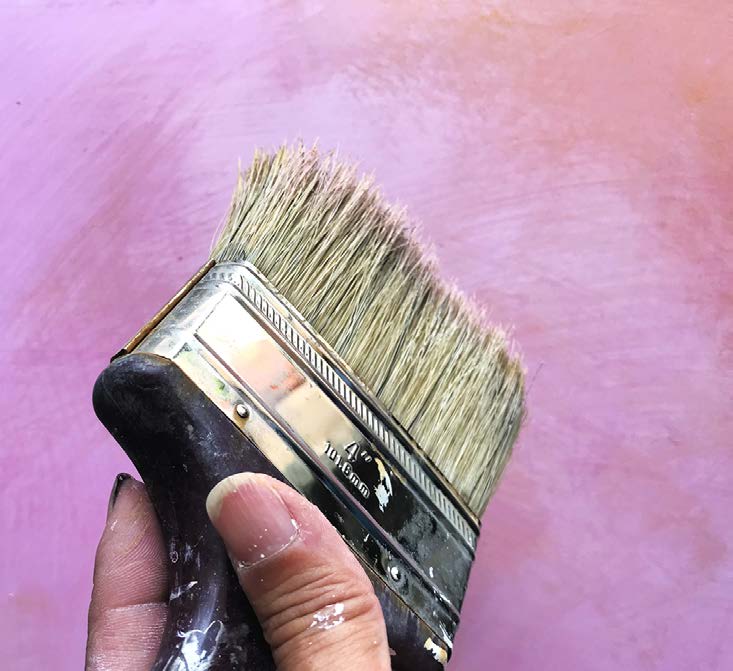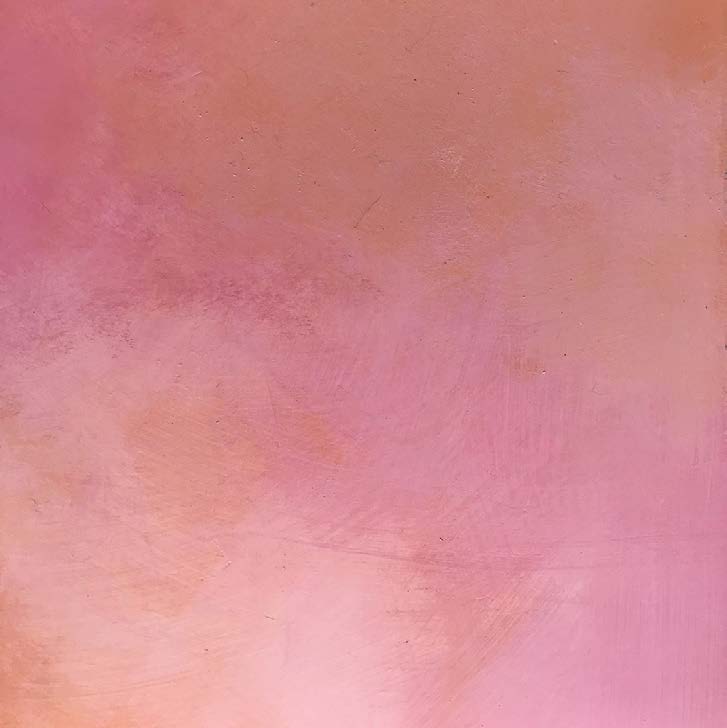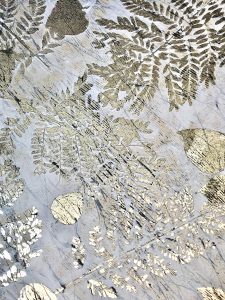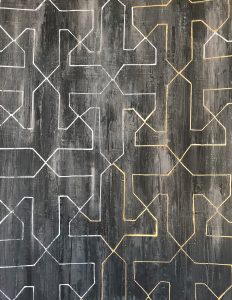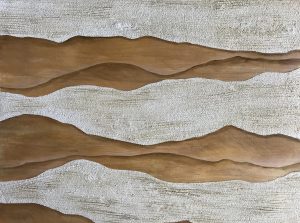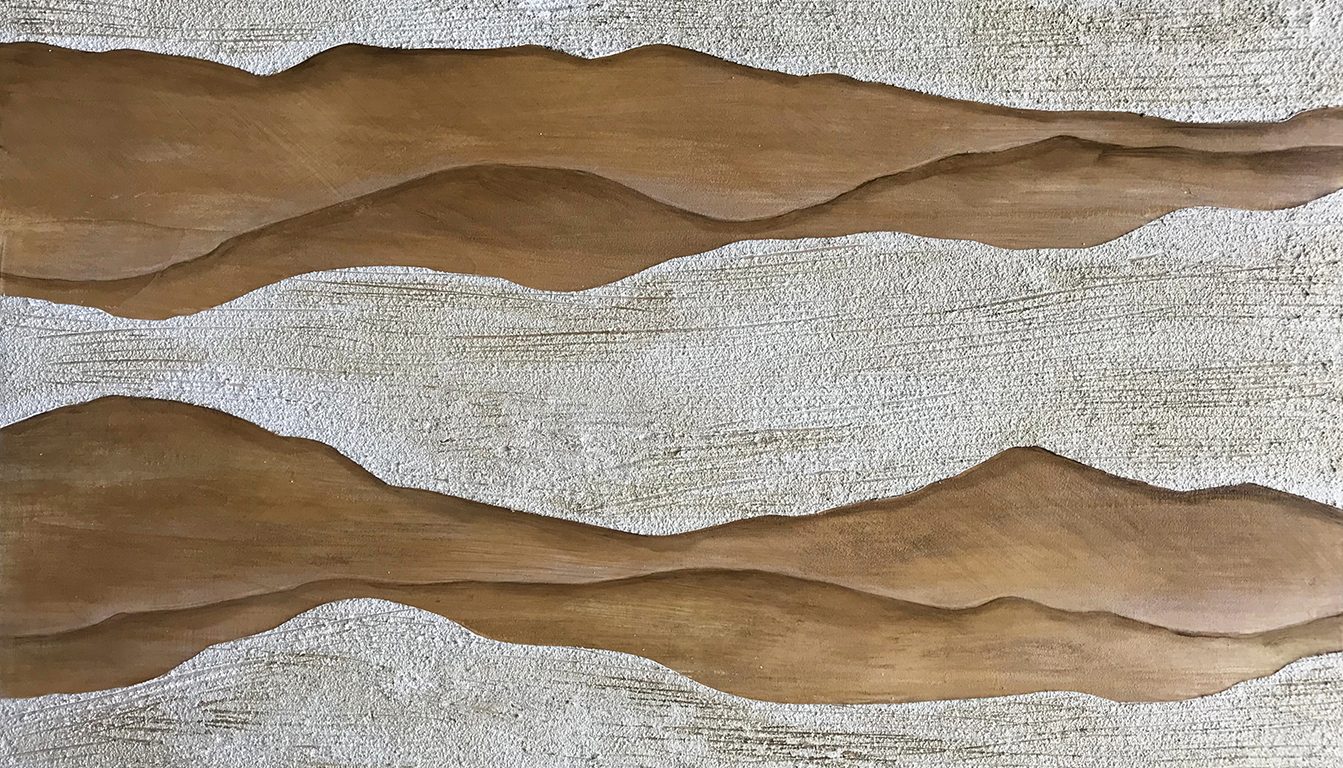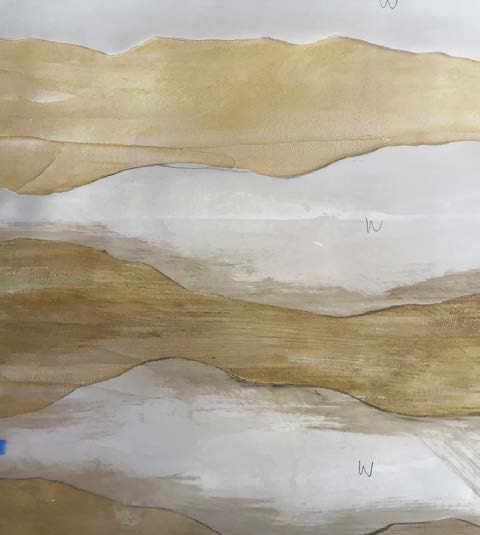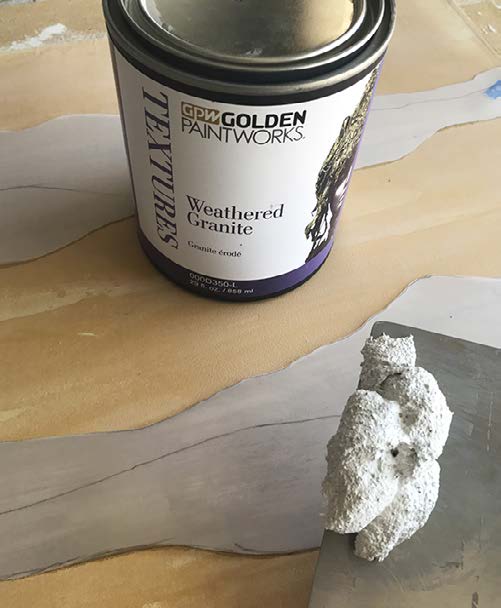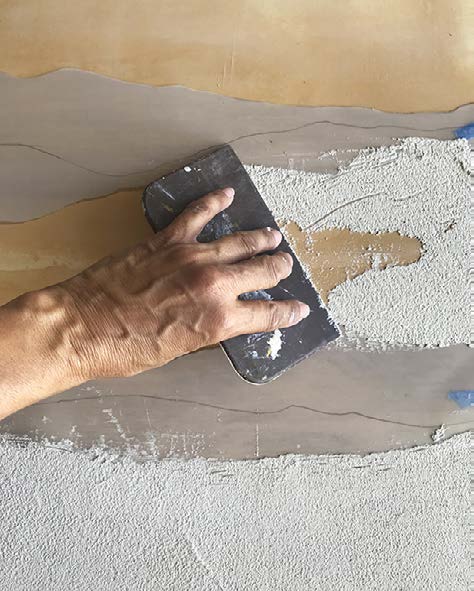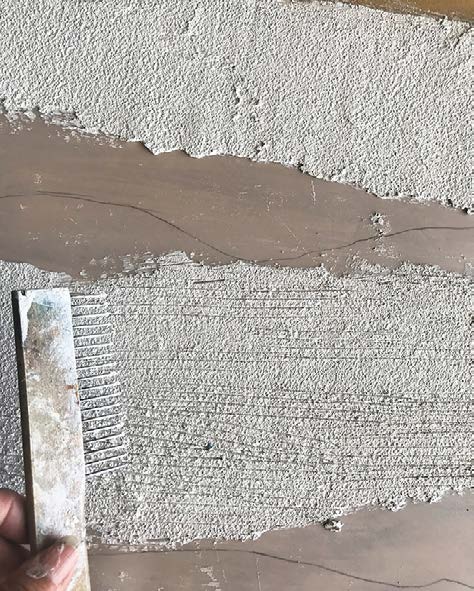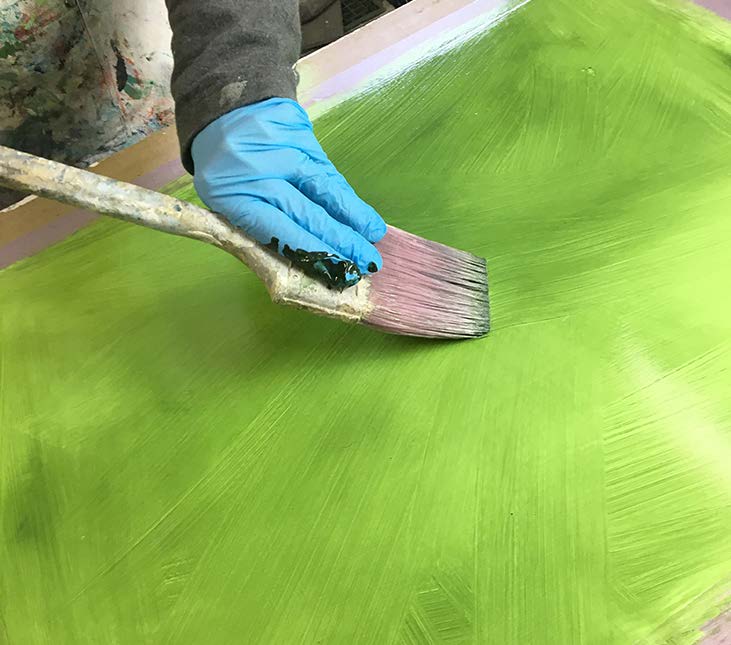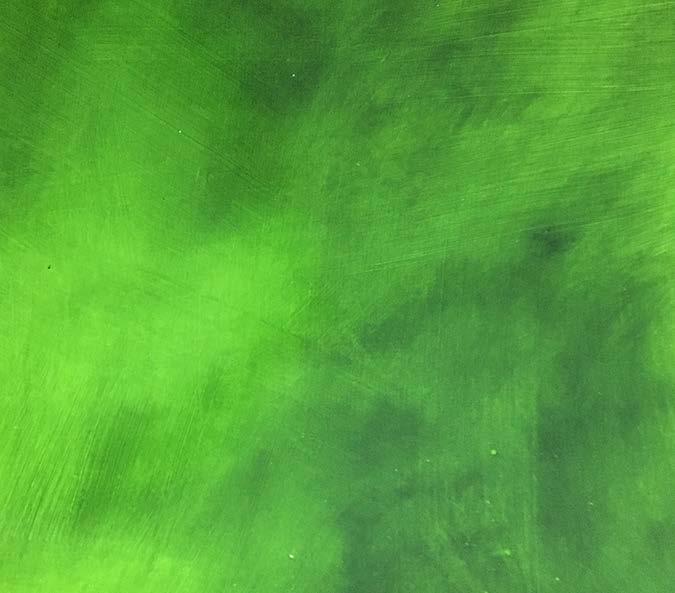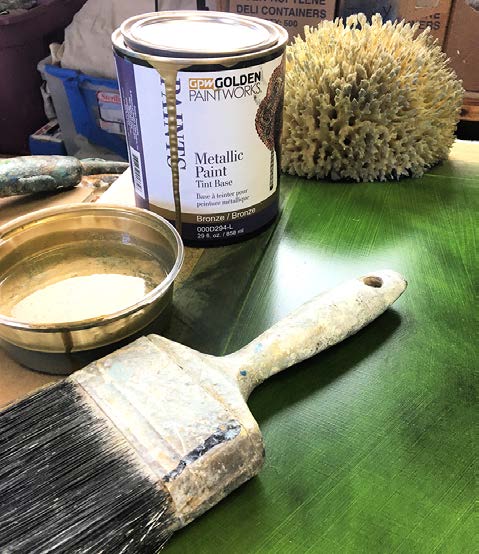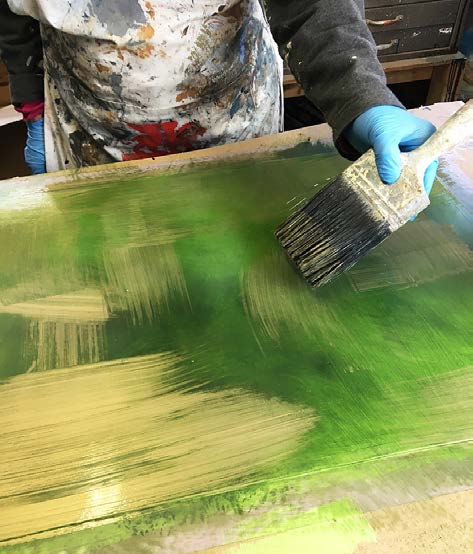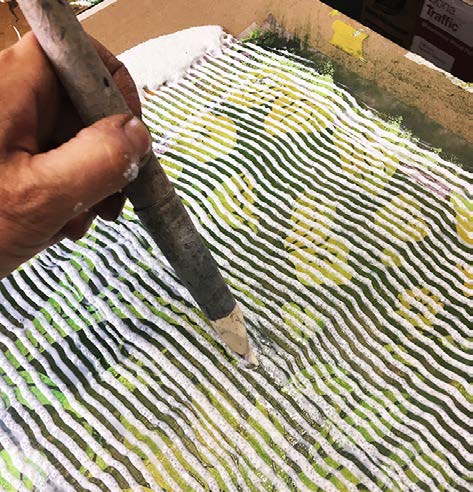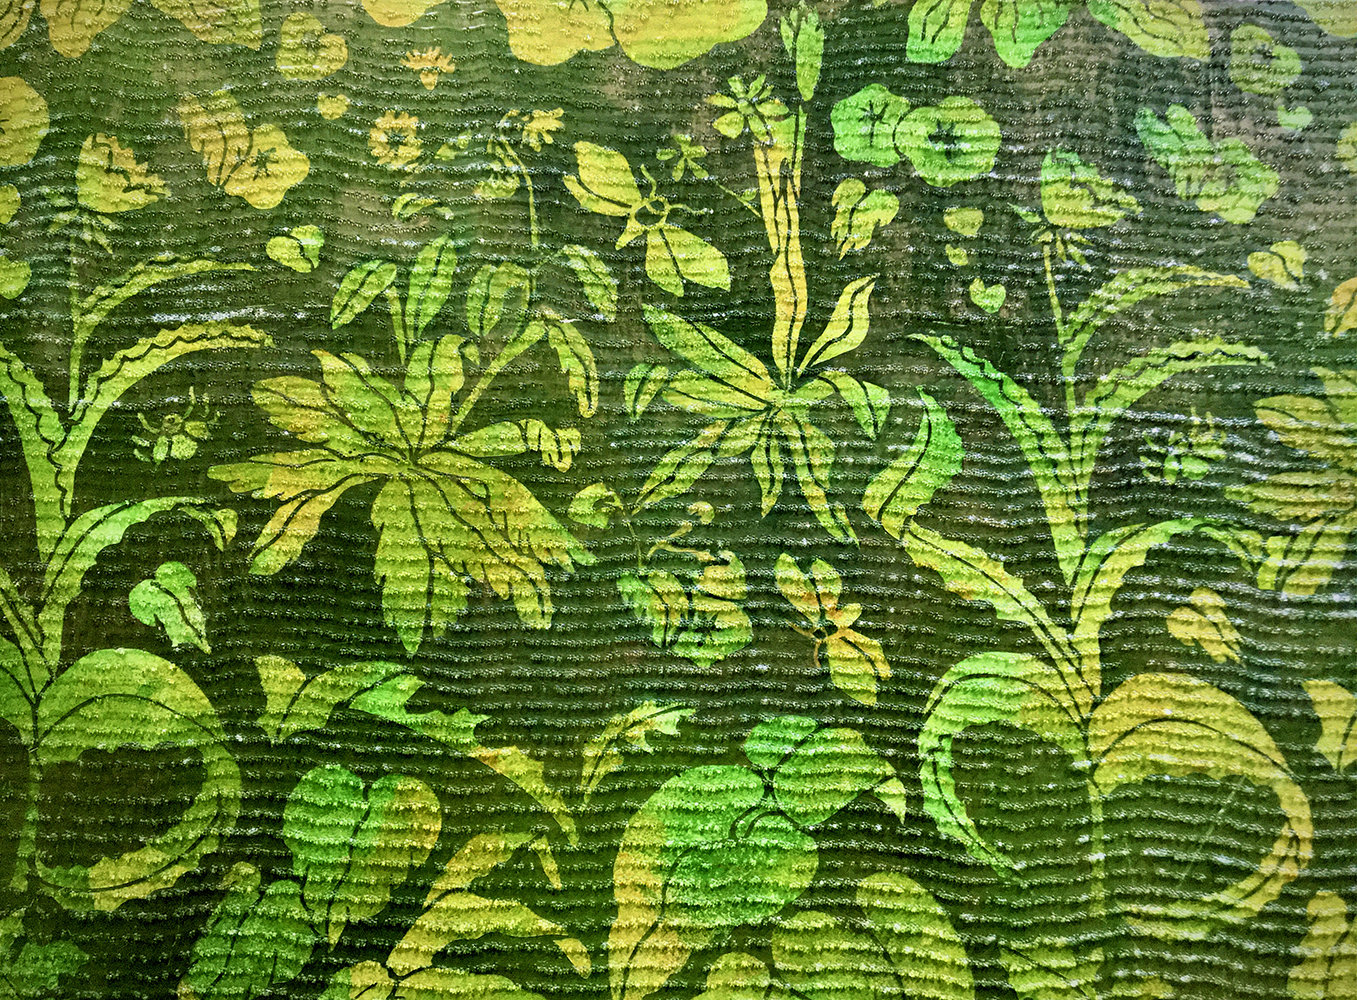
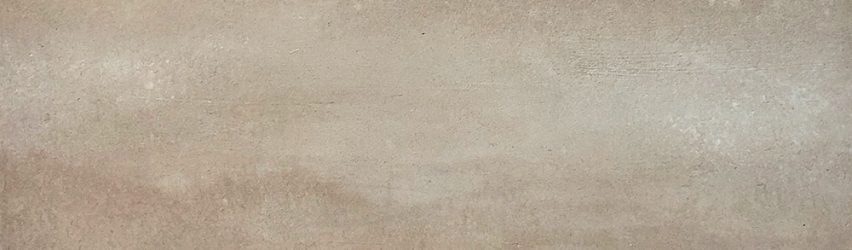

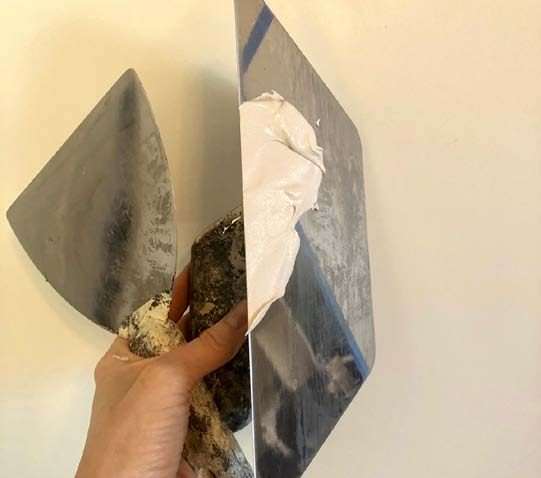
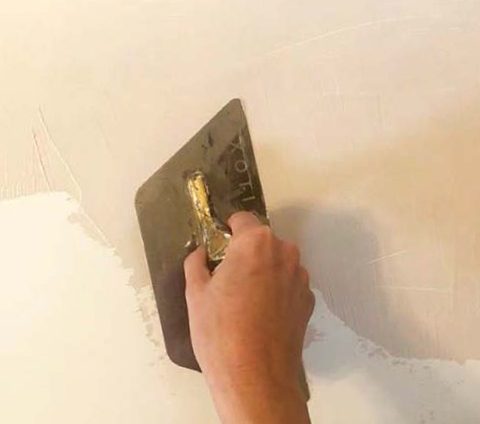
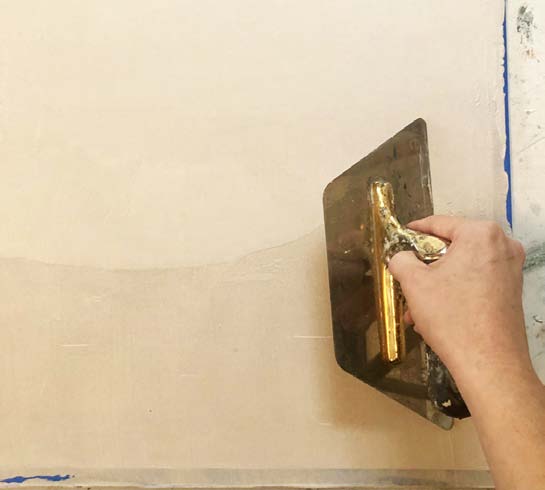
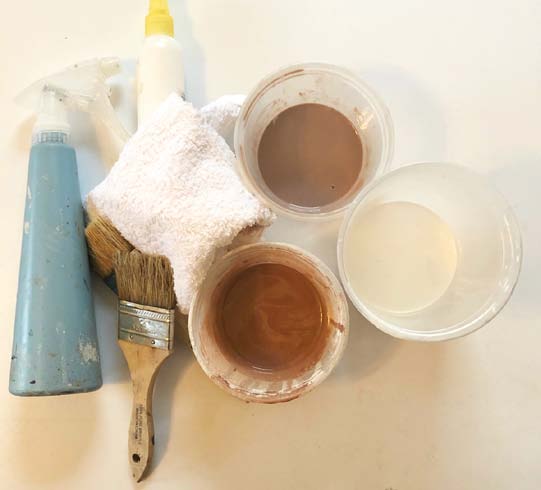
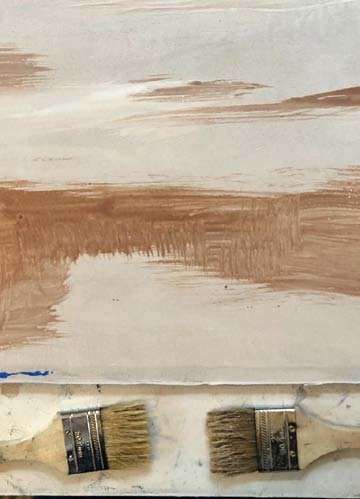

About the Artist
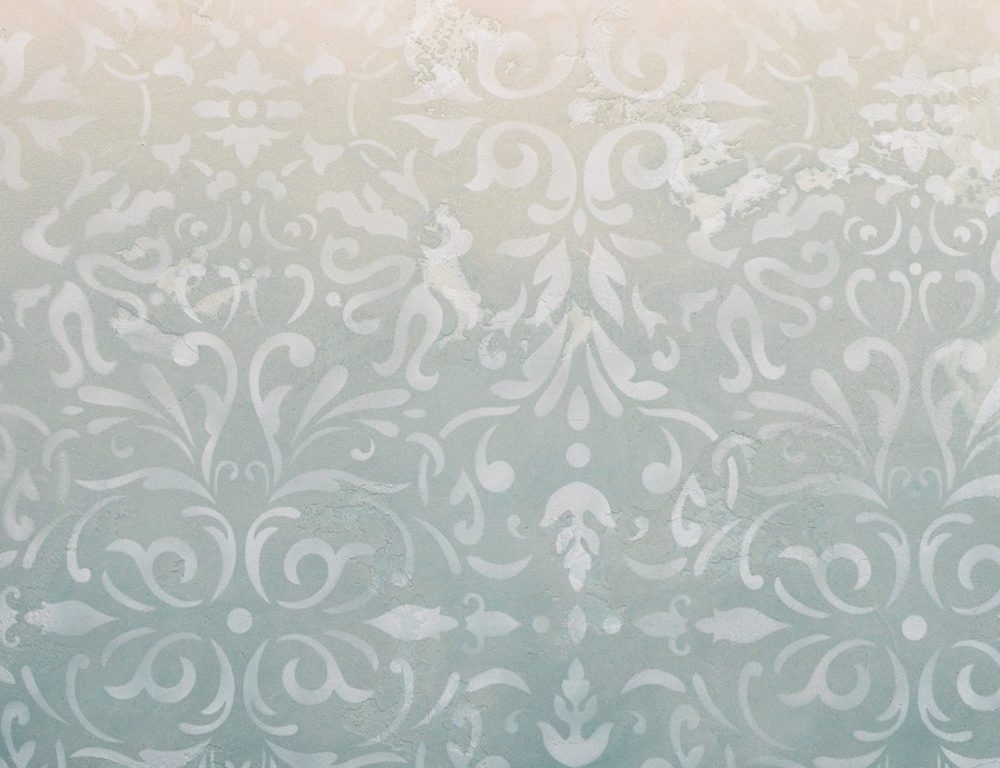
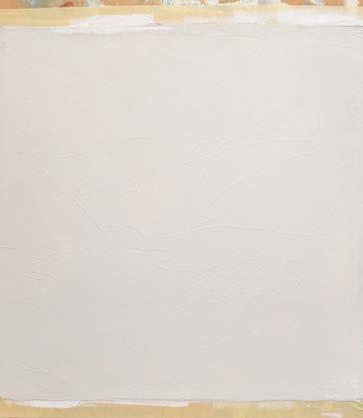
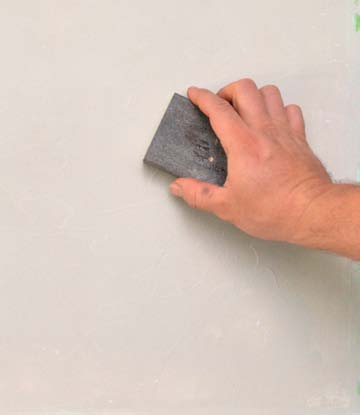
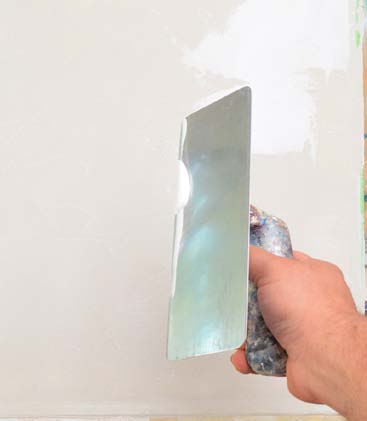
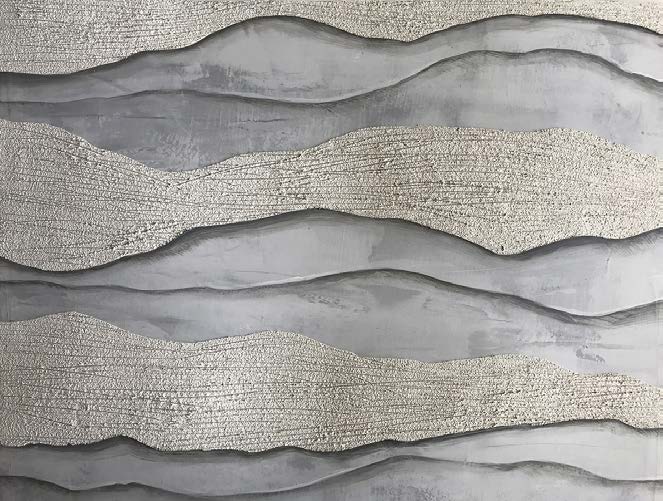
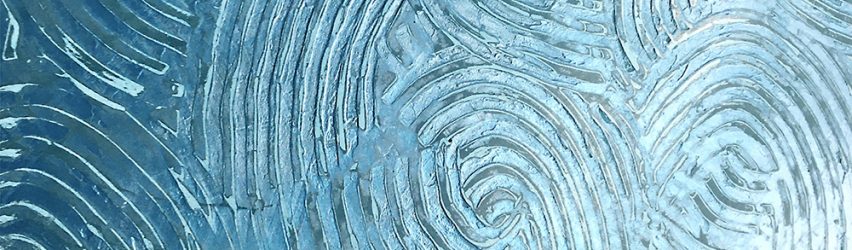
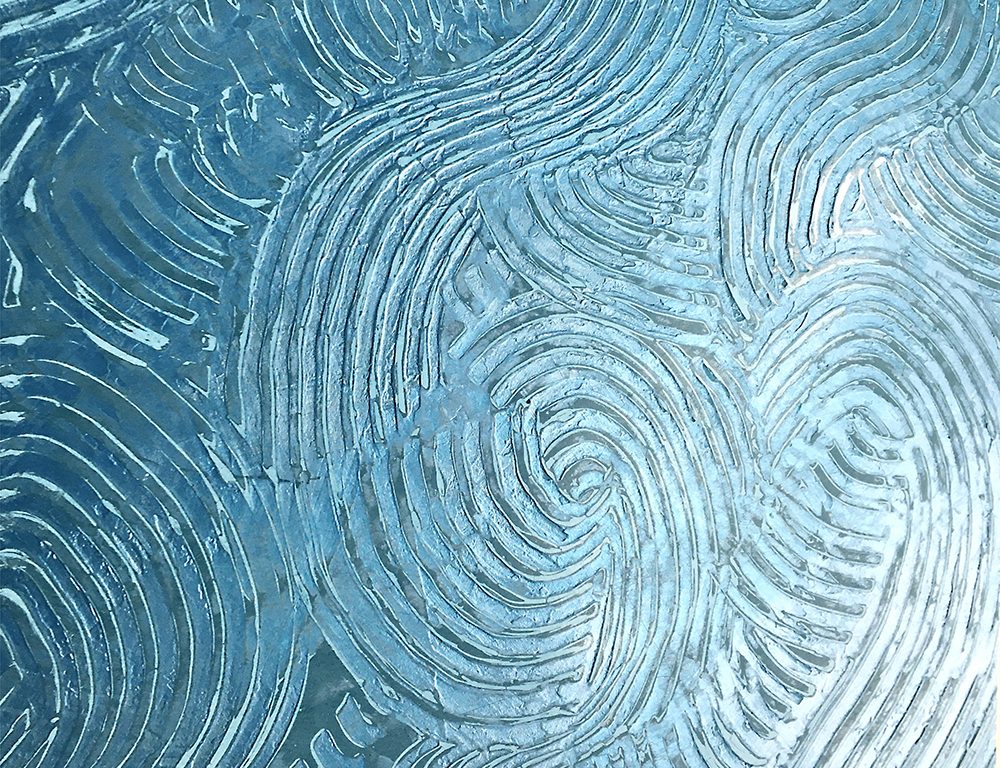
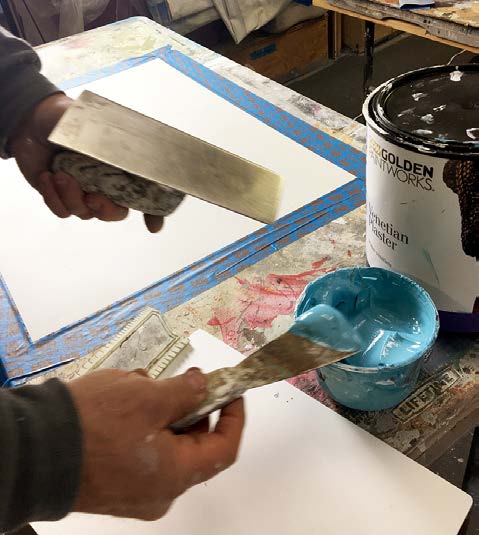
Michelle Kole is a multidisciplinary artist specializing in the creation and installation of decorative surfaces for the interior design and architectural industry. Her love of interiors, art, and beautiful things lead to the creation of Michelle Kole Decorative Surfaces. Michelle has over 20 years experience in the field of custom, hand-applied specialty finishes and site-specific art. Interior designers, architects, and homeowners alike come to her for a unique combination of aesthetic vision, technical knowledge, and craftsmanship. Michelle works in time-honored techniques and mediums and builds upon them in contemporary ways. Based in Brooklyn, NY, her walls, custom artwork and design embellishments can be seen in luxury homes and commercial spaces throughout the New York City tri-state area and beyond.